
Quick Recipe Summary
| Prep Time | Cook Time | Total Time | Servings | Cuisine | Course | Difficulty | Calories (approx.) |
|---|---|---|---|---|---|---|---|
| 5 minutes | 8–10 minutes | 13–15 minutes | 1–2 | Fusion / Mexican-inspired | Breakfast, Brunch, or Light Lunch | Easy | 380–450 per serving |
Table of Contents
| Section |
|---|
| Introduction |
| Why This Recipe Works |
| Why You’ll Love This Recipe |
| Ingredient Notes |
| Kitchen Equipment |
| Preparation Information |
| Step-by-Step Instructions |
| Expert Tips |
| Common Mistakes |
| Recipe Variations |
| What to Serve With This Recipe |
| Make Ahead Tips |
| Meal Prep Tips |
| Storage Instructions |
| Reheating Instructions |
| Nutritional Information |
| Troubleshooting Guide |
| Frequently Asked Questions |
| Final Thoughts |
Introduction
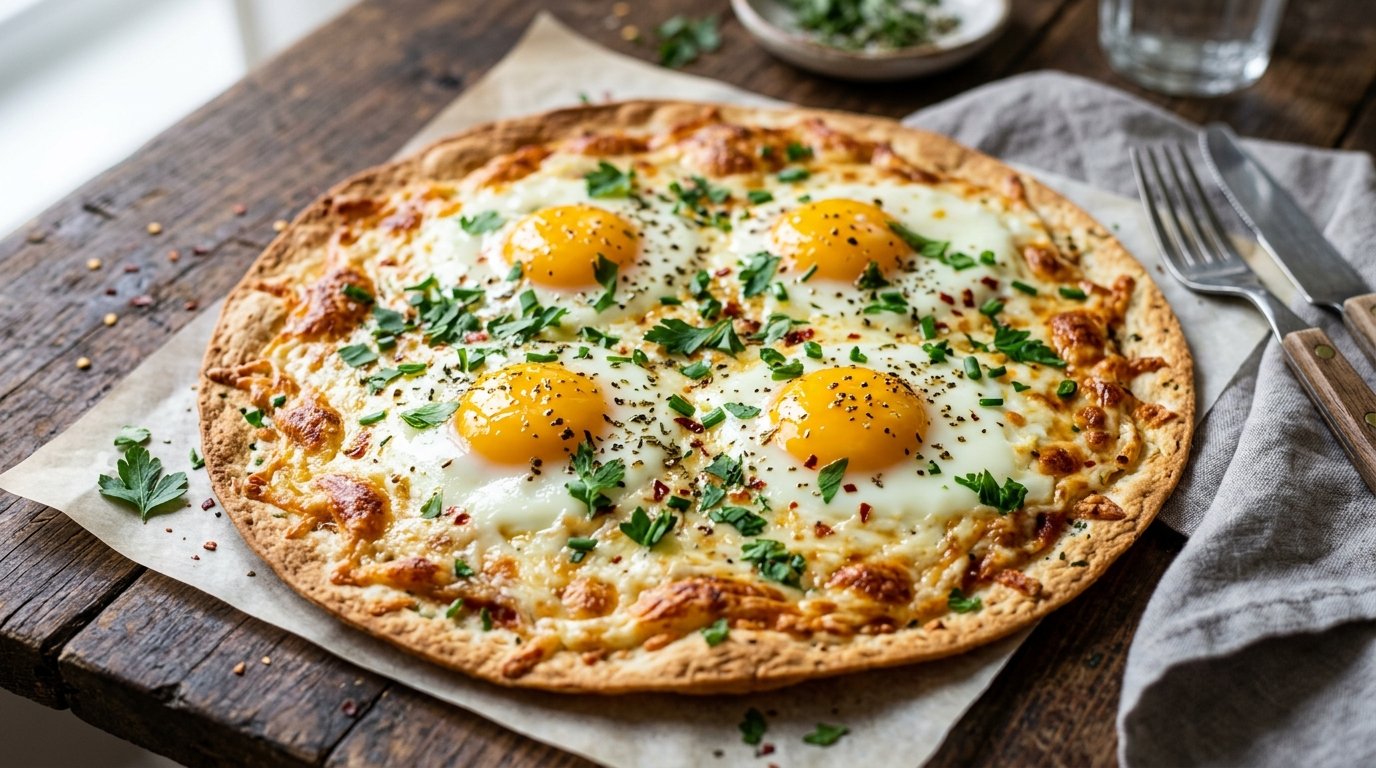
Looking for a fast, satisfying breakfast that feels special without the effort of traditional pizza dough? This easy tortilla egg pizza delivers crispy edges, perfectly set eggs, fresh vegetables, and stretchy melted cheese in under 15 minutes. Using a simple flour tortilla as the base turns everyday ingredients into a golden, cheesy skillet “pizza” that works just as well for busy mornings as it does for a light lunch or casual dinner. The method is straightforward, the results are reliable, and the cheese pull is guaranteed to impress.
Why This Recipe Works
The flour tortilla acts as both crust and cooking surface. Placing it directly in a lightly oiled pan lets it crisp while the eggs cook on top. Gently breaking the yolks and spreading them creates an even egg layer that sets without becoming rubbery. Adding vegetables after the eggs start to firm keeps them bright and slightly crisp. Covering the pan traps steam so the cheese melts evenly without drying out the eggs. The final result has a crisp base, soft egg center, and gooey cheese—exactly what you want from a quick skillet pizza.
Why You’ll Love This Recipe
- Ready in about 15 minutes with minimal cleanup
- Uses pantry staples and fresh produce
- Naturally high in protein from the eggs and cheese
- Customizable with whatever vegetables or cheese you have
- Crispy edges and dramatic cheese pull every time
- Works for breakfast, brunch, or a simple weeknight meal
- No oven required—everything happens in one pan
Ingredient Notes
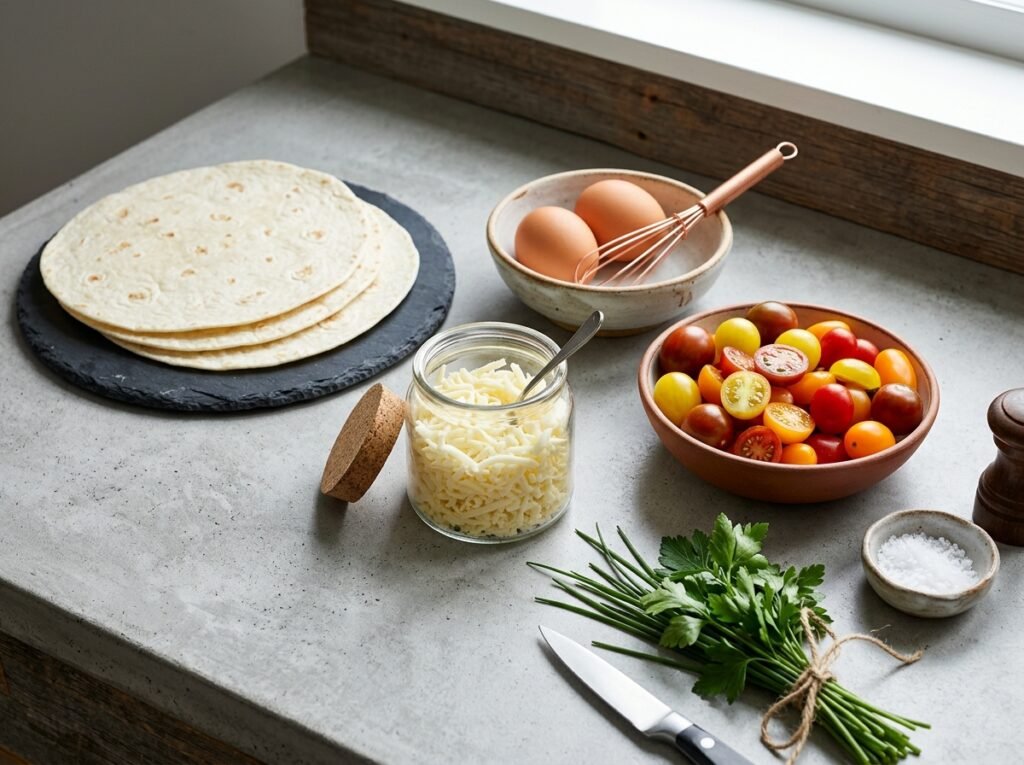
Flour tortilla (1 large, 8–10 inch) Purpose: Forms the crisp, thin crust. Substitutions: Corn tortillas work for a gluten-free option (they will be smaller and slightly more fragile). Whole-wheat tortillas add fiber. Avoid very thin “street taco” size as they can become too soft. Buying tips: Look for fresh, pliable tortillas without cracks. Storage: Keep refrigerated and use within a few days of opening.
Eggs (2 large) Purpose: Create the protein-rich “sauce” layer that binds toppings. Substitutions: Use 3 medium eggs or liquid egg whites for a lighter version. Buying tips: Fresh eggs with firm whites and bright yolks give the best texture. Storage: Refrigerate and use by the date on the carton.
Green bell pepper (about ¼–⅓ cup, finely diced) Purpose: Adds fresh crunch, color, and mild sweetness. Substitutions: Red or yellow bell pepper, jalapeño for heat, or zucchini. Buying tips: Choose firm, glossy peppers. Storage: Refrigerate whole; dice just before cooking.
Tomato (1 medium, sliced into rounds) Purpose: Provides juicy brightness and visual appeal. Substitutions: Cherry tomatoes halved, or a spoonful of salsa if fresh tomatoes aren’t available. Buying tips: Ripe but still firm tomatoes hold their shape better. Storage: Store at room temperature until ripe, then refrigerate.
Shredded cheese (about ½–¾ cup mozzarella or melting blend) Purpose: Creates the stretchy, golden topping. Substitutions: Cheddar, Monterey Jack, or a Mexican blend. For extra flavor use a mix of mozzarella and a little Parmesan. Buying tips: Pre-shredded works for speed; block cheese melts more smoothly. Storage: Keep refrigerated in an airtight container.
Oil or butter (1–2 teaspoons) Purpose: Prevents sticking and helps the tortilla crisp. Neutral oil (avocado, vegetable) or a light brush of olive oil both work.
Optional seasonings: A pinch of salt, black pepper, chili flakes, or dried oregano can be added with the vegetables if desired.
Kitchen Equipment
Required:
- Non-stick or well-seasoned skillet (10–12 inch)
- Spatula or fork
- Knife and cutting board
- Lid that fits the skillet
Optional: Pizza cutter or sharp knife for serving, grater if using block cheese.
Preparation Information
Prep Time: 5 minutes Cook Time: 8–10 minutes Total Time: 13–15 minutes Servings: 1 generous or 2 smaller portions
Step-by-Step Instructions
1. Heat the Pan and Crisp the Tortilla
Place a non-stick skillet over medium heat. Add a light coating of oil or a small pat of butter. Once the pan is hot, lay the flour tortilla flat in the center. Let it warm for 20–30 seconds so it softens slightly and begins to take on a light golden color on the bottom. This step creates the foundation for a crisp base that won’t turn soggy under the eggs.
2. Crack and Gently Break the Eggs
Crack two eggs directly onto the center of the tortilla. Using a fork, gently pierce the yolks and lightly swirl the whites and yolks together just enough to break them up. Do not fully scramble—leave some yolk streaks visible. The goal is an even egg layer that will set like a thin omelet while still coating the tortilla. Over-mixing can make the eggs tough.
3. Add the Diced Green Pepper
As soon as the egg whites begin to turn opaque around the edges (about 30–45 seconds), sprinkle the diced green bell pepper evenly over the surface. The residual heat starts cooking the peppers without making them soft. This timing keeps their bright color and slight crunch.
4. Arrange the Tomato Slices
Place three or four tomato rounds on top of the eggs and peppers. Space them so each slice has room to heat through. The tomatoes release a little juice that seasons the eggs and adds moisture without making the base wet if you don’t overcrowd the pan.
5. Top with Cheese and Cover
Scatter the shredded cheese generously over everything, concentrating a bit more toward the center. Immediately cover the skillet with a lid. The trapped steam melts the cheese into a glossy, stretchy layer while finishing the eggs. Cook for 2–4 minutes, checking once. The cheese should be fully melted and the eggs set but still soft. Remove the lid and cook another 30–60 seconds if you prefer slightly crispier edges.
6. Transfer and Serve
Slide a spatula under the tortilla and transfer it carefully to a plate. Let it rest 30 seconds so the cheese settles slightly, then cut into wedges. Lift a slice and enjoy the cheese pull. Serve immediately while the base is still crisp and the cheese is molten.
Expert Tips

- Medium heat is key. Too high and the tortilla burns before the eggs set; too low and everything steams instead of crisping.
- Use a lid that fits snugly. Steam is what melts the cheese evenly without drying the eggs.
- Don’t skip the brief initial toast of the tortilla—it prevents sogginess.
- Freshly shredded cheese melts more smoothly than pre-shredded varieties that contain anti-caking agents.
- If your skillet runs hot, lower the heat slightly after adding the eggs.
- For extra flavor, finish with a pinch of flaky salt, chili flakes, or a drizzle of hot sauce right before serving.
Common Mistakes
- Burning the tortilla: Happens when the heat is too high or the tortilla sits too long before eggs are added. Solution: Keep heat at medium and work quickly once the tortilla is in the pan.
- Watery eggs: Caused by overcrowding with wet tomatoes or cooking covered too long. Use firm tomato slices and check doneness after 2–3 minutes under the lid.
- Cheese not melting: Usually means the lid wasn’t used or the heat was too low. Always cover after adding cheese.
- Tortilla sticking: Insufficient oil or a cold pan. Preheat the pan and use a light coating of fat.
- Eggs overcooked and rubbery: Cooking too long after the cheese melts. Remove from heat as soon as the cheese is fully melted and the eggs are just set.
Recipe Variations
- Spicy: Add diced jalapeño or a pinch of cayenne with the green pepper; finish with hot sauce.
- Extra Cheesy: Double the cheese or add a second layer of Parmesan after melting.
- Vegetarian Loaded: Include sliced mushrooms, spinach, or corn with the peppers.
- Protein Boost: Add cooked crumbled sausage, leftover chicken, or diced ham under the cheese.
- Breakfast Style: Top finished pizza with avocado slices or a dollop of sour cream.
- Low-Carb Option: Use a low-carb tortilla or large lettuce leaves (though the crisp base will differ).
- Mexican-Inspired: Swap green pepper for poblano, add a sprinkle of cumin, and serve with salsa and cilantro.
- Healthier: Use reduced-fat cheese and load up on extra vegetables.
What to Serve With This Recipe
- Simple green salad with lemon vinaigrette
- Fresh fruit (berries, melon, or orange slices)
- Avocado slices or guacamole
- Hot sauce, salsa, or pico de gallo
- Greek yogurt or sour cream
- Fresh juice, coffee, or iced tea
- For a heartier meal: refried beans or a side of roasted potatoes
Make Ahead Tips
Chop the green pepper and slice the tomato up to a day ahead and store them separately in airtight containers in the refrigerator. Shred cheese in advance if using block cheese. The tortilla and eggs are best prepared just before cooking for optimal texture.
Meal Prep Tips
This recipe is ideal for single servings. You can cook two or three in succession in the same pan (wipe it clean between batches). For multiple portions, prepare all vegetables first, then cook one pizza at a time so each stays crisp.
Storage Instructions
Refrigerator: Cool completely, then wrap tightly or place in an airtight container. Best eaten within 1–2 days. Freezer: Not recommended—the eggs and tortilla texture suffer after freezing and thawing.
Reheating Instructions
- Stovetop (best): Place in a dry non-stick skillet over medium-low heat, cover, and warm 2–3 minutes until cheese softens and base re-crisps.
- Oven or toaster oven: 350°F (175°C) for 5–7 minutes on a baking sheet.
- Air fryer: 320°F (160°C) for 3–4 minutes.
- Microwave: 30–45 seconds on medium power (base will soften).
Nutritional Information (Approximate per serving, based on 1 large pizza)
- Calories: 380–450
- Protein: 22–26 g
- Carbohydrates: 28–32 g
- Fat: 20–25 g
- Fiber: 2–3 g
- Sugar: 3–5 g
- Sodium: 450–600 mg (varies with cheese and tortilla brand)
Values are estimates and will change with specific brands and portion sizes.
Troubleshooting Guide
- Base is soggy: Tortilla was not toasted first or too many wet ingredients were added. Next time toast longer and pat tomato slices dry.
- Cheese slides off: Eggs weren’t set enough before adding toppings. Give the eggs another 20–30 seconds before adding vegetables and cheese.
- Edges too dark: Heat was too high. Lower the temperature and watch closely after covering.
- Eggs still runny: Cover a bit longer or finish uncovered for 30–60 seconds.
- Tortilla tears when transferring: Use a wider spatula and slide rather than lift aggressively.
Frequently Asked Questions
Can I use a corn tortilla? Yes, but choose a larger size if possible. Corn tortillas are more delicate and may need extra care when transferring.
Do I have to break the yolks? Breaking them creates a more even layer and better coverage. Leaving them whole gives a fried-egg effect in the center if you prefer that style.
Can I make this without a lid? You can, but the cheese will take longer to melt and may not become as stretchy. A lid is strongly recommended.
Is this recipe gluten-free? Only if you use a certified gluten-free tortilla.
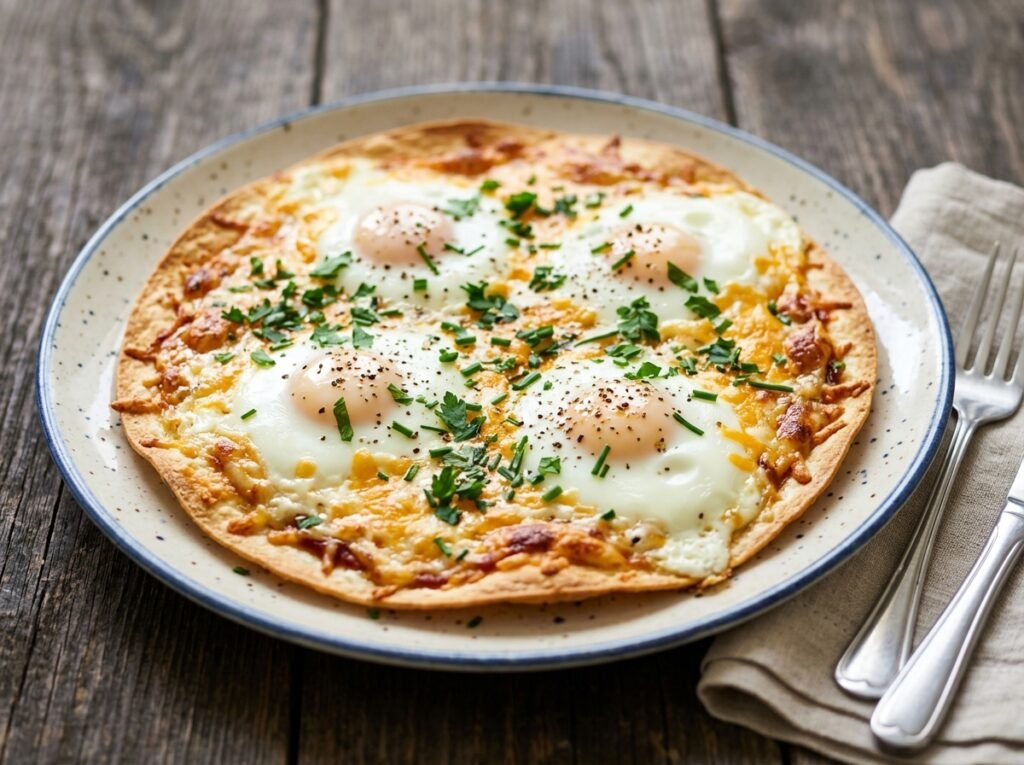
How do I know when it’s done? The cheese is fully melted and glossy, the egg layer looks set (no liquid white remaining), and the underside of the tortilla is lightly golden.
Can I add meat? Absolutely. Pre-cooked sausage, bacon, or chicken works well. Add it with the vegetables so it heats through.
What cheese melts best? Mozzarella gives the classic stretch. Monterey Jack, cheddar, or a blend also work excellently.
Can I bake this instead of using the stove? Yes—preheat oven to 400°F (200°C), assemble on a baking sheet, and bake 8–10 minutes until cheese melts and edges crisp.
How spicy can I make it? Add fresh chili, chili flakes, or hot sauce to taste. The base recipe is mild so it’s easy to customize.
Final Thoughts
This easy tortilla egg pizza proves that a satisfying, cheesy meal doesn’t require hours in the kitchen or special equipment. With a single skillet, a few fresh ingredients, and about 15 minutes, you get a crisp base, perfectly cooked eggs, bright vegetables, and that irresistible cheese pull. It’s the kind of recipe that quickly becomes a weekday favorite—simple enough for busy mornings yet special enough to serve when you want something a little more exciting than plain scrambled eggs. Give it a try, adjust the toppings to what you have on hand, and enjoy every stretchy, savory bite. If you make it, leave a comment or rating below—I’d love to hear how it turned out for you!