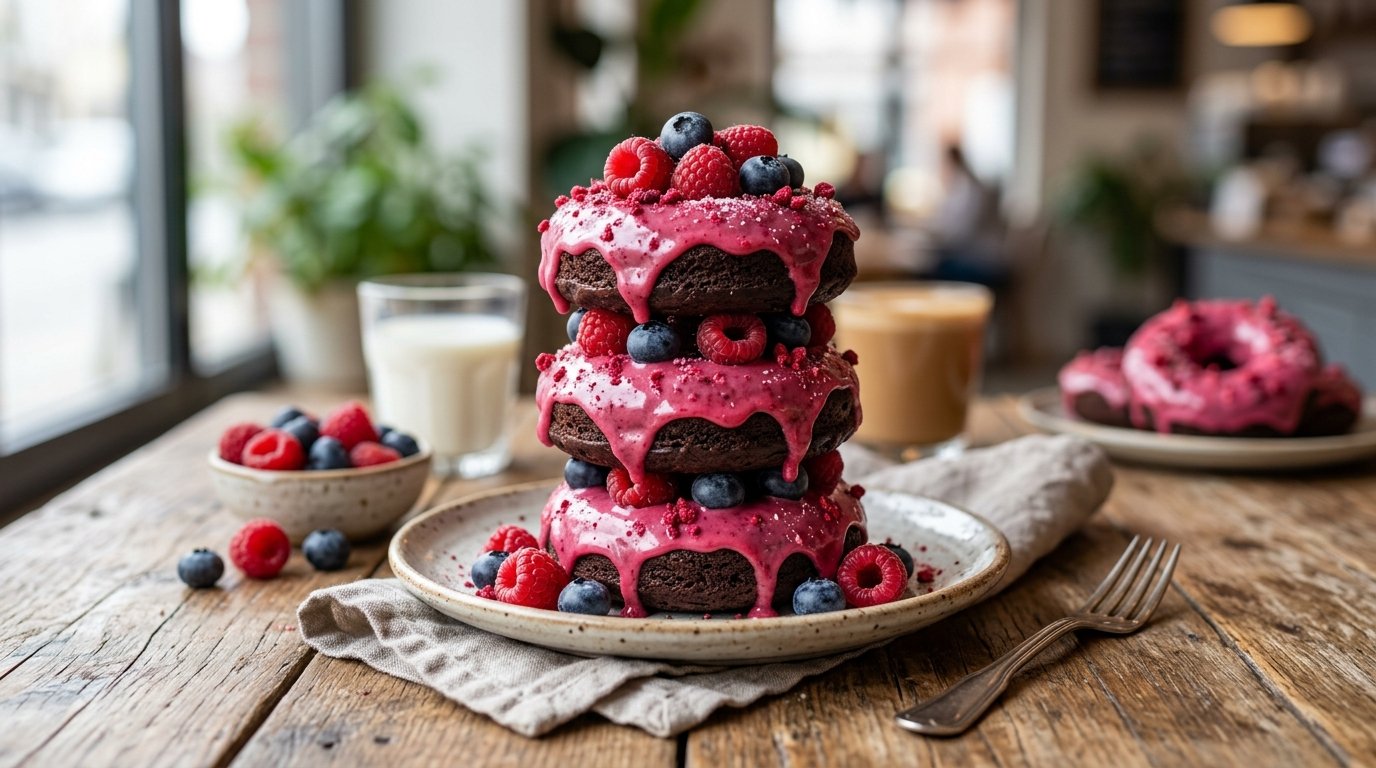
Berry chocolate donuts deliver pure dessert joy with almost no effort. Fresh strawberries, blueberries, blackberries, and raspberries sit inside a glossy milk-chocolate shell, accented with creamy white chocolate. These no-bake chocolate berry rings look bakery-fancy yet come together in under an hour with just a donut pan and melting wafers. The contrast of juicy berries against smooth chocolate makes every bite refreshing and indulgent at the same time. Perfect for summer parties, Valentine’s treats, or anytime you want an impressive dessert without turning on the oven.
Why This Recipe Works
Arranging the berries first creates a colorful, stable base that stays visible through the chocolate. A light drizzle of white chocolate adds visual interest and a creamy counterpoint to the milk chocolate. Pouring the melted milk chocolate over the fruit locks everything in place as it sets. Chilling firms the chocolate into a clean ring shape that releases easily from the pan. The result is a crisp chocolate exterior, bright berry flavor, and elegant presentation that looks far more complicated than it is.
Why You’ll Love This Recipe
Completely no-bake and ready in about an hour
Uses simple melting wafers—no tempering required
Stunning presentation with minimal effort
Customizable with any fresh berries or chocolate type
Perfect make-ahead dessert for gatherings
Naturally gluten-free and easy to adapt for different diets
Ingredient Notes
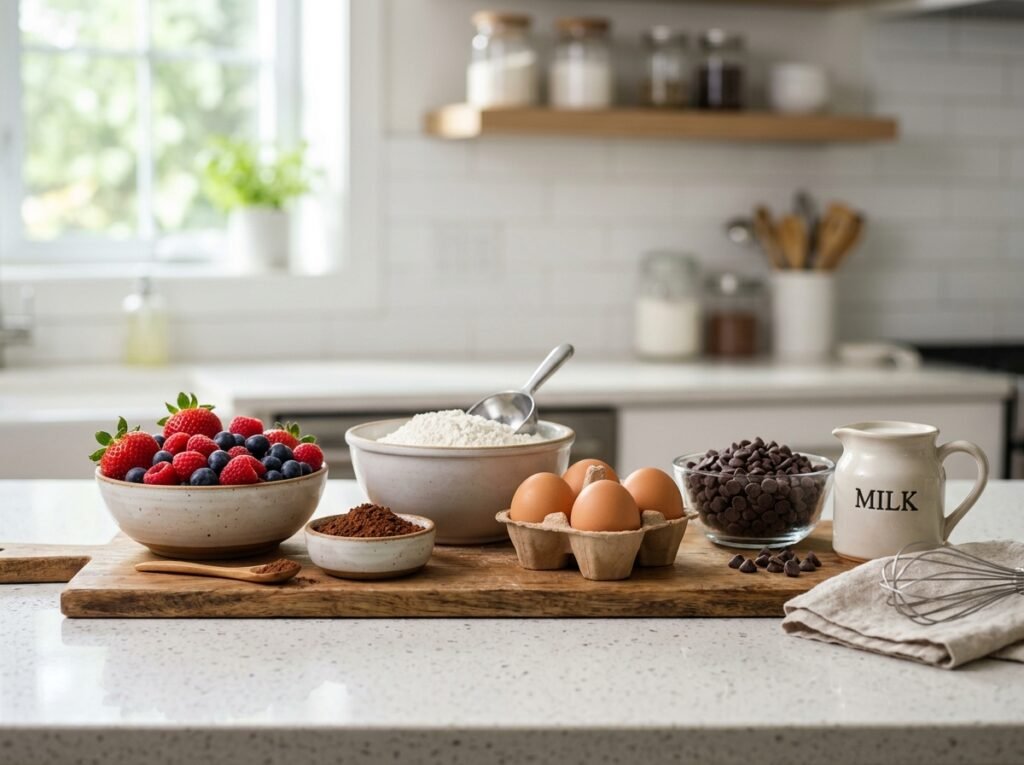
Fresh berries
Strawberries – Provide juicy sweetness and bright color. Hull and cut into small wedges or halves so they fit neatly in the molds.
Blueberries – Add pop of color and mild sweetness. Use firm, dry berries.
Blackberries – Offer tart contrast and dramatic dark color. Choose smaller ones if possible.
Raspberries – Bring delicate texture and vibrant red. Handle gently so they stay whole.
Purpose: Fresh berries give moisture, color, and natural fruit flavor that balances the rich chocolate.
Substitutions: Frozen berries can work if fully thawed and patted very dry, but fresh gives the best texture and appearance. Swap in cherries, diced mango, or kiwi for different flavor profiles.
Buying tips: Choose firm, ripe berries with no soft spots. Wash and dry thoroughly—any water will prevent the chocolate from setting cleanly.
Storage tips: Keep berries refrigerated and use within 1–2 days of purchase for peak flavor.
White chocolate melting wafers Ghirardelli White Vanilla Flavored Melting Wafers melt smoothly and set firm. They create pretty swirls and contrast against the darker chocolate and red berries.
Substitutions: Any good-quality white chocolate melting wafers or chopped white chocolate work. Avoid regular chocolate chips if possible—they often contain stabilizers that make melting less smooth.
Milk chocolate melting wafers Ghirardelli Milk Chocolate Flavored Melting Wafers give a classic sweet chocolate shell that sets glossy and snaps nicely.
Substitutions: Dark chocolate wafers create a more intense, less sweet version. Semi-sweet also works well.
Buying & storage tips: Melting wafers are designed for easy melting and setting. Store in a cool, dry place and keep sealed after opening.
Kitchen Equipment
6-cavity metal donut pan
Small bowls or a divided serving dish for berries
Microwave-safe measuring cup or glass bowl
Piping bag or small spoon for white chocolate
Spatula or spoon for pouring chocolate
Parchment or silicone mat (optional, for extra stability)
Preparation Information
Prep Time: 20 minutes Chill Time: 30–45 minutes Total Time: Approximately 1 hour Servings: 6 donuts
Step-by-Step Instructions
Prepare the Berries and Pan
Wash all berries and pat them completely dry with paper towels. Hull the strawberries and cut them into small wedges or halves. Leave blueberries, blackberries, and raspberries whole. Arrange a mix of berries in a single layer around the center post of each donut cavity, pressing them gently against the sides and bottom so they stay in place.
Why this matters: Dry berries prevent the chocolate from seizing or developing white spots. Arranging them first ensures the fruit stays visible and evenly distributed once the chocolate is poured.
Melt and Drizzle the White Chocolate
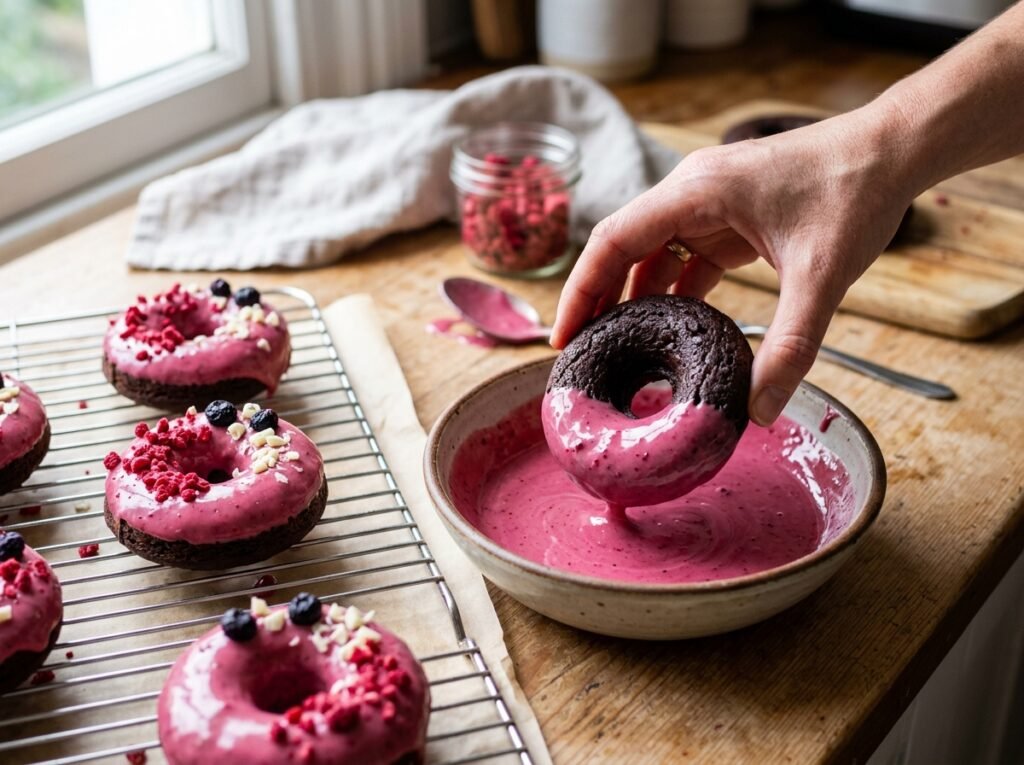
Place white melting wafers in a microwave-safe bowl or measuring cup. Microwave in 20–30 second bursts, stirring between each, until smooth and fully melted. Transfer to a small piping bag (or use a spoon) and drizzle or pipe small amounts of white chocolate over and between the berries in each mold. You do not need to cover the fruit completely—just add decorative accents.
Visual cue: The white chocolate should look glossy and flow easily. If it thickens, warm it a few more seconds.
Melt and Pour the Milk Chocolate
In a clean microwave-safe measuring cup, melt the milk chocolate wafers using the same short bursts and stirring method until completely smooth. Carefully pour the melted milk chocolate over the berries and white chocolate in each cavity, filling nearly to the top. Gently tap the pan on the counter a few times to release any air bubbles and help the chocolate settle around the fruit.
Texture and color cues: The chocolate should pour in a steady stream and look shiny. Overheating can make it dull or thick, so stop heating as soon as it is fluid.
Chill Until Firm
Place the donut pan in the refrigerator for 30–45 minutes, or until the chocolate is completely set and firm to the touch. For faster setting, use the freezer for 15–20 minutes, watching carefully so the berries do not freeze solid.
Doneness cue: The surface should look matte and feel hard when lightly pressed. The donuts should release cleanly when the pan is inverted.
Unmold and Serve
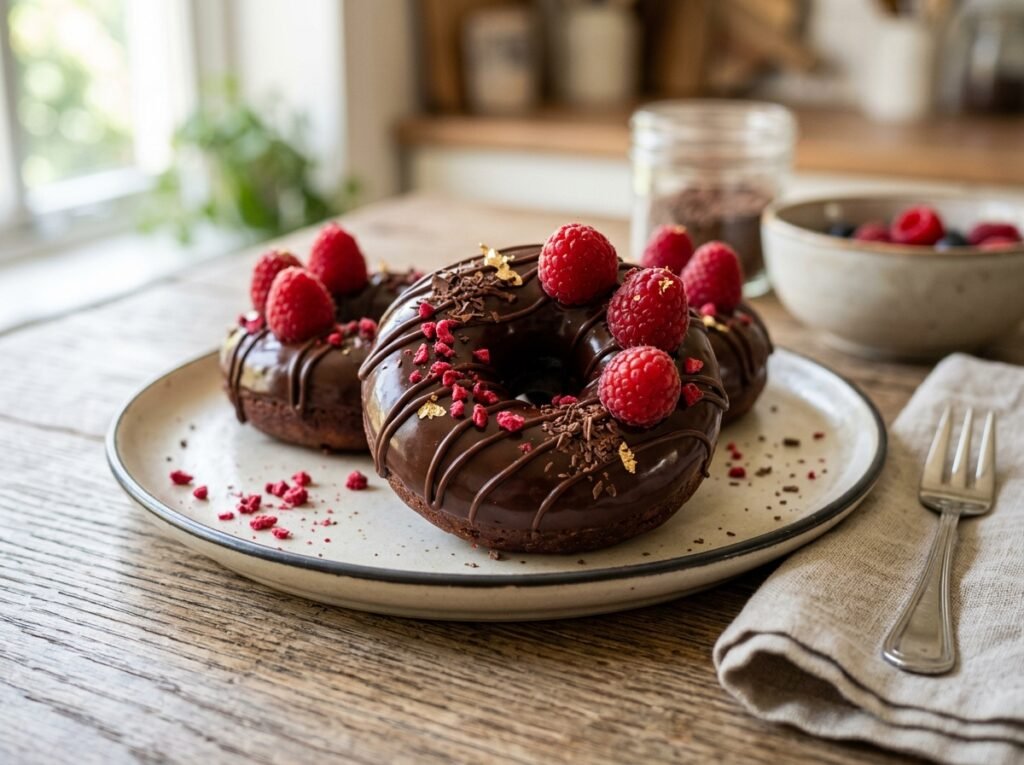
Gently flex the pan or run a thin knife around the outer edge if needed. Invert the pan onto a clean surface or serving board. The berry chocolate donuts should pop out easily, showing the colorful fruit and white chocolate accents through the milk-chocolate shell. Serve immediately or keep chilled until ready to enjoy.
Expert Tips
Thoroughly dry the berries—moisture is the enemy of clean chocolate setting.
Work quickly once the chocolate is melted so it stays fluid.
Fill the molds almost to the top for a sturdy ring that holds its shape.
A light tap on the counter removes air pockets and creates a smoother finish.
For extra shine, make sure the chocolate is fully melted and not overheated.
If the white chocolate firms too fast, rewarm it briefly before piping.
Common Mistakes
Wet berries → chocolate develops streaks or fails to set properly. Always pat dry.
Overheating the chocolate → it becomes thick, dull, or seizes. Use short microwave bursts and stir often.
Underfilling the molds → fragile donuts that break when unmolding. Fill nearly to the rim.
Trying to unmold too soon → chocolate sticks or cracks. Wait until fully firm.
Using regular chocolate chips → uneven melting. Melting wafers are formulated for this technique.
Recipe Variations
Dark chocolate version: Use dark melting wafers for a richer, less sweet shell.
White chocolate base: Reverse the colors—pour white chocolate as the main shell and drizzle milk or dark on top.
Mixed berry only: Use just two or three berry types for a cleaner look.
Tropical twist: Replace berries with diced mango, kiwi, and passion fruit.
Nutty crunch: Sprinkle finely chopped toasted hazelnuts or almonds over the white chocolate before pouring the milk chocolate.
Vegan option: Use dairy-free white and dark chocolate melting wafers.
Mini version: Use a mini donut pan for bite-sized treats (reduce chill time slightly).
What to Serve With This Recipe
These berry chocolate donuts shine on their own but pair beautifully with a dollop of lightly sweetened whipped cream or a scoop of vanilla ice cream. Fresh mint leaves add a bright finish. Serve alongside espresso, cold brew, or a glass of sparkling wine for a simple yet elegant dessert plate. They also look stunning on a dessert board with extra berries and chocolate shards.
Make-Ahead Tips
Assemble the donuts up to 24 hours in advance. Keep them in the refrigerator in an airtight container until serving. The chocolate stays firm and the berries remain fresh when stored cold.
Meal Prep Tips
Prepare the berries and melt the chocolates in stages if needed. The finished donuts hold well in the fridge, making them ideal for parties or weekend dessert prep. Avoid leaving them at room temperature for long periods, especially in warm weather.
Storage Instructions
Store finished berry chocolate donuts in an airtight container in the refrigerator for up to 2 days. For longer storage, freeze in a single layer on a parchment-lined tray until solid, then transfer to a freezer bag for up to 1 month. Thaw in the refrigerator before serving.
Reheating Instructions
These are best enjoyed cold or at cool room temperature. Do not microwave or heat—the chocolate will melt and the berries will soften. If frozen, simply thaw in the refrigerator for 30–60 minutes.
Nutritional Information (approximate per donut)
Calories: 300 Protein: 3 g Carbohydrates: 32 g Fat: 18 g Fiber: 3 g Sugar: 27 g Sodium: 25 mg
Values vary depending on exact chocolate amounts and berry sizes.
Troubleshooting Guide
Chocolate won’t set: Pan or berries were too warm, or chocolate was overheated. Chill longer and ensure everything starts cool.
Donuts stick in the pan: Chocolate not fully set or pan needs a light flex. Chill longer and gently loosen edges.
White chocolate disappears: It was poured too thinly or mixed into the milk chocolate. Pipe it after the berries and before the main chocolate pour.
Berries sink or float unevenly: Press them firmly against the sides of the mold before adding chocolate.
Dull chocolate surface: Chocolate was overheated or moisture was present. Melt gently and keep berries dry.
Frequently Asked Questions
Do I need a special donut pan? A standard 6-cavity metal donut pan works perfectly. Silicone pans also work and may release even more easily.
Can I use regular chocolate instead of melting wafers? Yes, but melting wafers are formulated to set firm and glossy without tempering. If using bars, chop finely and melt carefully.
How long do these keep? They are best within 1–2 days in the refrigerator. Freezing extends storage to about a month.
Can I make them dairy-free? Absolutely. Choose dairy-free white and milk or dark chocolate melting wafers.
Why did my chocolate crack when unmolding? It may have been too cold or the pan was flexed too aggressively. Let it sit at room temperature for a minute or two before releasing.
Can I add other toppings? Yes—edible flowers, gold dust, or a light dusting of freeze-dried berry powder look beautiful once the chocolate is set.
Are these the same as baked donuts? No. These are no-bake chocolate rings with fresh fruit, closer to a chocolate bark or confection than a traditional cake donut.
How do I get clean edges? Fill the molds fully, tap out air bubbles, and chill until completely firm before unmolding.
Final Thoughts
Berry chocolate donuts prove that impressive desserts do not require hours in the kitchen. With fresh fruit, two kinds of melting chocolate, and a simple donut pan, you can create glossy, colorful treats that look like they came from a pastry case. The combination of juicy berries and smooth chocolate is refreshing yet indulgent—perfect for warm days, special occasions, or anytime you want something beautiful with minimal fuss. Give them a try, then share how you customized yours in the comments. I can’t wait to hear which berry combination becomes your favorite.