Quick Recipe Summary
| Detail | Information |
|---|---|
| Prep Time | 2 minutes |
| Cook Time | N/A (Technique Only) |
| Total Time | 2 minutes |
| Servings | 1 whole fish |
| Cuisine | Universal / Culinary Technique |
| Course | Dining Skill / Table Service |
| Difficulty | Easy (Beginner Friendly) |
| Calories | N/A |
Table of Contents
| Section | Heading Level |
|---|---|
| Introduction | H2 |
| Why This Technique Works | H2 |
| Why You’ll Love This Hack | H2 |
| Equipment Notes | H2 |
| Preparation Information | H2 |
| Step-by-Step Instructions | H2 |
| Expert Tips for Success | H2 |
| Common Mistakes to Avoid | H2 |
| What to Serve With Boneless Fillets | H2 |
| Troubleshooting Guide | H2 |
| Frequently Asked Questions | H2 |
| Final Thoughts | H2 |
Introduction
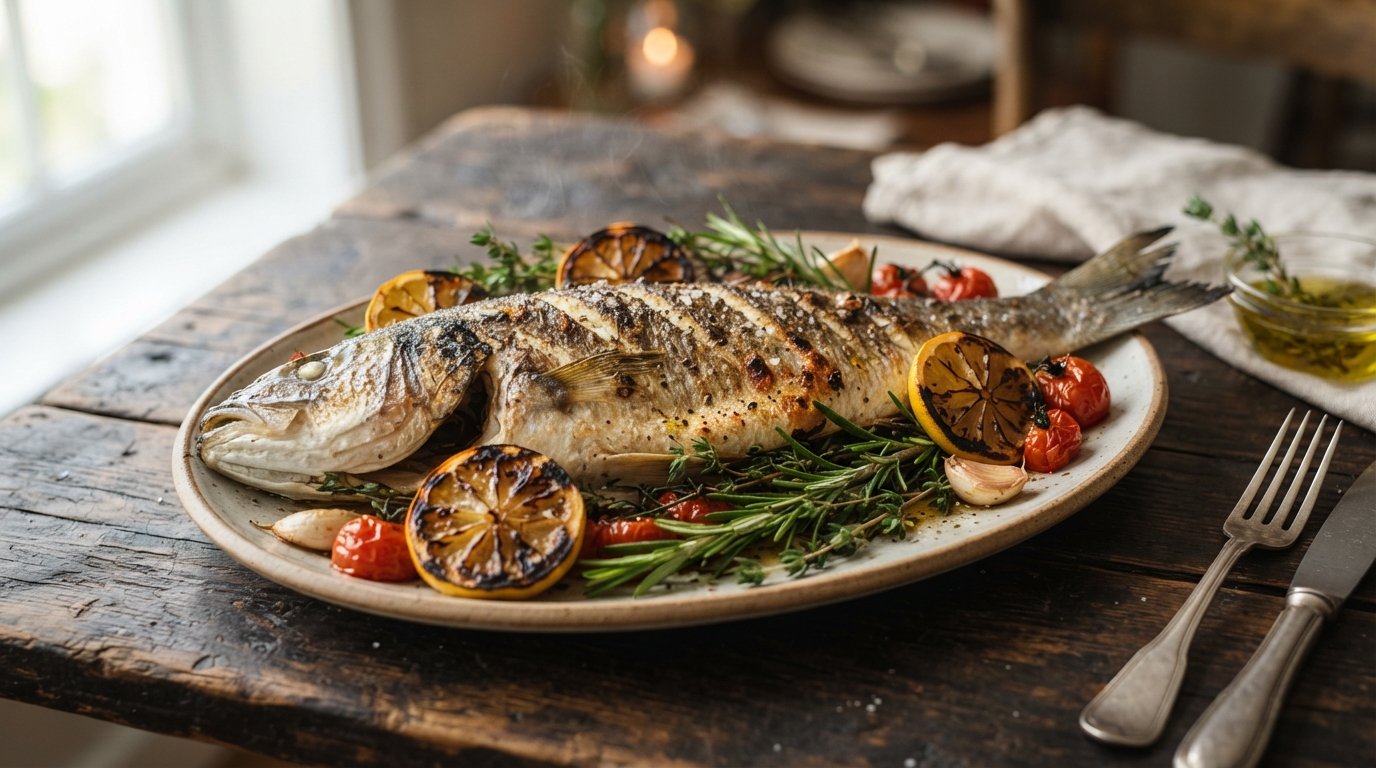
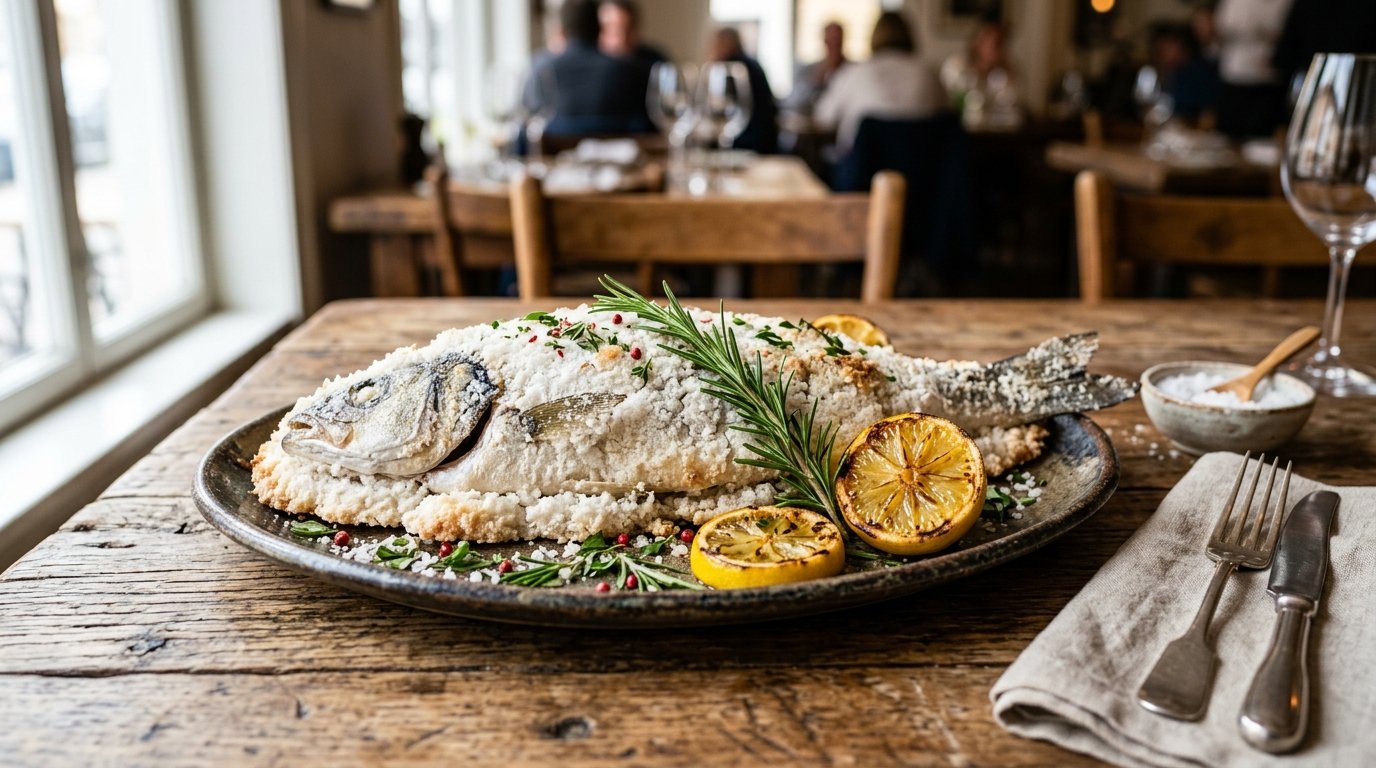
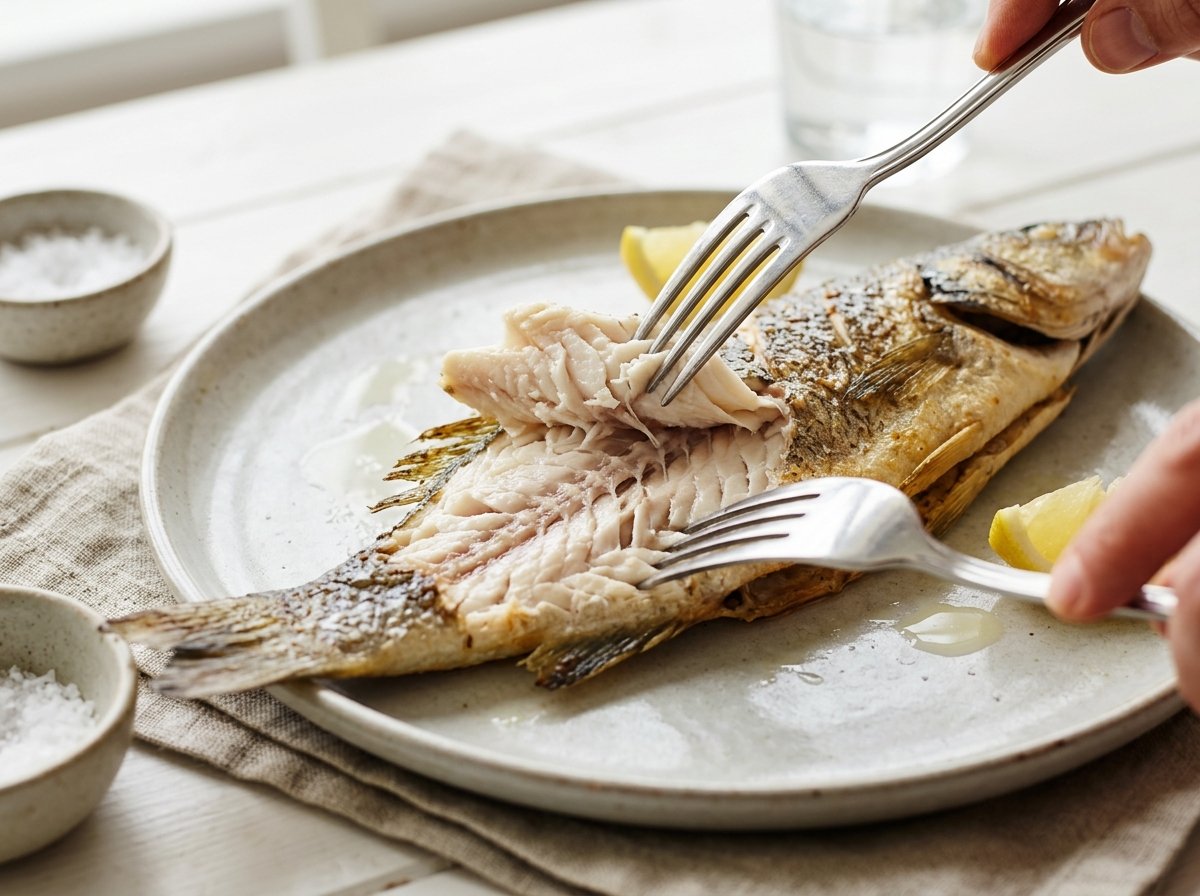
Eating whole fish is one of the great culinary pleasures, offering superior flavor and moisture compared to pre-cut fillets. However, navigating the skeleton at the dinner table can be intimidating and messy for many home cooks. Learning how to debone a whole cooked fish using just a fork transforms this daunting task into a simple, elegant maneuver that takes less than two minutes. This technique allows you to enjoy pristine, boneless fillets right on your plate without needing a knife or specialized tools. Whether you are dining at a restaurant, hosting a seafood feast, or simply want to eat with confidence, mastering this skill ensures you get every bit of delicious meat without the hassle of picking out tiny bones. Let’s dive into the easiest way to unlock the perfect fillet.
Why This Technique Works
The magic behind how to debone a whole cooked fish lies in understanding fish anatomy and heat transfer. When a round fish like sea bass, snapper, or branzino is cooked properly, the connective tissues holding the spine to the flesh soften significantly. The dorsal and ventral spines act as a single structural unit connected by flexible intermuscular bones. By inserting a fork near the head and lifting vertically, you apply leverage precisely where the spine is weakest relative to the flesh. Gravity and the natural separation of cooked muscle fibers do the rest of the work. Unlike raw filleting which requires sharp knives and steady hands, this post-cook method relies on the structural changes caused by heat. The flesh contracts away from the bone during cooking, creating natural planes of separation that the fork simply exploits. This isn’t brute force; it’s physics working in your favor to deliver restaurant-quality presentation at home.
Why You’ll Love This Hack
- No Knife Required: Uses only a standard dinner fork, making it accessible anywhere.
- Instant Boneless Fillets: Transforms a complex whole fish into easy-to-eat portions in seconds.
- Impressive Presentation: Looks professional and elegant when performed at the table.
- Zero Waste: Keeps the skeleton intact for stock while maximizing edible meat yield.
- Confidence Booster: Eliminates the anxiety of choking on bones or making a mess.
- Universal Application: Works on almost any round cooked fish regardless of size.
- Kid-Friendly: Makes fish accessible for children who struggle with bones.
Equipment Notes
Sturdy Dinner Fork
- Purpose: The primary tool for leveraging the spine out of the flesh. Tines must be strong enough to withstand pressure without bending.
- Substitutions: Two forks (one to stabilize, one to lift) if the fish is large. Fish server/spatula can help support the bottom fillet.
- Buying Tips: Choose forged stainless steel over stamped metal; forged tines are thicker and less likely to bend. Avoid decorative forks with thin tines. Standard dinner fork size (7-8 inches) is ideal.
- Storage Tips: No special storage needed. Ensure tines are straight before use; bent tines reduce effectiveness.
Serving Plate
- Purpose: Provides stable surface for the maneuver. Needs enough space around the fish for bone removal.
- Substitutions: Cutting board (less elegant but functional). Large platter for bigger fish.
- Buying Tips: Oval plates accommodate whole fish better than round ones. Rimmed plates prevent juices/bones from sliding off. White plates show contrast for visual clarity.
- Storage Tips: Standard dishware care. Ensure plate is clean and dry before serving.
Preparation Information
- Prep Time: 2 minutes
- Cook Time: N/A (Fish must be fully cooked first)
- Total Time: 2 minutes
- Servings: 1 whole fish (yields 2 fillets)
Step-by-Step Instructions
H3: Position the Fish Correctly
Place the cooked whole fish on a stable plate with the head facing left (if right-handed) or right (if left-handed). Ensure the fish is lying flat and not tilted. Why it matters: Proper orientation aligns the spine parallel to your dominant hand’s pulling motion. Tilting causes the spine to snag on flesh or break unevenly. Stability prevents the plate from sliding during leverage application. Visual cue: Fish belly faces you; backbone runs horizontally across plate. Head and tail aligned straight. Texture cue: Fish should feel firm, not mushy. If falling apart, it may be overcooked; proceed gently. Common mistake: Starting with fish perpendicular to your body; this makes vertical lifting awkward and ineffective. Professional tip: If fish has skin, ensure it’s intact on top side; skin helps hold upper fillet together during lift.
H3: Insert Fork at the Head End
Slide a sturdy fork under the fish near the head, positioning tines directly against the spine just behind the gill cover. Angle fork slightly upward toward the backbone. Why it matters: The area behind the head is where the spine is most accessible and least embedded in thick muscle. Inserting here creates the initial separation point. Upward angle targets the spine specifically rather than scooping flesh. Visual cue: Fork tines visible just beneath skin/flesh at neck area. Spine location identifiable as slight ridge under surface. Texture cue: Gentle resistance indicates contact with bone; spongy feel means you’re in muscle—reposition. Critical tip: Don’t pierce through top skin; slide underneath to preserve presentation. Use fork edge to gently separate skin from spine if needed.
H4: Lift the Spine Vertically
Apply firm, steady upward pressure with the fork while simultaneously using your other hand (or second fork) to gently hold the tail end down. Lift the spine straight up toward the ceiling in one smooth motion. Why it matters: Vertical lift follows the natural curvature of the rib cage. Horizontal pulling tears flesh; vertical lifting separates along connective tissue planes. Holding the tail anchors the lower fillet preventing it from lifting with the spine. Visual cue: Spine rises cleanly with rib bones attached; flesh remains on plate. Separation line visible between spine and fillets. Aroma cue: Fresh ocean scent intensifies as interior exposed; no burnt/off odors. Doneness test: If spine resists or breaks, fish may be undercooked or overcooked. Properly cooked fish yields smoothly. Rest: Allow lifted spine to rest on plate edge; don’t discard yet (useful for stock).
H5: Remove Remaining Bones (If Any)
Inspect both fillets for any remaining pin bones or stray ribs. Use fork tines to gently lift and remove any visible bones. Flip lower fillet if needed to check underside. Why it matters: Some small intermuscular bones may remain attached to flesh despite successful spine removal. Checking ensures completely boneless eating experience. Flipping reveals bones hidden against plate surface. Visual cue: Fillets appear smooth and uniform; no protruding white bone fragments. Texture cue: Run fork lightly over surface; bumps indicate hidden bones. Smooth glide = clear. Professional tip: Pin bones run diagonally; pull them out in direction they point to avoid tearing flesh. Tweezers work better than fork for tiny bones if available.
Expert Tips for Success
- Cook Fish Just Right: Overcooked fish falls apart; undercooked fish won’t release from bone. Target internal temp of 135-140°F (57-60°C). Flesh should flake easily but hold shape. This technique depends entirely on proper doneness.
- Let Fish Rest Briefly: Allow cooked fish to rest 2-3 minutes before deboning. This lets proteins relax slightly, making separation cleaner. Immediate deboning while piping hot can cause flesh to shred.
- Use Two Forks for Large Fish: For fish over 2 lbs, use one fork to lift spine and another to stabilize tail/lower fillet. Single fork lacks leverage for bigger specimens. Dual-fork method provides control and prevents mishaps.
- Skin-Side Up First: Always start with skin facing up. Skin acts as protective layer keeping upper fillet intact during spine removal. Skin-side down increases risk of fillet breaking apart.
- Work Confidently: Hesitation causes jerky movements that tear flesh. Commit to smooth, decisive motion once fork is positioned. Confidence comes from understanding the anatomy; trust the process.
- Save the Skeleton: Don’t discard the lifted spine immediately. It’s gold for making quick fish stock. Simmer with aromatics for 20-30 minutes for flavorful base for soups/sauces.
Common Mistakes to Avoid
Mistake: Spine Breaks During Lift

- Why: Fish undercooked (connective tissue too strong), wrong insertion point, or jerky motion.
- Prevention: Verify doneness before attempting. Insert fork precisely behind head. Use smooth vertical lift. If spine breaks, remove larger section first, then extract remaining piece separately.
- Fix: Use fork/tweezers to remove broken spine segments individually. Messier but still effective. Next time, ensure proper cooking temperature.
Mistake: Fillet Tears Apart
- Why: Fish overcooked (flesh too fragile), lifting too fast, or not anchoring tail.
- Prevention: Cook to exact temperature. Lift slowly and steadily. Always anchor tail with hand/second fork. Handle gently throughout.
- Fix: Gather torn pieces; still edible. Serve with sauce to mask appearance. Next time, reduce cook time and handle with more care.
Mistake: Can’t Find the Spine
- Why: Unfamiliarity with fish anatomy, poor lighting, or fish positioned incorrectly.
- Prevention: Locate spine visually before starting; it’s the central ridge running head-to-tail. Feel for it with fork tip if unsure. Ensure good lighting.
- Fix: Make small incision with fork tip to expose spine, then proceed. Take time to identify structure before lifting. Practice improves recognition.
Mistake: Bones Remain in Fillet
- Why: Incomplete lift, missed pin bones, or rushed inspection.
- Prevention: Lift spine completely in one motion. Inspect fillets thoroughly after removal. Check both sides. Use tweezers for stubborn pin bones.
- Fix: Remove remaining bones individually before eating. Better safe than sorry. Next time, take extra inspection time.
What to Serve With Boneless Fillets
Side Dishes
- Lemon Herb Rice: Bright citrus echoes fish flavors; fluffy grains provide neutral base. Parsley/dill complement seafood perfectly.
- Roasted Asparagus: Crisp-tender spears add color and texture contrast. Simple olive oil/garlic preparation doesn’t compete.
- Garlic Sautéed Spinach: Quick wilted greens add nutrition and earthiness. Garlic bridges fish and vegetable flavors seamlessly.
- Crusty Bread: Essential for soaking up pan juices and sauces. Warm bread enhances overall dining experience.
Salads
- Fennel Orange Salad: Shaved fennel + citrus segments provide refreshing crunch. Anise notes pair beautifully with delicate fish.
- Arugula Lemon Vinaigrette: Peppery greens cut richness; acidic dressing cleanses palate. Light salad balances hearty protein.
- Cucumber Tomato Salad: Cool, crisp vegetables offer textural relief. Simple seasoning lets fish shine as star.
Sauces
- Beurre Blanc: Classic French butter sauce adds luxury without overwhelming. Wine/vinegar acidity balances richness perfectly.
- Lemon Caper Sauce: Bright, briny condiment enhances fish naturally. Capers add pops of salty flavor.
- Chimichurri: Fresh herb sauce brings vibrant green color and bold flavor. Parsley/cilantro/garlic/oil/vinegar create complex profile.
- Tartar Sauce: Creamy, tangy dip complements mild fish. Traditional pairing that never fails.
Drinks
- Sauvignon Blanc: Crisp white wine with citrus/mineral notes mirrors fish delicacy. Acidity cuts through any richness.
- Sparkling Water with Lime: Effervescent refreshment cleanses palate between bites. Lime echoes lemon preparations.
- Light Lager: Clean, crisp beer complements without dominating. Carbonation refreshes effectively.
- Iced Green Tea: Subtle tannins and vegetal notes enhance seafood. Unsweetened version maintains balance.
Desserts
- Lemon Sorbet: Bright, icy finish resets palate after savory meal. Cleansing effect prepares for coffee/digestif.
- Fresh Fruit Platter: Seasonal berries/melon provide natural sweetness. Light ending after delicate fish course.
- Panna Cotta: Silky vanilla custard offers gentle, creamy conclusion. Not heavy; complements refined meal.
Troubleshooting Guide
Problem: Fish Falls Apart Before Deboning
- Cause: Severely overcooked; proteins degraded beyond structural integrity.
- Solution: Accept reality; serve as “deconstructed” fillets. Pick out bones manually. Next time, reduce cook time by 2-3 minutes. Use thermometer religiously.
Problem: Spine Won’t Budge

- Cause: Undercooked fish; connective tissues haven’t softened sufficiently.
- Solution: Return fish to heat source briefly (oven/pan) for 2-3 minutes. Test again. Never force it; you’ll destroy the fillet. Patience prevents waste.
Problem: Skin Sticks to Spine Instead of Fillet
- Cause: Skin not scored before cooking, or fish stuck to pan during cooking.
- Solution: Gently separate skin from spine with fork; it may come off with spine. Still edible. Next time, score skin before cooking and ensure proper pan lubrication.
Problem: Small Bones Hard to See
- Cause: Poor lighting, dark plate, or inexperience.
- Solution: Transfer fillets to white plate under bright light. Run finger lightly over surface to feel bumps. Use tweezers for extraction. Safety first; thorough inspection mandatory.
Frequently Asked Questions
Does this work on all types of fish?
Works best on round fish with central spine: sea bass, snapper, branzino, trout, salmon. Flatfish (sole, flounder) have different bone structure requiring modified technique. Very large fish (>5 lbs) may need knife assistance. Experiment with smaller fish first to build confidence.
What if I don’t have a sturdy fork?
Use two regular forks: one to lift spine, one to stabilize tail. Alternatively, use fish spatula/server for lifting. Avoid plastic forks; they’ll bend/break. Metal utensils essential for leverage. Invest in quality dinner forks for this technique.
Can I do this before cooking?
No. Raw fish connective tissues are too strong; spine won’t release cleanly. This technique relies on heat-softened proteins. Raw deboning requires knife skills and different approach. Save this hack for post-cook service only.
Is it safe to eat fish prepared this way?
Absolutely. The technique removes all major bones. Always inspect fillets for pin bones before serving, especially for children/elderly. Properly cooked fish at correct temperature is safe. This method actually improves safety by eliminating bone hazards.
Why does my fish stick to the plate?
Fish may have been cooked on ungreased surface or skin adhered during cooking. Use parchment paper or well-oiled pan. If stuck, gently loosen with thin spatula before deboning. Prevention better than cure; proper cooking surface essential.
Can I save the skeleton for stock?
Yes! The lifted spine is perfect for quick fish stock. Simmer with onion, carrot, celery, herbs, water for 20-30 minutes. Strain; use as base for soups, risottos, sauces. Freezes well for future use. Zero-waste bonus from this technique.
What temperature should fish be for this to work?
Ideal internal temperature: 135-140°F (57-60°C). At this range, flesh flakes easily but holds structure. Below 130°F = too firm; above 145°F = too fragile. Use instant-read thermometer for precision. Visual cues: opaque flesh, flakes with gentle pressure.
Can kids learn this technique?
Yes, with supervision. Start with smaller fish and demonstrate slowly. Emphasize gentle motions and safety. Great way to teach anatomy and table manners. Builds confidence with seafood early. Many children master it quickly with practice.
Final Thoughts
Mastering how to debone a whole cooked fish with a fork is more than just a party trick—it’s a gateway to enjoying seafood with confidence and elegance. This simple technique transforms what many consider an intimidating dining experience into something accessible and enjoyable for everyone. Whether you’re impressing dinner guests, feeding picky eaters, or simply treating yourself to a restaurant-quality meal at home, this skill pays dividends every time. Remember that practice makes perfect; don’t be discouraged if your first attempt isn’t flawless.