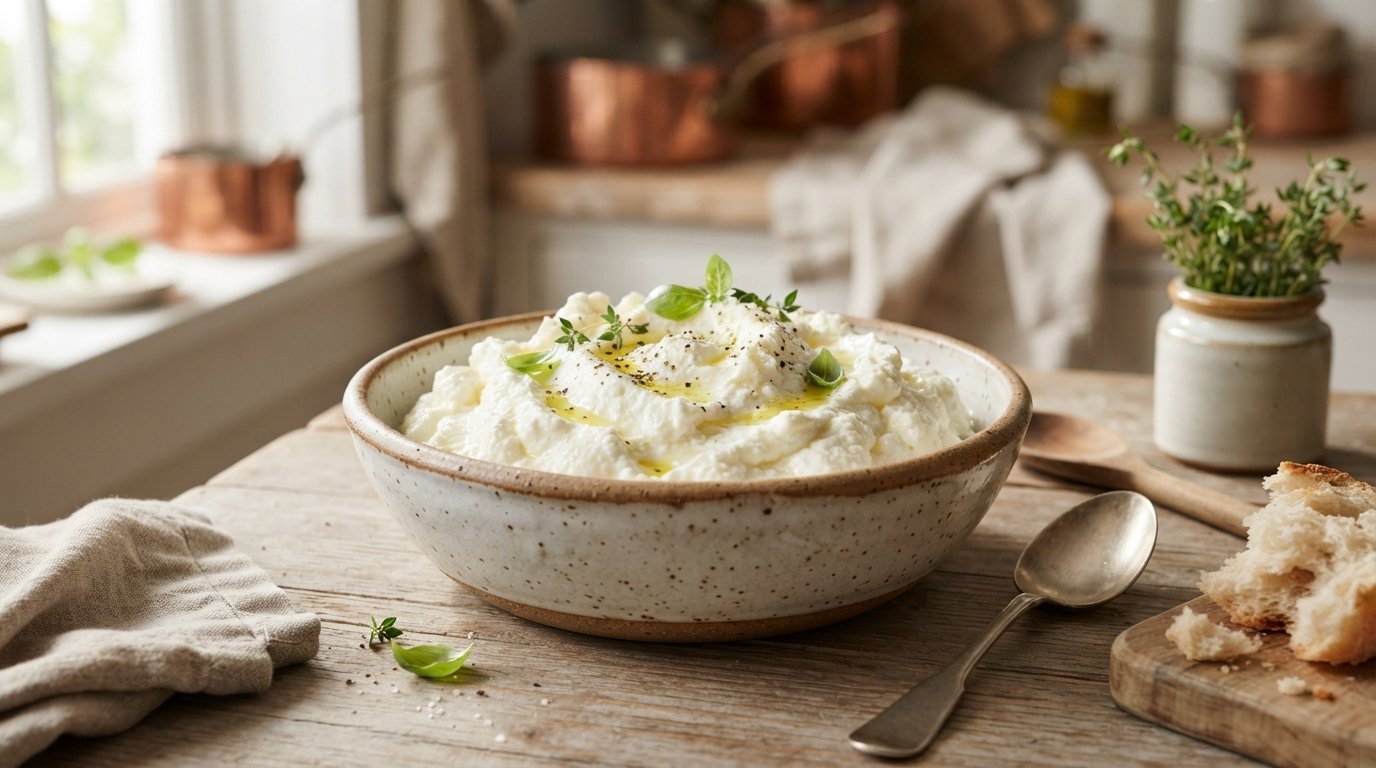
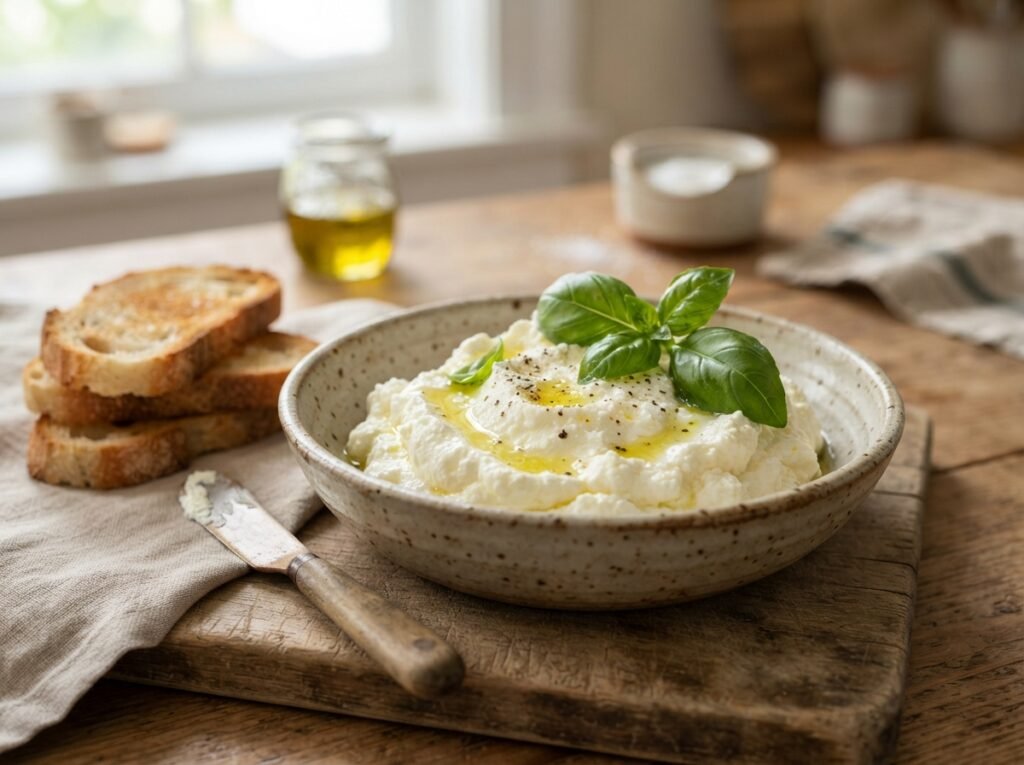
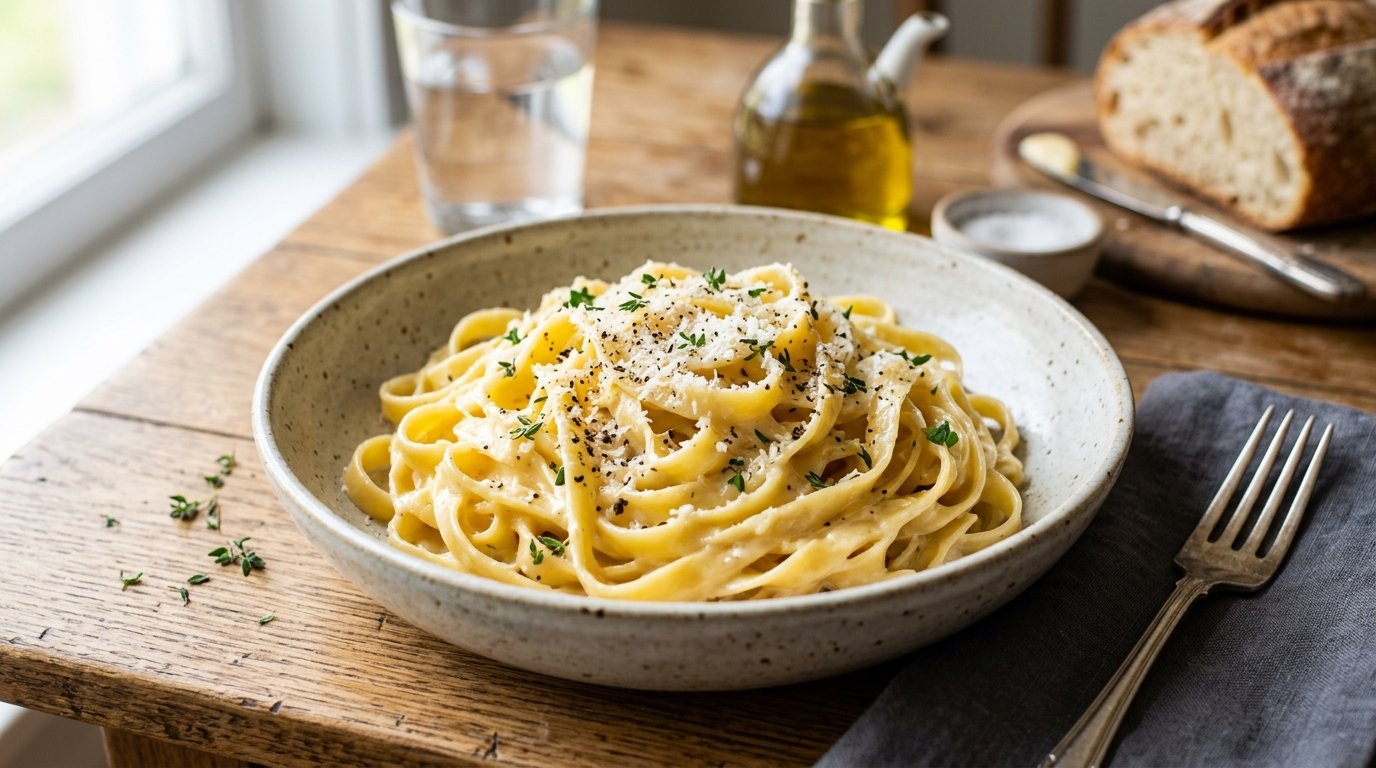
There is something deeply satisfying about making your own cheese at home. Fresh ricotta needs only milk, lime, and salt, yet the result tastes brighter and creamier than anything from the store. The soft curds form in minutes, and the finished cheese carries a clean, mild tang that elevates everything from toast to pasta. Once you try this simple method, store-bought will feel like a compromise.
This homemade ricotta delivers restaurant-quality results with almost no effort.
Ready in under thirty minutes start to finish
Uses only three everyday ingredients you already have
Far fresher and creamier than any packaged version
Versatile for both sweet and savory dishes
Ingredients
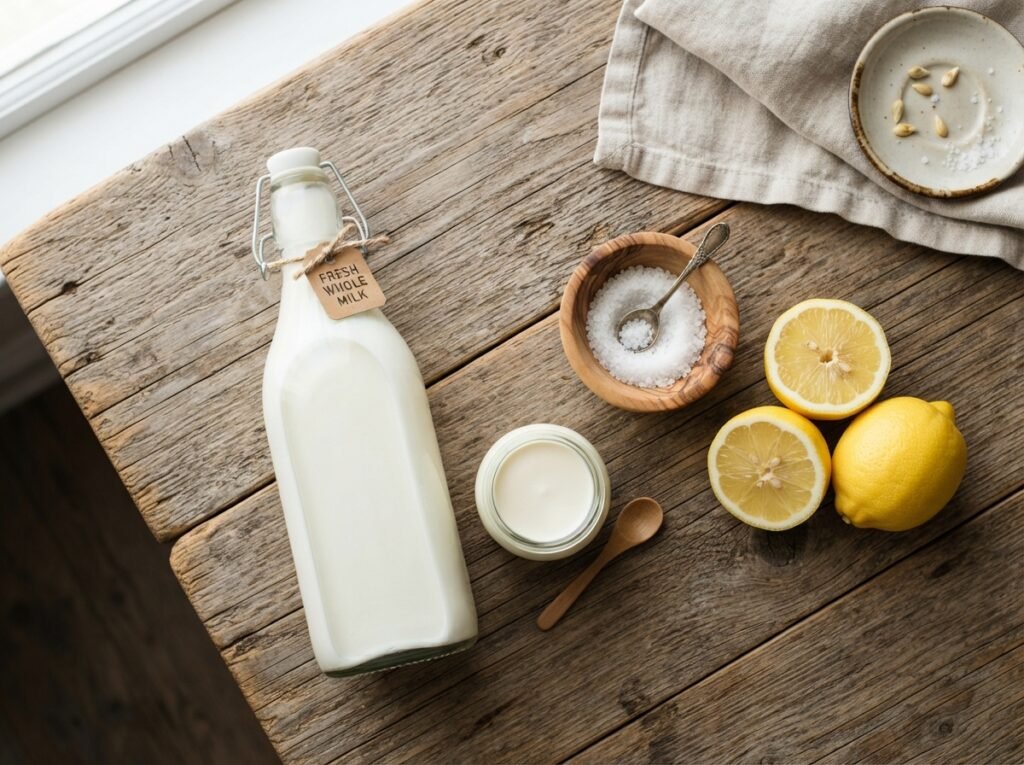
You only need a few pantry staples to create soft, creamy homemade ricotta.
8 cups whole milk
1/4 cup fresh lime juice
1 tsp kosher salt
Whole milk gives the best yield and texture, but you can swap in 2% if needed. Lemon juice or white vinegar work in place of lime for a slightly different tang. Avoid ultra-pasteurized milk, as it may not curdle properly.
Follow these straightforward steps and you will have fresh ricotta ready to enjoy.
Step 1: Heat the milk
Pour the whole milk into a heavy-bottomed saucepan and set it over medium heat. Stir occasionally until the milk reaches a gentle simmer, about 185°F, without letting it boil hard.
Step 2: Add the lime juice
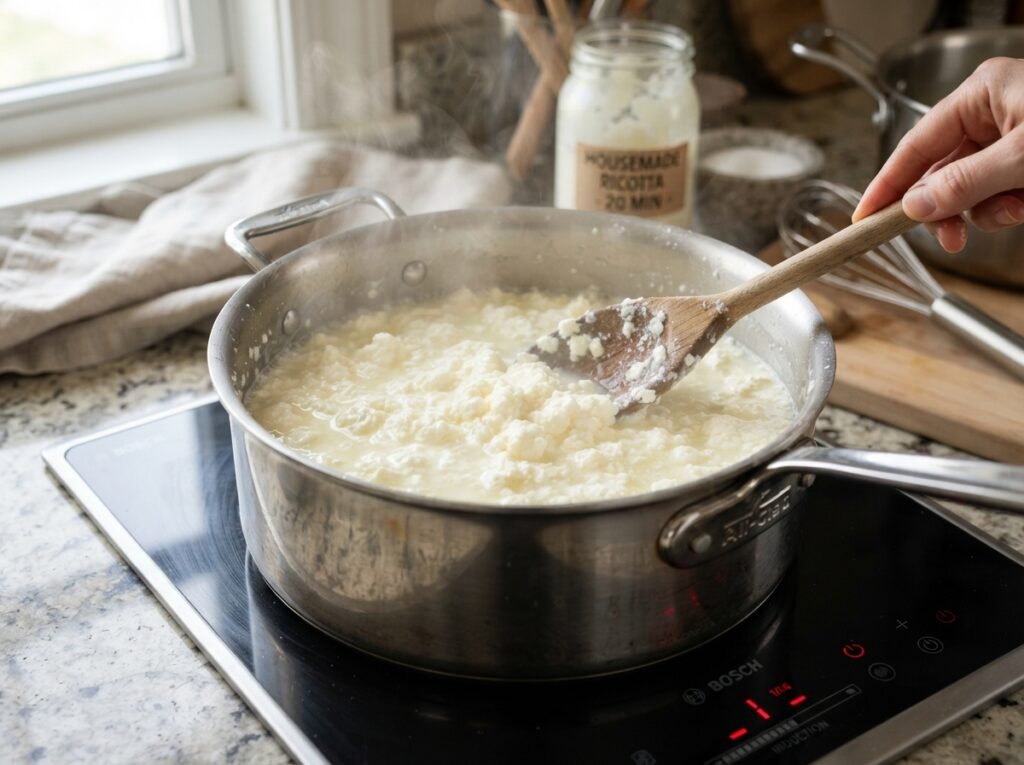
Remove the pan from the heat and slowly stir in the fresh lime juice. Within seconds the milk will begin to separate into soft white curds and pale yellow whey.
Step 3: Season with salt
Sprinkle the kosher salt over the curds and give the mixture one gentle stir. The salt enhances the mild flavor and helps the curds firm slightly as they rest.
Step 4: Let the curds form
Allow the pot to sit undisturbed for five to eight minutes. During this time the curds will fully separate and float to the top of the whey.
Step 5: Strain the mixture
Line a fine-mesh strainer with a double layer of cheesecloth and set it over a large bowl. Carefully pour the entire contents of the pot into the lined strainer.
Step 6: Drain excess whey
Gather the corners of the cheesecloth and gently squeeze to release more liquid. Continue until the ricotta reaches your preferred consistency, from soft and creamy to slightly firmer.
Step 7: Transfer and cool
Open the cheesecloth and spoon the fresh ricotta into a clean bowl. Let it cool to room temperature for about ten minutes before using or refrigerating.
Step 8: Serve or store
Taste and adjust salt if desired, then serve immediately or cover and chill. The ricotta keeps its delicate texture best when used within a few days.
Tips & common mistakes
A few small adjustments make the difference between good and great ricotta.
Never boil the milk hard or the curds turn tough
Stir only once after adding the acid to keep curds tender
Squeeze gently so the cheese stays soft and moist
Save the whey for bread dough or smoothies later
Easy Homemade Ricotta Cheese
Soft, creamy homemade ricotta made with whole milk, fresh lime juice, and salt. Ready in under 30 minutes and far fresher than store-bought.
Pour milk into a heavy-bottomed saucepan and heat over medium until it reaches a gentle simmer (about 185°F).
Remove from heat and stir in the lime juice. Curds will begin to form immediately.
Sprinkle in the salt and stir once gently.
Let the mixture sit undisturbed for 5–8 minutes so the curds fully separate.
Line a fine-mesh strainer with double-layered cheesecloth and set it over a large bowl.
Pour the curds and whey into the strainer.
Gather the cheesecloth and gently squeeze out excess whey until the ricotta reaches desired consistency.
Transfer the ricotta to a clean bowl and cool to room temperature before serving or storing.
Notes
Store in an airtight container in the refrigerator for up to 4 days. Whey can be saved for baking or smoothies. For richer texture, stir in 2–3 tablespoons heavy cream after draining. Best used within 2 days for optimal freshness and flavor.
Recipe variations
Once you master the basic method, try these easy twists for different flavors.
Stir in a spoonful of heavy cream for richer texture
Add lemon zest and a pinch of sugar for dessert use
Mix in chopped fresh herbs for a savory cheese spread
Use vinegar instead of lime for a sharper, classic taste
What to serve with this recipe
Fresh ricotta shines when paired with simple, complementary flavors.
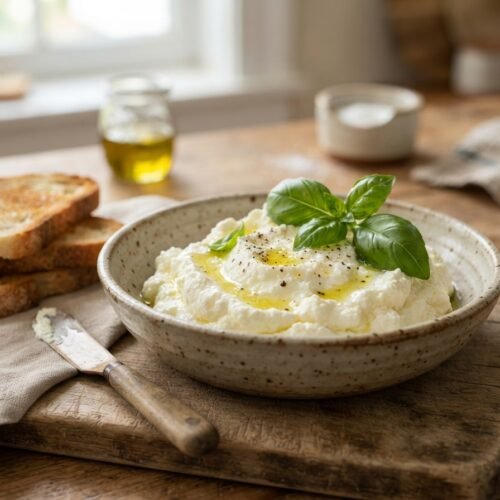
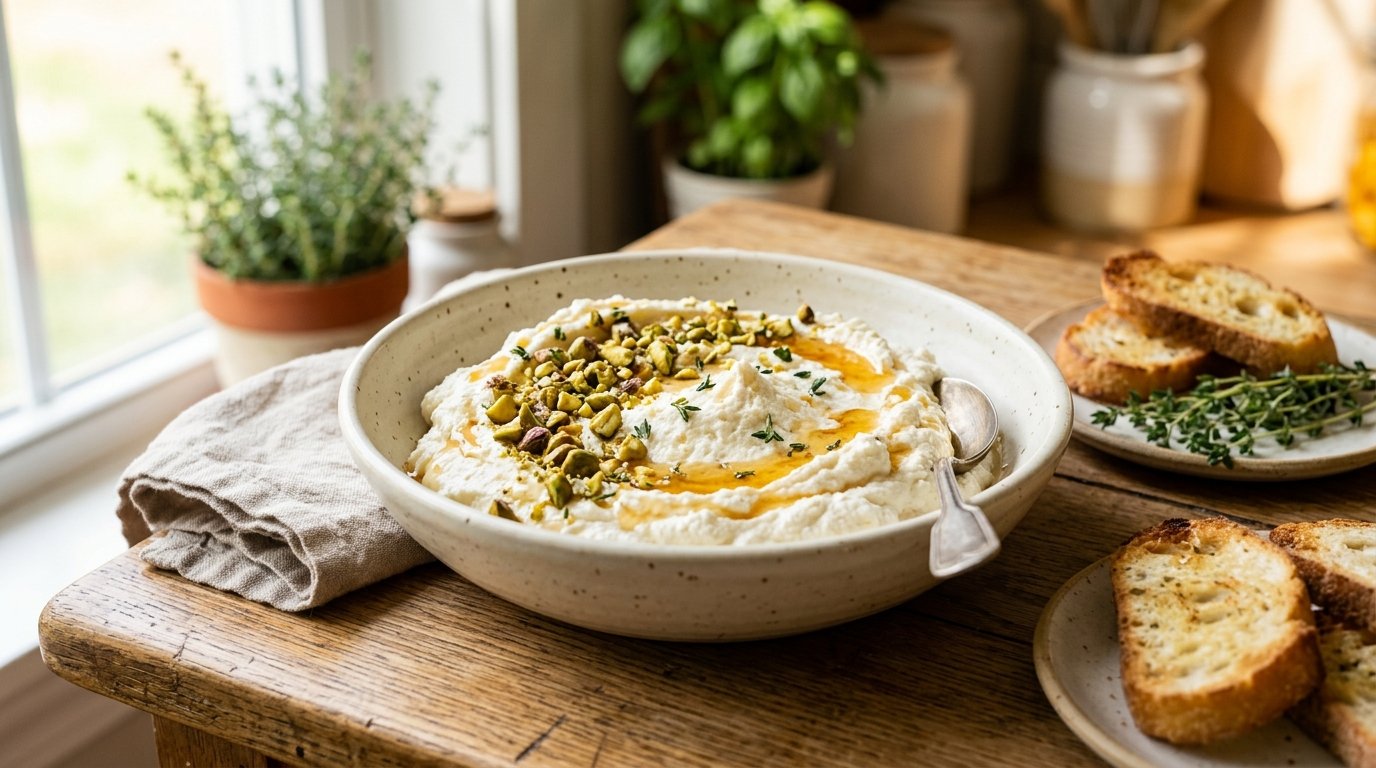
Drizzle with honey and cracked black pepper on toast
Spoon over warm pasta with roasted tomatoes and basil
Spread on crostini topped with figs and balsamic glaze
Serve alongside fresh berries and a light sprinkle of sugar
Here are answers to the questions home cooks ask most often about this recipe.
Can I use lemon juice instead of lime?
Yes, fresh lemon juice works perfectly and gives a slightly brighter, classic ricotta flavor. Use the same amount as the lime juice listed.
Why didn’t my milk curdle properly?
The most common reason is ultra-pasteurized milk, which resists separation. Always choose regular pasteurized whole milk for reliable results every time.
How long does homemade ricotta last?
Stored in an airtight container in the refrigerator, it stays fresh for three to four days. The flavor is best within the first two days.
Can I freeze homemade ricotta?
Freezing is possible but changes the texture, making it grainier after thawing. It works best in cooked dishes rather than fresh applications.
Final thoughts
Homemade ricotta is one of those kitchen projects that feels impressive yet stays completely approachable. With just milk, lime, and salt you create something soft, mild, and endlessly useful. Give it a try the next time you need a quick cheese for toast, pasta, or dessert, and let me know how it turns out. Leave a five-star rating and a comment below if this simple method becomes a new favorite in your kitchen.