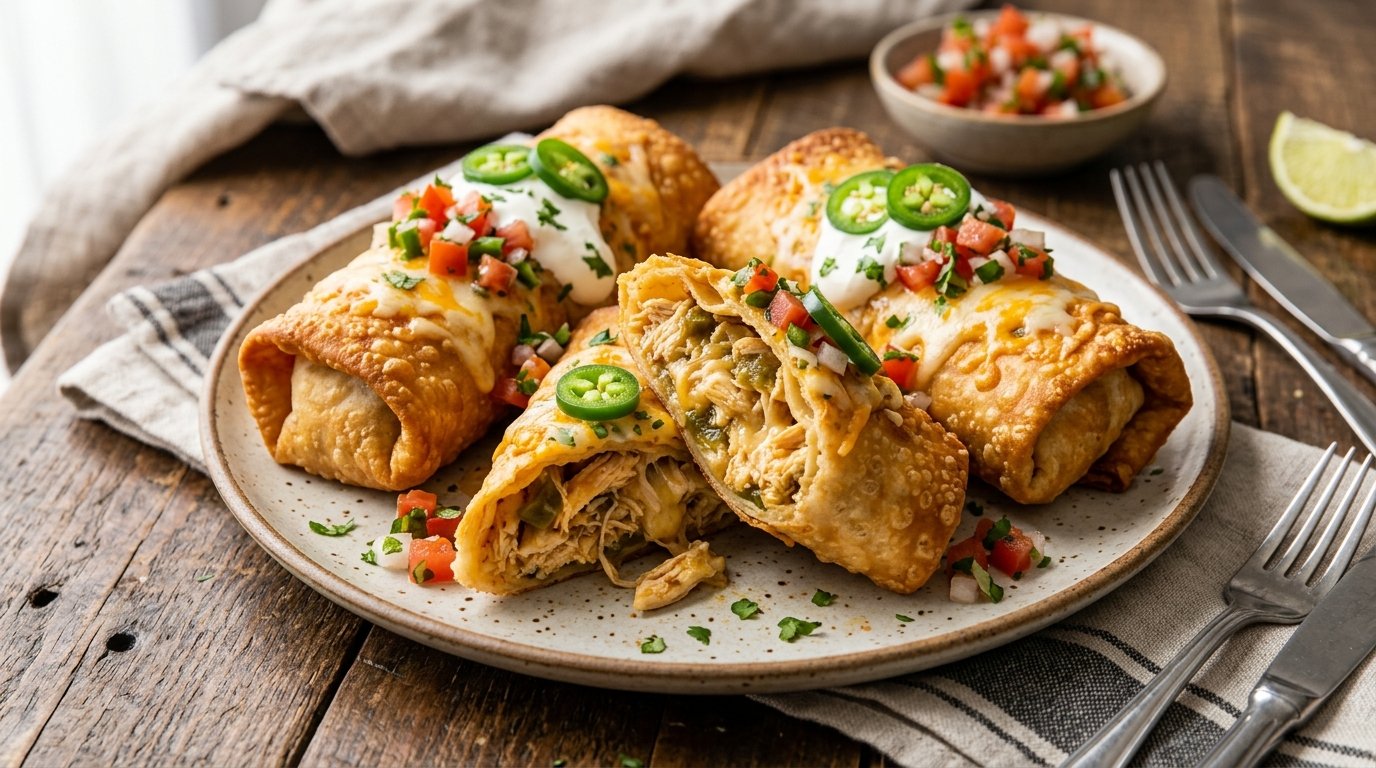
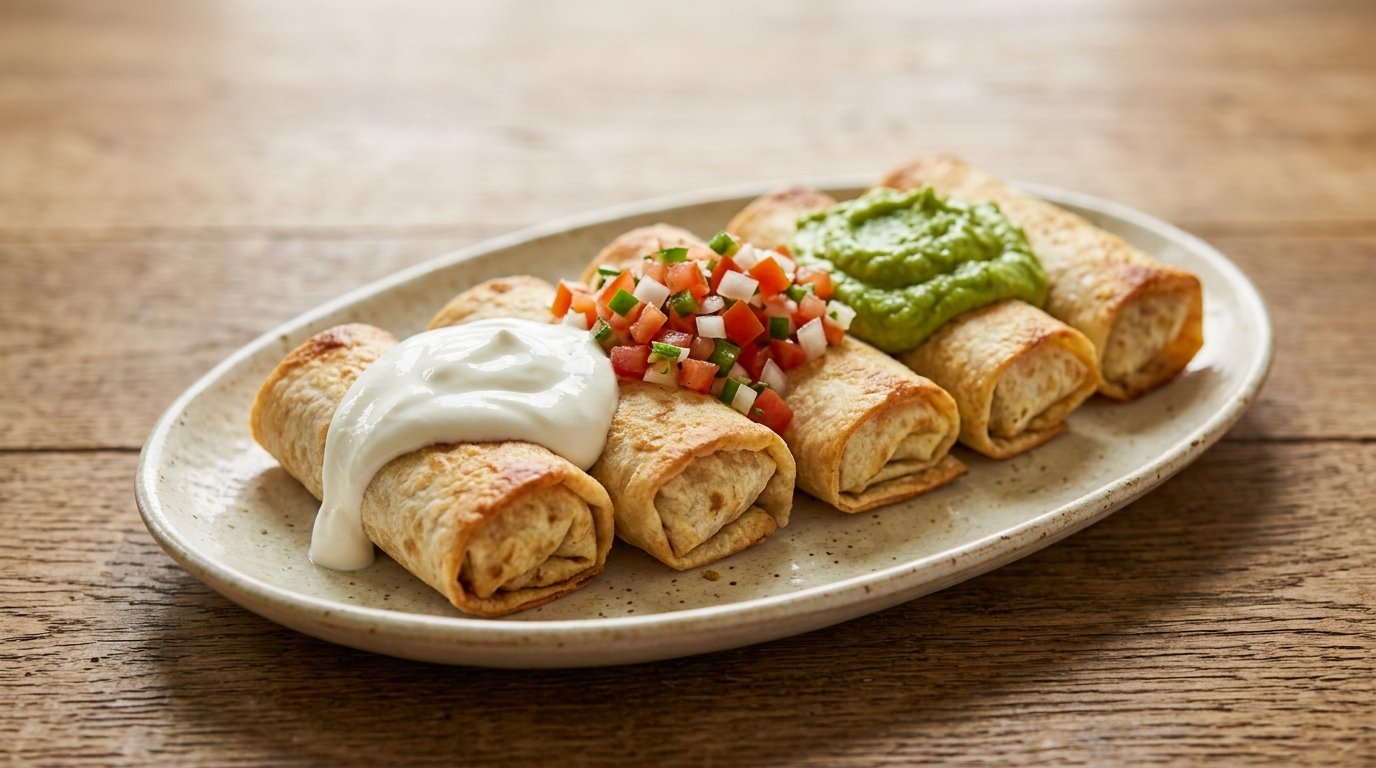
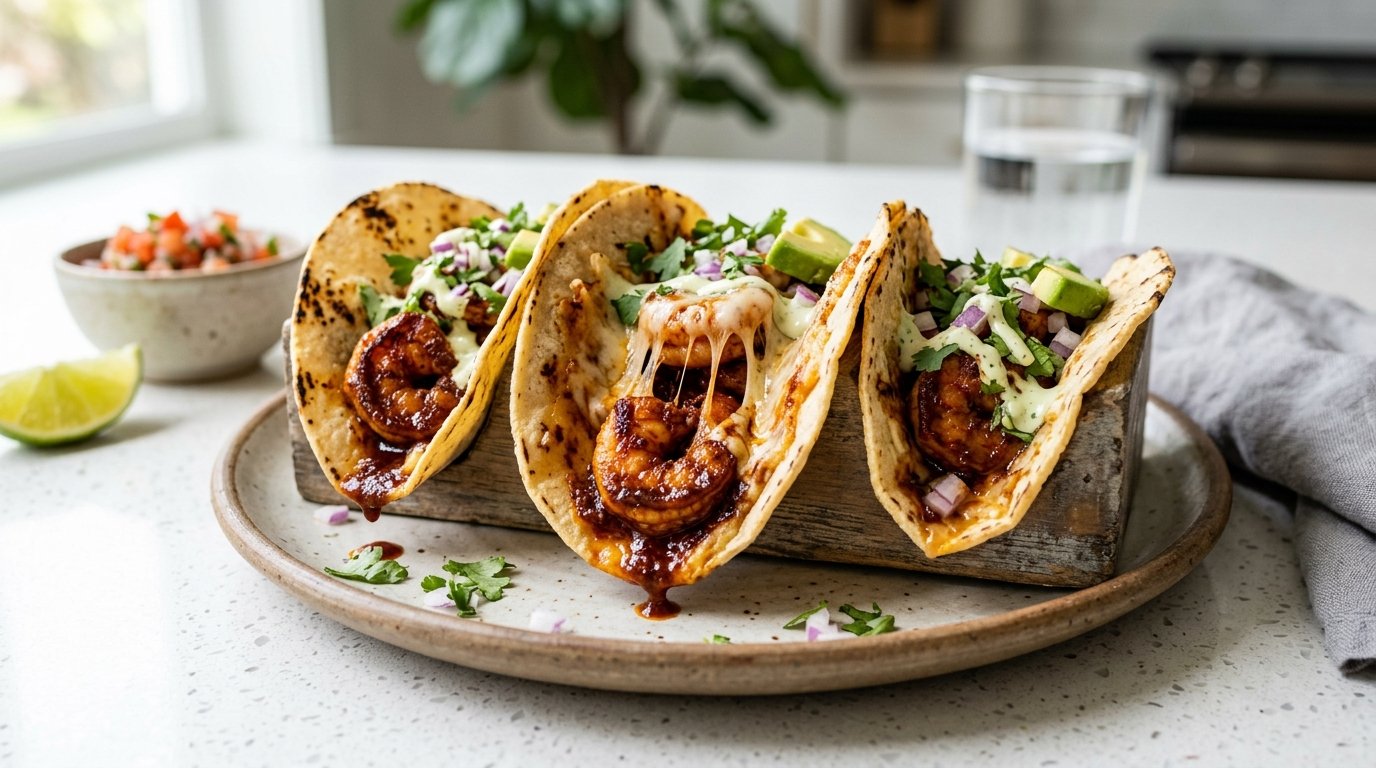
There is a specific moment in cooking that defines success: the “cheese pull.” When you break open a golden-brown crust and watch molten cheese stretch into endless, gooey strands, you know you’ve nailed it. These crispy cheesy chicken chimichangas are designed specifically to deliver that experience. Unlike standard burritos that can sometimes be heavy or soggy, this recipe focuses on a creamy, rich filling encased in a shatteringly crisp tortilla shell.
Whether you are looking for a comforting weeknight dinner or an impressive appetizer for game day, these chimichangas hit every note. The secret lies in the double-cooking method—pan-frying the filling to develop deep flavor before rolling, and then shallow-frying the wraps to achieve that restaurant-quality crunch. Paired with a zesty, herb-infused lime dipping sauce, this dish transforms simple ingredients into a gourmet experience right in your own kitchen.
Why This Recipe Works
This recipe isn’t just about throwing ingredients together; it relies on culinary techniques to maximize texture and flavor.
The Creamy Binder: Many chimichanga recipes suffer from dry fillings. By incorporating heavy cream and melted mozzarella directly into the pan with the chicken and vegetables, we create a cohesive, saucy mixture that stays moist even after frying.
Flavor Layering: We don’t just boil the chicken. We sear it first with spices like paprika and cumin to build a fond (caramelized bits) on the pan, then deglaze with cream. This ensures every bite is seasoned from the inside out.
Structural Integrity: The addition of cheese acts as a glue. When the filling cools slightly before rolling, the cheese firms up just enough to hold the tortilla shape during the fry, preventing blowouts while still melting beautifully when eaten hot.
Acid Balance: The rich, fatty nature of fried food needs acid to cut through it. Our dipping sauce uses fresh lime juice and green onions to provide a bright, tangy contrast that cleanses the palate between bites.
Why You’ll Love This Recipe
Ultimate Comfort Food: The combination of crispy exterior and creamy, cheesy interior triggers immediate satisfaction.
Customizable Heat Level: The base recipe is mild and family-friendly, but the spices can be easily adjusted for heat seekers.
Better Than Takeout: You control the oil quality and freshness of ingredients, resulting in a lighter, tastier product than fast food.
Impressive Presentation: The golden color and steam rising from the broken chimichanga make for stunning food photography and table appeal.
Versatile Meal Option: Works perfectly as a hearty lunch, a casual dinner, or a shareable party appetizer.
Ingredient Notes
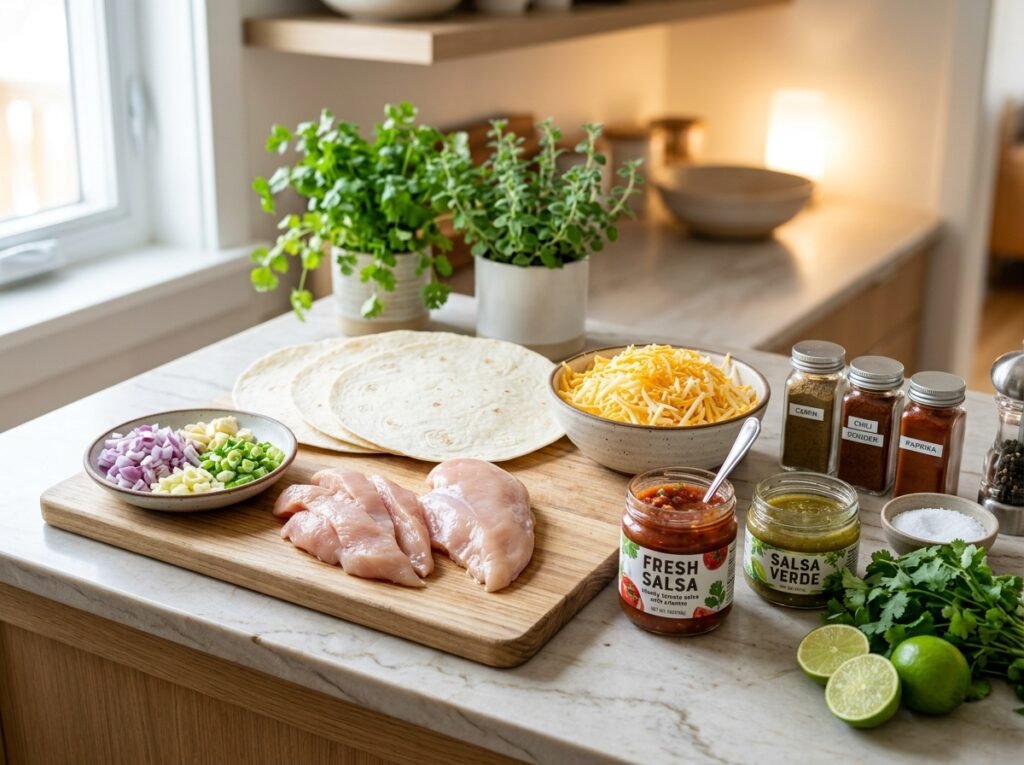
For the Filling
Chicken Breast: Boneless, skinless chicken breast is preferred for its lean texture and ability to absorb spices. Substitution: Chicken thighs work well if you prefer a juicier, richer filling, though they may require slightly longer cooking.
Bell Peppers & Onions: Green bell peppers add a classic savory crunch, while white onions provide sweetness when sautéed. Tip: Dice them uniformly (about 1/4 inch) so they cook at the same rate as the chicken.
Heavy Cream: This is non-negotiable for the sauce texture. It emulsifies with the chicken fat and spices to create a velvety coating. Substitution: Half-and-half can be used for a lighter version, but avoid milk as it may curdle under high heat.
Mozzarella Cheese: Use low-moisture, part-skim mozzarella shredded from a block. Pre-shredded cheese contains anti-caking agents (cellulose) that prevent smooth melting and can result in a grainy texture.
Spices: Paprika (smoked or sweet), cumin, garlic powder, salt, and pepper form the flavor base. Smoked paprika adds a depth that mimics wood-fire cooking.
For the Wraps & Fry
Flour Tortillas: Use 10-inch burrito-size flour tortillas. Corn tortillas will crack when rolled. Tip: Warm tortillas in the microwave for 15 seconds before filling to make them pliable and less likely to tear.
Cooking Oil: A neutral oil with a high smoke point is essential. Avocado oil, canola oil, or vegetable oil are best. Avoid olive oil as it burns at frying temperatures and imparts a bitter taste.
For the Dipping Sauce
Sour Cream: Full-fat sour cream provides the necessary tang and thickness. Greek yogurt can be substituted for a protein boost, though the flavor will be tangier.
Green Onions (Scallions): Use both the white and green parts for a balanced onion flavor and vibrant color.
Fresh Lime Juice: Always use fresh limes. Bottled juice lacks the aromatic oils found in the zest and fresh pulp, which are crucial for cutting the richness of the chimichanga.
Dried Herbs: Oregano or cilantro flakes add an earthy note that complements the fresh lime.
Kitchen Equipment
Large Skillet or Sauté Pan: Essential for cooking the filling and shallow frying. A 12-inch non-stick or cast-iron skillet is ideal.
Sharp Chef’s Knife & Cutting Board: For precise dicing of chicken and vegetables.
Wooden Spoon or Spatula: For stirring the filling without scratching your pan.
Tongs: Crucial for safely flipping chimichangas in hot oil.
Pastry Brush: For sealing tortilla edges with water or egg wash (optional but helpful).
Paper Towels: For draining excess oil after frying.
Small Mixing Bowls: For preparing the dipping sauce and organizing mise en place.
Step-by-Step Instructions
H3: Prepare the Filling Base
Start by dicing your chicken breast into uniform 1/2-inch cubes. Uniformity ensures even cooking; large chunks will remain raw while small pieces dry out. Season the raw chicken generously with salt, pepper, and paprika. Heat 1 tablespoon of oil in your large skillet over medium-high heat. Add the chicken in a single layer—do not overcrowd the pan, or the chicken will steam instead of sear. Cook for 5-7 minutes, stirring occasionally, until golden brown and cooked through. Remove chicken from pan and set aside if your pan is small; otherwise, push to the side.
H3: Sauté the Vegetables
In the same skillet (keeping those flavorful chicken juices!), add the diced onions and green bell peppers. Sauté for 3-4 minutes until softened but still retaining a slight bite. You want them tender-crisp, not mushy, as they will cook further inside the chimichanga. If you removed the chicken earlier, return it to the pan now.
H3: Create the Creamy Sauce
Reduce the heat to medium-low. Pour in the heavy cream and stir, scraping up any browned bits from the bottom of the pan. Let the mixture simmer gently for 2-3 minutes to thicken slightly. This reduction step concentrates the flavor. Stir in the remaining spices (cumin, garlic powder). Taste and adjust seasoning—remember, the tortilla and dipping sauce will add more salt later.
H3: Melt in the Cheese
Turn off the heat completely. This is critical. Adding cheese to boiling liquid causes it to separate into oil and protein clumps. Gradually fold in the shredded mozzarella, stirring constantly until melted and glossy. The filling should look like a thick, cheesy stew. Allow it to cool for 5-10 minutes before rolling. Hot filling creates steam that makes tortillas soggy and difficult to seal.
H3: Roll the Chimichangas
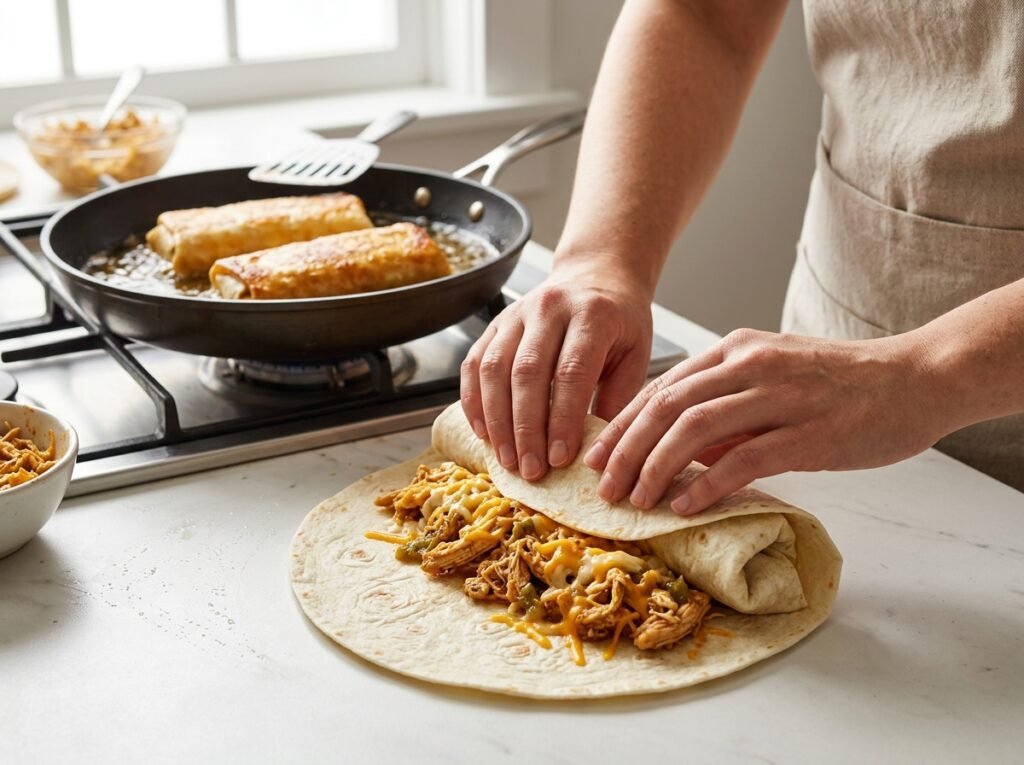
Lay a warm tortilla flat on a clean surface. Place 1/3 cup of the cooled filling in the center, leaving a 2-inch border at the bottom and sides. Fold the bottom edge up over the filling, tucking it tightly. Fold in the left and right sides like an envelope, then roll upward firmly. Seal the final edge with a dab of water or beaten egg using your pastry brush. Repeat for all tortillas.
H3: Shallow Fry to Golden Perfection
Heat 1/4 inch of oil in your skillet over medium heat (350°F/175°C is ideal). Carefully place chimichangas seam-side down first. This seals the wrap immediately. Fry for 2-3 minutes per side, turning with tongs, until deeply golden brown and crispy. Do not rush this step; pale chimichangas are greasy and soft. Transfer to a wire rack or paper towel-lined plate to drain.
H3: Whip Up the Dipping Sauce
While chimichangas rest, combine sour cream, chopped green onions, fresh lime juice, dried herbs, and a pinch of salt in a bowl. Whisk until smooth. Taste and add more lime if needed. The sauce should be bright and tangy. Chill until serving to maintain its refreshing contrast to the hot chimichangas.
Expert Tips for the Perfect Cheese Pull
Cool Before Rolling: I cannot stress this enough. If your filling is piping hot, the tortilla will become gummy and tear. Cooling allows the cheese to set slightly, acting as structural support during the fry.
Don’t Overfill: Greed is the enemy of the perfect chimichanga. Overfilling leads to bursting seams and messy eating. Stick to 1/3 cup max per tortilla.
Seam Side Down First: Always start frying with the seam facing the pan. The heat instantly crisps and seals the closure, preventing unraveling.
Oil Temperature Matters: If oil is too cool, the chimichanga absorbs grease. If too hot, the outside burns before the inside heats through. Use a thermometer if possible, or test with a bread cube—it should sizzle vigorously but not smoke.
Cheese Selection: Mozzarella is king for stretch. Cheddar adds flavor but doesn’t pull as well. A 50/50 blend gives you both stretch and sharpness.
Common Mistakes to Avoid
Using Cold Tortillas: Cold tortillas crack. Always warm them briefly to activate the gluten and fats, making them flexible.
Skipping the Rest Period: Cutting into a chimichanga immediately after frying releases all the steam and cheese. Let them rest for 3-5 minutes; the cheese will re-set slightly, giving you that iconic pull instead of a spill.
Overcooking the Vegetables: Mushy peppers release water during frying, creating sogginess. Keep them crisp-tender during the sauté phase.
Crowding the Pan: Frying too many at once drops the oil temperature drastically. Fry in batches to maintain consistent heat and crispness.
Neglecting the Dipping Sauce: Serving these plain is a missed opportunity. The acid and creaminess of the sauce are integral to the overall flavor balance.
Recipe Variations
Spicy Jalapeño Popper Style: Add diced jalapeños and swap mozzarella for pepper jack cheese. Mix in a teaspoon of chipotle powder for smoky heat.
BBQ Chicken Chimichangas: Replace the cream sauce with 1/2 cup BBQ sauce and use smoked gouda instead of mozzarella. Top with fresh cilantro.
Vegetarian Black Bean & Corn: Substitute chicken with 1 can black beans (rinsed) and 1 cup corn. Add cumin and chili powder. The beans provide protein and texture similar to meat.
Buffalo Chicken: Toss cooked chicken in buffalo sauce before adding cream. Use blue cheese crumbles mixed with mozzarella for the ultimate wing-inspired filling.
Low-Carb/Keto Friendly: Replace flour tortillas with large collard green leaves or keto-friendly almond flour wraps. Bake at 400°F for 15 minutes instead of frying to reduce carbs and fat.
Breakfast Chimichangas: Fill with scrambled eggs, bacon bits, cheddar cheese, and salsa verde. Fry quickly as eggs are already cooked.
What to Serve With This Recipe
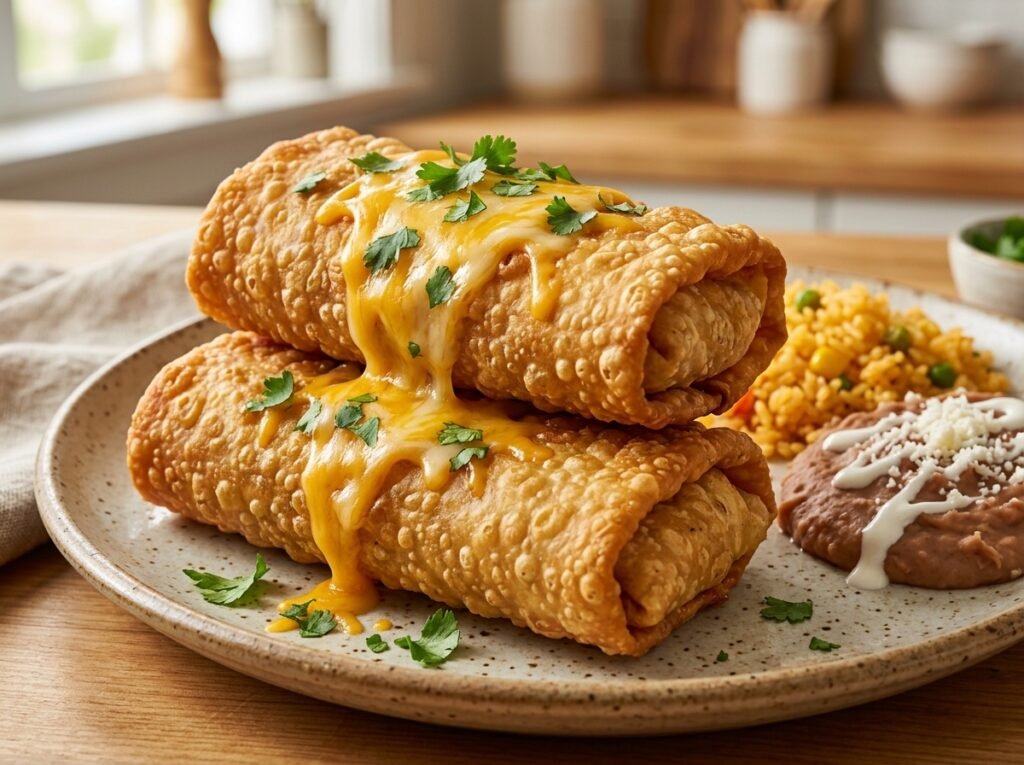
Classic Sides: Mexican rice, refried beans topped with queso fresco, or elote (street corn) salad.
Fresh Salads: A simple arugula salad with lemon vinaigrette cuts the richness perfectly. Pico de gallo or mango salsa adds brightness.
Beverages: Ice-cold horchata, margaritas, or a light lager beer complement the spicy, cheesy flavors.
Dessert: Churros with chocolate dipping sauce or tres leches cake continue the festive theme without overwhelming the palate.
Make Ahead & Meal Prep Tips
Filling Prep: The chicken filling can be made up to 3 days ahead and stored in the fridge. In fact, flavors meld and improve overnight.
Assembly Line: Roll all chimichangas ahead of time. Place them seam-side down on a baking sheet lined with parchment paper. Cover tightly with plastic wrap and refrigerate for up to 24 hours before frying.
Freezing Unfried: You can freeze assembled, unfried chimichangas for up to 3 months. Freeze solid on a baking sheet first, then transfer to a freezer bag. Fry directly from frozen, adding 2-3 minutes to cook time.
Sauce Storage: Dipping sauce keeps for 5 days in an airtight container. Stir before serving as separation may occur.
Storage & Reheating Instructions
Refrigerator
Store leftover chimichangas in an airtight container for up to 3 days. Place paper towels between layers to absorb moisture and prevent sogginess.
Freezer
Freeze cooked chimichangas for up to 2 months. Wrap individually in foil, then place in a freezer bag. Thaw overnight in fridge before reheating.
Reheating Methods
Air Fryer (Best Method): 375°F for 3-4 minutes. Restores crispness perfectly without drying out.
Oven: 400°F on a wire rack for 8-10 minutes. Avoid direct contact with baking sheet to prevent soggy bottoms.
Stovetop: Medium heat in a dry skillet, turning frequently for 3-4 minutes. Good for restoring crust but requires attention.
Microwave (Last Resort): 30-second intervals. Will be soft and chewy, not crispy. Only use if speed is priority over texture.
Nutritional Information
Per Serving (1 Chimichanga + 2 tbsp Sauce)
Calories: 480
Protein: 28g
Carbohydrates: 32g
Fat: 26g
Fiber: 2g
Sugar: 3g
Sodium: 680mg
Note: Values are approximate and vary based on specific brands and portion sizes.
Troubleshooting Guide
Problem
Cause
Solution
Tortilla Tears While Rolling
Tortilla too cold or overfilled
Warm tortilla 15 sec in microwave; reduce filling amount
Chimichanga Unravels During Fry
Seam not sealed or oil too cool
Brush seam with water/egg; ensure oil is 350°F before adding
Greasy/Soggy Exterior
Oil temperature too low
Increase heat; fry in smaller batches; drain on wire rack
Dry Filling Inside
Overcooked chicken or insufficient cream
Reduce chicken cook time; increase cream/cheese ratio
Cheese Leaks Out
Overfilled or cheese too hot when rolling
Cool filling 10 min before rolling; leave 2-inch border
Burnt Outside, Cold Inside
Oil too hot
Lower heat to 325°F; cover pan briefly to steam interior
Sauce Too Thin
Insufficient reduction or wrong cream
Simmer longer to reduce; use heavy cream not milk
Bland Flavor
Underseasoned filling
Taste filling before rolling; adjust salt/spices aggressively
Frequently Asked Questions
Can I bake chimichangas instead of frying? Yes. Brush assembled chimichangas generously with oil and bake at 400°F for 20-25 minutes, flipping halfway. They’ll be lighter but less crispy than fried versions. An air fryer at 375°F for 12-15 minutes yields better crispness than baking.
What cheese melts best for chimichangas? Low-moisture mozzarella offers the best stretch. Monterey Jack melts smoothly with good flavor. Avoid pre-shredded cheeses due to anti-caking agents. A mozzarella-Jack blend provides optimal texture and taste.
How do I keep chimichangas crispy for a party? Keep them warm in a 200°F oven on a wire rack (not directly on a pan). Serve immediately after frying if possible. Avoid covering with foil, which traps steam and softens the crust.
Can I use corn tortillas? No. Corn tortillas lack the elasticity needed for rolling and will crack. Flour tortillas are essential for chimichangas. For a corn alternative, try tostadas or tacos instead.
Is there a dairy-free version? Yes. Use coconut cream instead of heavy cream and vegan mozzarella shreds. Nutritional yeast adds cheesy flavor. Note that vegan cheese may not achieve the same dramatic cheese pull.
How spicy is this recipe? As written, it’s mild. The paprika and cumin provide warmth without heat. Add cayenne, diced jalapeños, or hot sauce to the filling for customizable spice levels.
Can I make these gluten-free? Use certified gluten-free flour tortillas. Check all spice blends for hidden gluten. The filling itself is naturally gluten-free if using pure spices.
Why did my cheese separate into oil? High heat causes cheese proteins to tighten and expel fat. Always remove pan from heat before adding cheese. Stir gently and gradually. If separation occurs, whisk in a splash of cream to re-emulsify.
Final Thoughts
These crispy cheesy chicken chimichangas represent the perfect intersection of technique and comfort. They’re approachable enough for a Tuesday night yet impressive enough for entertaining. The key takeaway is patience: cooling the filling, maintaining oil temperature, and allowing the finished product to rest. These small steps transform good chimichangas into unforgettable ones.
I encourage you to experiment with the variations and find your perfect filling combination. Don’t forget to share your cheese pull photos—I’d love to see your creations! Leave a comment below with your favorite variation or any questions. Happy cooking!