Quick Recipe Summary
| Detail | Information |
|---|---|
| Prep Time | 10 minutes |
| Cook Time | 15–20 minutes |
| Total Time | 25–30 minutes |
| Servings | 2–3 |
| Cuisine | Brazilian/Portuguese-inspired |
| Course | Breakfast, Brunch, Light Dinner |
| Difficulty | Easy |
| Calories (per serving) | ~280–320 |
Table of Contents
- Introduction
- Why This Recipe Works
- Why You’ll Love This Recipe
- Ingredient Notes
- Kitchen Equipment
- Step-by-Step Instructions
- Expert Tips
- Common Mistakes to Avoid
- Recipe Variations
- What to Serve With This Recipe
- Make-Ahead and Meal Prep Tips
- Storage and Reheating Instructions
- Nutritional Information
- Troubleshooting Guide
- Frequently Asked Questions
- Final Thoughts
Introduction
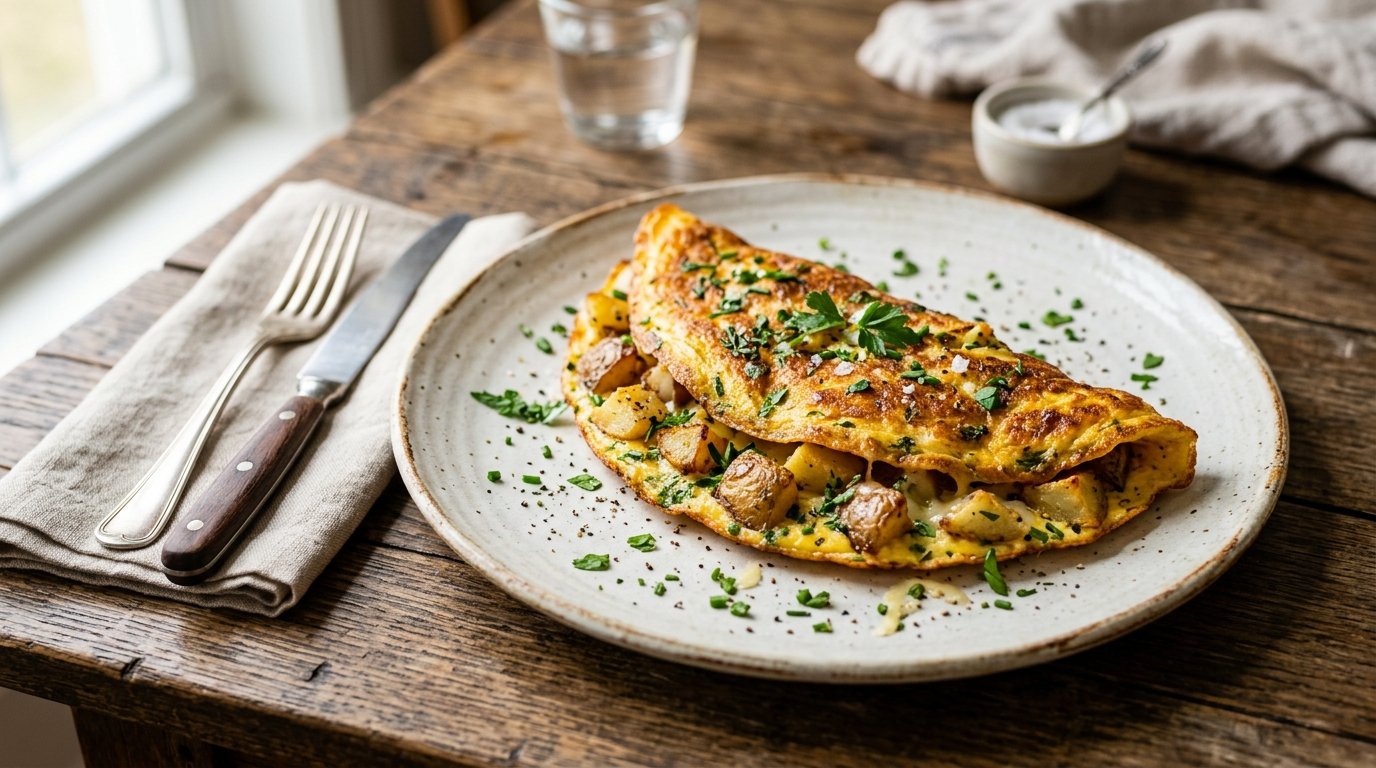
This crispy herb potato omelette (known as tostinha de batatas in Portuguese) is a game-changing quick meal. Thinly sliced potatoes form a tender-yet-crispy base, enveloped in fluffy, herb-flecked eggs that cook to golden perfection in one skillet.
It’s the kind of recipe you turn to when you want something satisfying without much effort—perfect for busy mornings, lazy brunches, or a light weeknight dinner. The combination of creamy potatoes and aromatic herbs creates incredible texture and flavor in under 30 minutes.
Why This Recipe Works
Layering paper-thin potato slices allows them to cook evenly and quickly without pre-frying. The seasoned egg mixture binds everything together while the covered cooking gently steams the interior for a custardy center and the final flip or uncovered finish delivers crispy edges. Fresh herbs add brightness that cuts through the richness, making every bite balanced and addictive.
Why You’ll Love This Recipe
- Ready in about 30 minutes with minimal ingredients
- One-pan wonder—less cleanup
- Naturally gluten-free and easily customizable
- Budget-friendly using pantry staples
- Impressive presentation that looks (and tastes) restaurant-quality
- Kid-friendly and adult-approved
Ingredient Notes
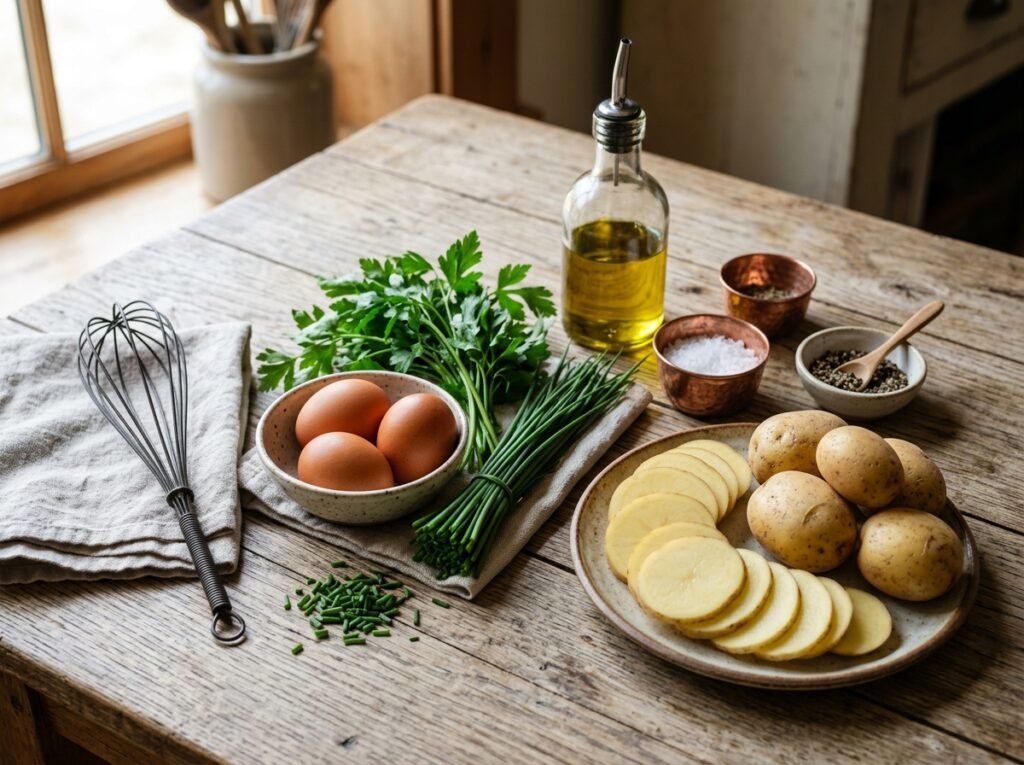
- Potatoes (2–3 medium, about 400–500g): Use starchy or all-purpose varieties like Yukon Gold or russet for best texture. Thin slices (⅛-inch or less) are key—they cook faster and integrate beautifully with the eggs. Substitute sweet potatoes for a twist.
- Eggs (4–6 large): Provide structure and richness. Room-temperature eggs blend more smoothly.
- Fresh Herbs (½–¾ cup chopped, such as green onions/chives, parsley, or dill): These are visible in the video and bring fresh, aromatic flavor. Use what you have; chives and green onions are especially prominent.
- Seasonings: Salt, black pepper, and optional garlic powder or paprika. Season generously—the potatoes and eggs need it.
- Oil or Butter: For the pan—enough to lightly coat and prevent sticking (1–2 tablespoons).
Substitutions: Dairy-free with plant-based eggs or extra herbs. Add cheese for extra indulgence.
Kitchen Equipment
Required:
- Large non-stick or well-seasoned skillet/frying pan (10–12 inch)
- Sharp knife or mandoline for thin slicing
- Mixing bowl
- Fork or spatula for spreading
- Lid for the pan
- Plate for flipping (optional but helpful)
Optional: Mandoline slicer for uniform thin slices, glass lid to monitor progress.
Step-by-Step Instructions
1. Prepare the Potatoes
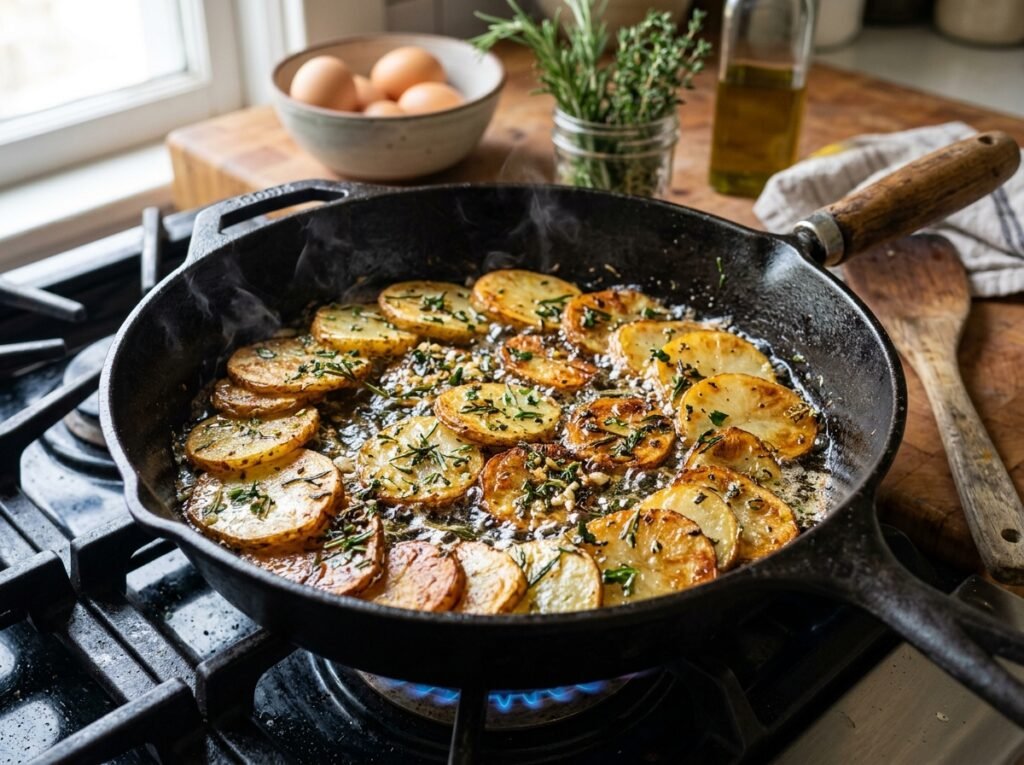
Peel (optional) and slice potatoes very thinly—about ⅛-inch or less. Arrange them in a single, slightly overlapping layer in your lightly oiled skillet over medium heat. This ensures even cooking and prevents a soggy center. Season lightly with salt and pepper.
Visual cue: Potatoes should start turning translucent at edges as they warm.
2. Season and Mix the Eggs
In a bowl, whisk eggs vigorously until frothy. Stir in chopped fresh herbs, salt, pepper, and any additional seasonings. The herbs should be evenly distributed for flavor in every bite.
Tip: Whisking incorporates air for a lighter texture.
3. Pour and Spread the Egg Mixture
Pour the egg-herb mixture evenly over the potato layer. Use a fork to gently spread and tuck the mixture around the slices, ensuring good coverage without breaking them up too much.
Texture cue: The mixture will bubble and start setting around the edges quickly.
4. Cover and Cook
Place a lid on the pan and reduce heat to medium-low. Cook for 8–12 minutes until the eggs are mostly set and potatoes are tender when pierced with a fork. Steam builds under the lid for gentle, even cooking.
Doneness cue: Top should look matte with some jiggle in the center; edges golden.
5. Flip and Finish
Carefully flip the omelette using a plate or large spatula (or cook uncovered a few more minutes if confident). Cook the second side 3–5 minutes until golden and crispy.
Visual cue: Beautiful golden crust with vibrant green herbs throughout.
Expert Tips
- Slice potatoes uniformly for even cooking.
- Don’t overcrowd—use a large enough pan.
- Medium-low heat after pouring prevents rubbery eggs.
- Fresh herbs make the difference—don’t skip them.
- For extra crispiness, add a pat of butter when flipping.
Common Mistakes to Avoid
- Thick potato slices: Lead to uneven cooking and raw centers. Always slice thin.
- High heat: Burns the bottom before the center sets.
- Skipping the lid: Results in dry or uneven eggs.
- Overcrowding the pan: Causes steaming instead of crisping.
- Under-seasoning: Potatoes and eggs are bland without salt.
Fix: If it sticks, loosen edges gently with a spatula before flipping.
Recipe Variations
- Spicy: Add chili flakes, jalapeños, or smoked paprika to eggs.
- Cheesy: Sprinkle grated cheese (cheddar, mozzarella, or feta) before covering.
- Veggie Boost: Add sautéed onions, spinach, or bell peppers with potatoes.
- Protein-Packed: Crumble in cooked bacon or chorizo.
- Low-Carb: Swap potatoes for thinly sliced zucchini or cauliflower.
- Mediterranean: Add olives, sun-dried tomatoes, and feta.
What to Serve With This Recipe
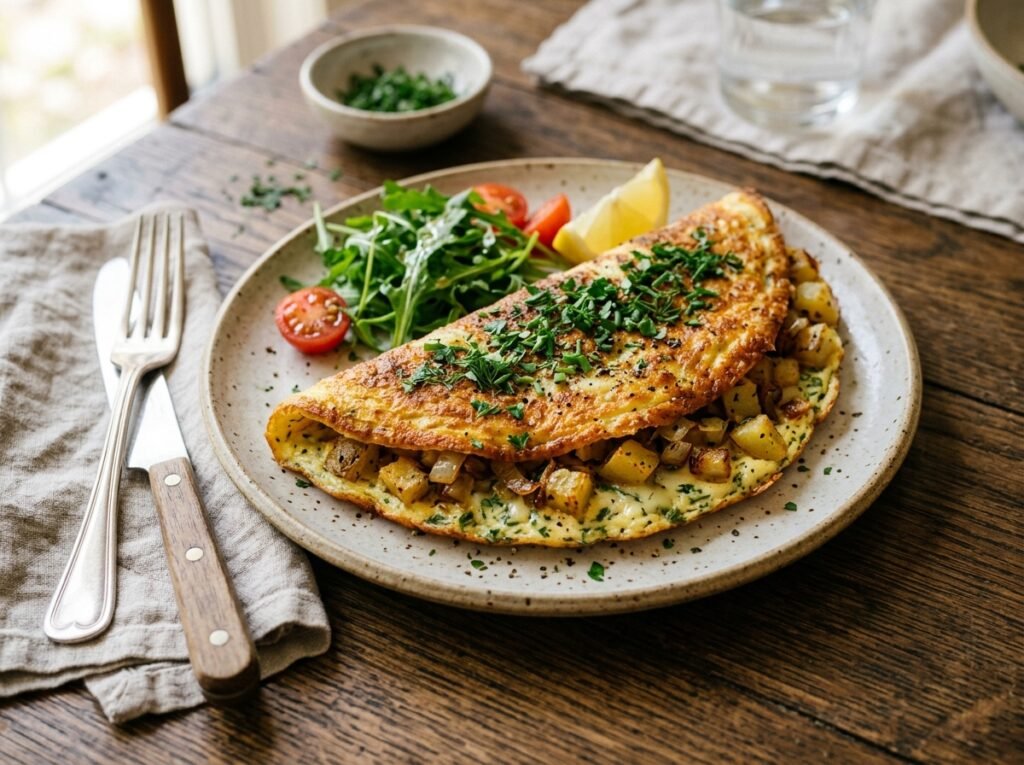
- Fresh green salad or sliced tomatoes
- Crusty bread or toast for dipping
- Avocado slices or guacamole
- Hot sauce or salsa
- Fresh fruit for brunch
- Light soup for dinner
Make-Ahead and Meal Prep Tips
Assemble up to the pouring stage and refrigerate covered for a few hours. Cook fresh for best texture. Great for meal prep—slice cold portions for quick lunches.
Storage and Reheating Instructions
Refrigerator: Store in an airtight container up to 3 days. Freezer: Wrap tightly; thaw overnight in fridge (up to 1 month). Reheating:
- Stovetop: Medium heat with a splash of oil for crispiness.
- Oven: 350°F (175°C) for 8–10 minutes.
- Microwave: Short bursts (not ideal for crispiness).
- Air Fryer: 350°F for 4–6 minutes.
Nutritional Information (Approximate per Serving)
- Calories: 280–320
- Protein: 12–15g
- Carbohydrates: 18–22g
- Fat: 14–18g
- Fiber: 2–3g
- Sugar: 1–2g
- Sodium: 400–600mg
Values vary based on exact ingredients and portions. Use a nutrition calculator for precision.
Troubleshooting Guide
- Too runny: Cook longer with lid on or increase heat slightly at end.
- Sticks to pan: Ensure good seasoning/oiling; use non-stick.
- Dry texture: Lower heat and don’t overcook after flipping.
- Uneven cooking: Slice more uniformly next time.
- Bland flavor: Season each layer generously.
Frequently Asked Questions
Can I use pre-sliced or frozen potatoes? Fresh thin slices work best, but thawed frozen hash browns can substitute in a pinch.
Is this like Spanish tortilla? Similar but quicker—no deep-frying potatoes first, and heavy on fresh herbs.
How do I flip without breaking it? Use a plate: slide onto plate, invert pan over it, then flip back.
Can I make it vegan? Use chickpea flour “eggs” or tofu scramble, though texture changes.
What herbs work best? Chives, green onions, parsley, dill, or cilantro.
How thin should potato slices be? Paper-thin (mandoline or sharp knife) for fastest, even cooking.
Is it good cold? Yes—delicious in sandwiches or salads.
Can I add cheese? Absolutely—add midway for melty results.
Final Thoughts
This crispy herb potato omelette proves that simple ingredients, done right, create something truly special. The tender potatoes, fluffy eggs, and bright herbs come together in a dish that’s comforting yet light and endlessly adaptable. Whether you’re feeding yourself or the whole family, it delivers restaurant-worthy results with minimal fuss.
Give it a try and let me know in the comments how yours turned out—did you add any special twists? Rate the recipe below and share your photos. Happy cooking!