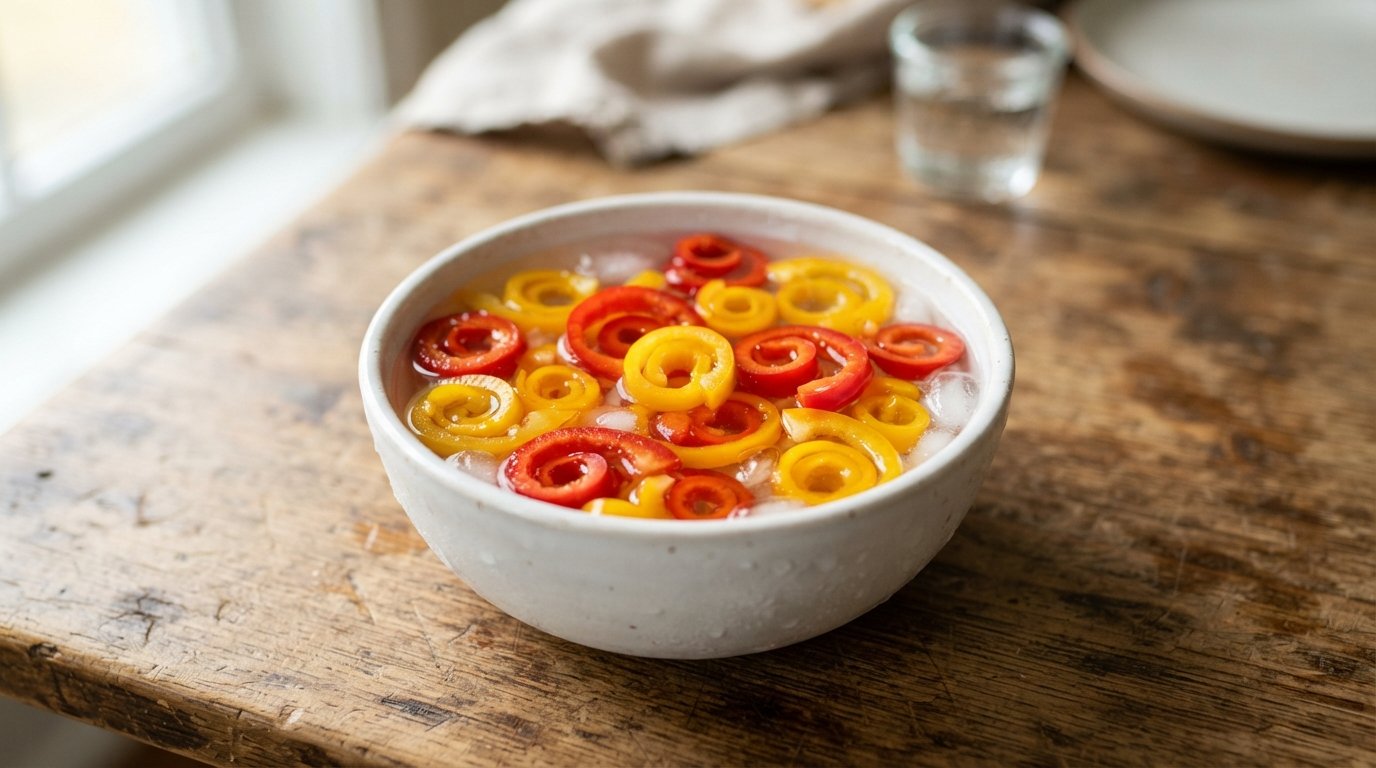
Wanna elevate your dishes with a simple professional touch? This curled bell pepper garnish turns everyday red, yellow, and green peppers into elegant, springy curls that look straight from a restaurant kitchen. The secret is a quick cold shock in ice water that makes the thin strips contract and coil naturally. In minutes you create a vibrant, colorful pile that adds height, texture, and freshness to any plate. Once you try it, plain sliced peppers will feel unfinished.
Don’t miss: REasy Lavash Pizza Bake with Sucuk and Cheeses
Why you’ll love this recipe
This quick technique transforms basic peppers into a stunning, restaurant-worthy garnish.
- Bright colorful curls that add instant height
- Simple ice-water method anyone can master
- Fresh crisp texture that stays vibrant
- Works with any dish needing visual lift
Ingredients
Only a few colorful peppers and ice water are needed for this professional curled garnish.
- 1 red bell pepper
- 1 yellow bell pepper
- 1 green bell pepper
- 4 cups ice water
- Ice cubes as needed
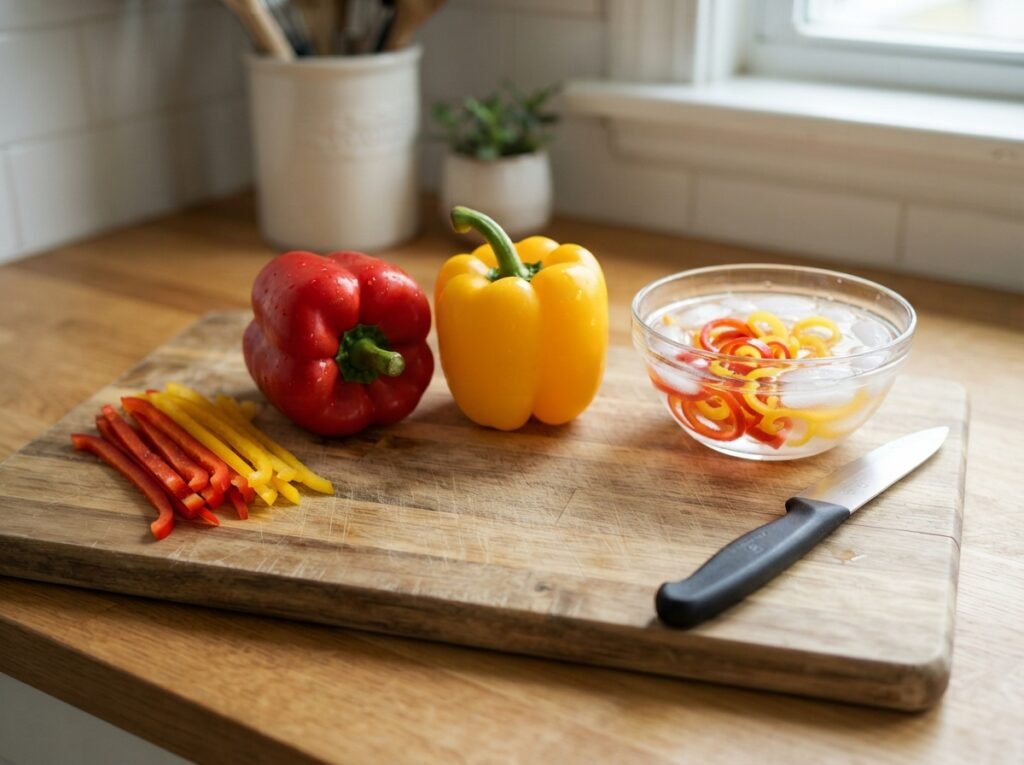
Any firm, fresh bell peppers work well; avoid soft or wrinkled ones. Orange or purple peppers can join the mix for extra color. Distilled or filtered water is optional but keeps flavors clean. A pinch of salt in the ice bath is unnecessary but harmless. Larger peppers yield longer, more dramatic curls than smaller ones.
Check this out too: Filipino Chicken Adobo with Liver Recipe
Step-by-step instructions
These easy steps create perfectly curled, colorful bell pepper strips for elegant plating.
Step 1: Choose firm peppers
Select firm, glossy red, yellow, and green bell peppers with no soft spots. Fresh peppers hold their shape better and curl more dramatically after the ice bath.
Step 2: Slice off the tops
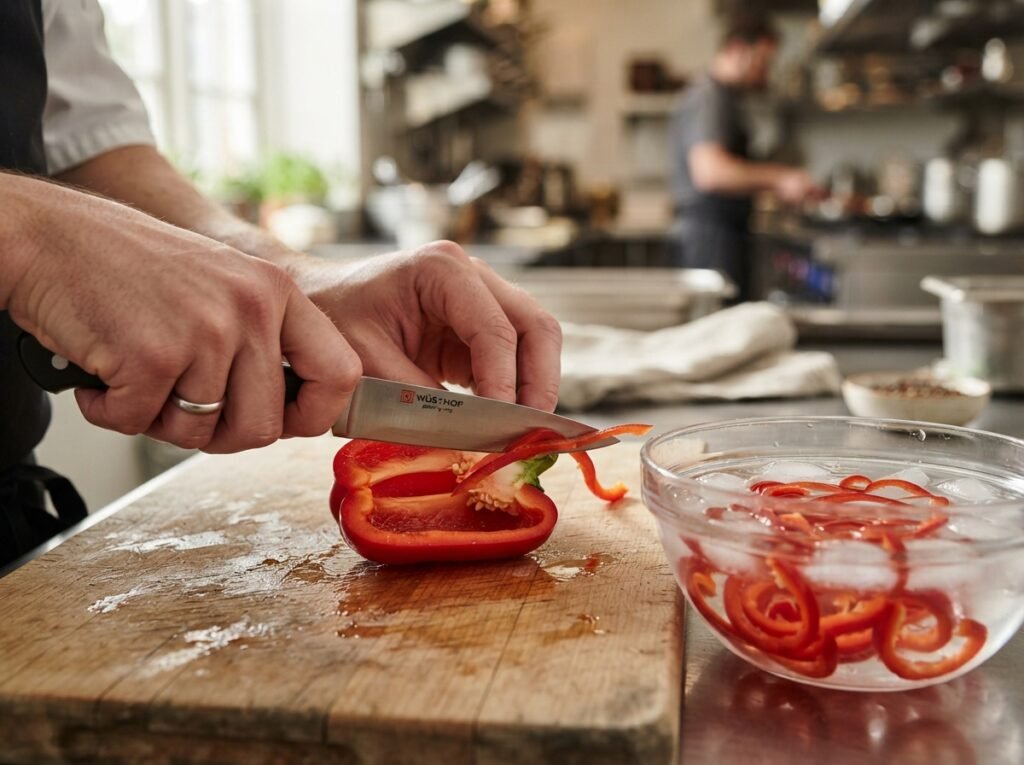
Place each pepper on a cutting board and carefully slice off the stem end. This opens the interior so the seeds and core can be removed cleanly.
Step 3: Remove seeds and core
Pull out the seed core and scrape away any remaining white membrane. Clean insides help the strips stay uniform and free of bitterness.
Step 4: Cut into thin strips
Halve the peppers lengthwise, then slice each half into long, thin strips about a quarter-inch wide. Consistent width ensures even curling in the ice water.
Step 5: Prepare the ice bath
Fill a large bowl with cold water and plenty of ice cubes. The colder the water, the stronger the contraction that creates tight, professional curls.
Step 6: Cold shock the strips
Drop the pepper strips into the ice water and let them sit for two to three minutes. The sudden cold causes the cells to contract and the strips to curl naturally.
Step 7: Drain thoroughly
Lift the curled strips out with a strainer or slotted spoon and shake off excess water. Pat them gently dry so they stay crisp and do not water down the plate.
Step 8: Arrange the garnish
Use tweezers or clean fingers to build a tall, colorful pile of mixed curls on the serving plate. The finished garnish adds height and restaurant-style polish.
Tips & common mistakes
A few precise moves guarantee tight curls and a crisp, professional presentation every time.
- Slice strips evenly for consistent curling results
- Use plenty of ice for the strongest contraction
- Do not leave strips in water too long
- Dry well so the garnish stays crisp
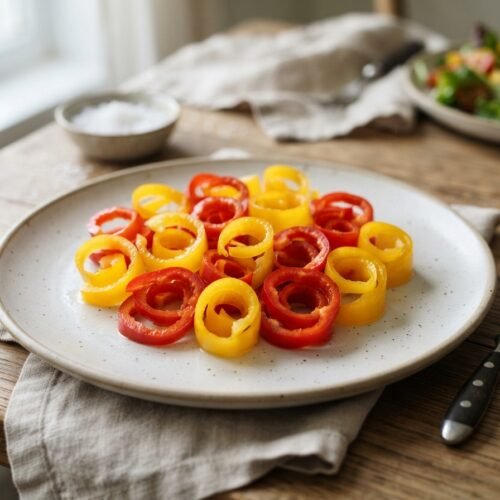
Curled Bell Pepper Garnish
Equipment
- 1 | Sharp knife |
- 1 | cutting board |
- 1 | Large bowl |
- 1 | Strainer |
- 1 | Tweezers | optional
Ingredients
- 1 | | red bell pepper |
- 1 | | yellow bell pepper |
- 1 | | green bell pepper |
- 4 | cups | ice water |
- 1 | cup | ice cubes | as needed
Instructions
- Select firm, glossy red, yellow, and green bell peppers.
- Slice off the tops of each pepper.
- Remove seeds and white membrane completely.
- Cut peppers into thin, even strips.
- Fill a bowl with ice water and ice cubes.
- Submerge the strips for 2-3 minutes until curled.
- Drain thoroughly and pat dry.
Notes
Slice strips evenly for consistent results.
Prepare shortly before serving for maximum crispness.
Store drained curls refrigerated up to 4 hours.
Recipe variations
This curling technique adapts easily to different vegetables and flavor accents.
- Try carrot or zucchini strips for extra color
- Add a light vinegar splash for mild tang
- Mix in thin cucumber ribbons for freshness
- Season lightly with flaky salt before plating
What to serve with this recipe
These vibrant curled peppers elevate almost any savory dish with color and texture.
- Grilled fish or chicken main courses
- Creamy pasta or risotto plates
- Fresh salads needing visual height
- Charcuterie or appetizer boards
One more to try: Tilapia and Pork Belly Stew in Coconut Milk
Frequently asked questions
Simple answers help you achieve tight, colorful curls that look professional every time.
How long do the curls stay crisp?
The curled peppers stay firm for about an hour at room temperature. For best results, prepare them shortly before serving and keep them chilled until plating.
Can I make them ahead of time?
Yes. Store the drained curls in an airtight container in the refrigerator for up to four hours. Refresh briefly in ice water if they begin to soften.
Why did my strips not curl tightly?
The water may not have been cold enough or the strips may have been too thick. Use more ice and aim for thin, even slices for stronger contraction.
Do I need special tools?
A sharp knife and a bowl of ice water are enough. Tweezers help with precise plating but clean fingers work fine for building the pile.
Final thoughts
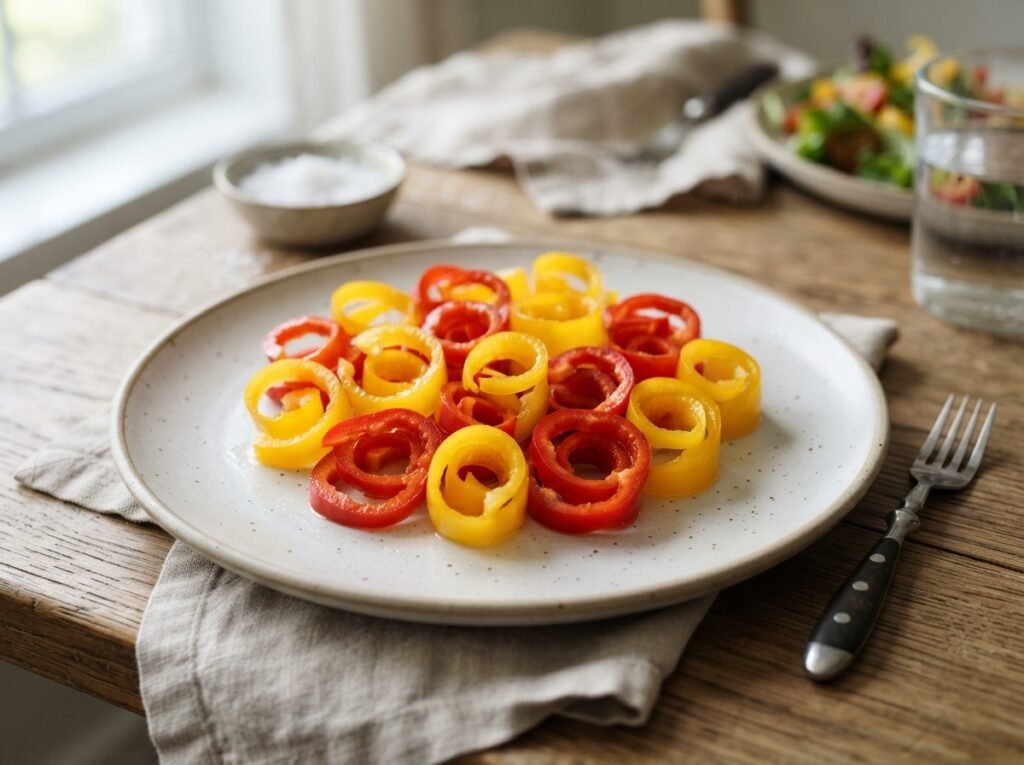
This curled bell pepper garnish proves that a few simple cuts and an ice bath can transform ordinary vegetables into something special. The bright coils add color, height, and a professional finish that makes any plate more inviting. Try the technique on your next dinner and leave a comment telling me which dish you elevated with these colorful curls.