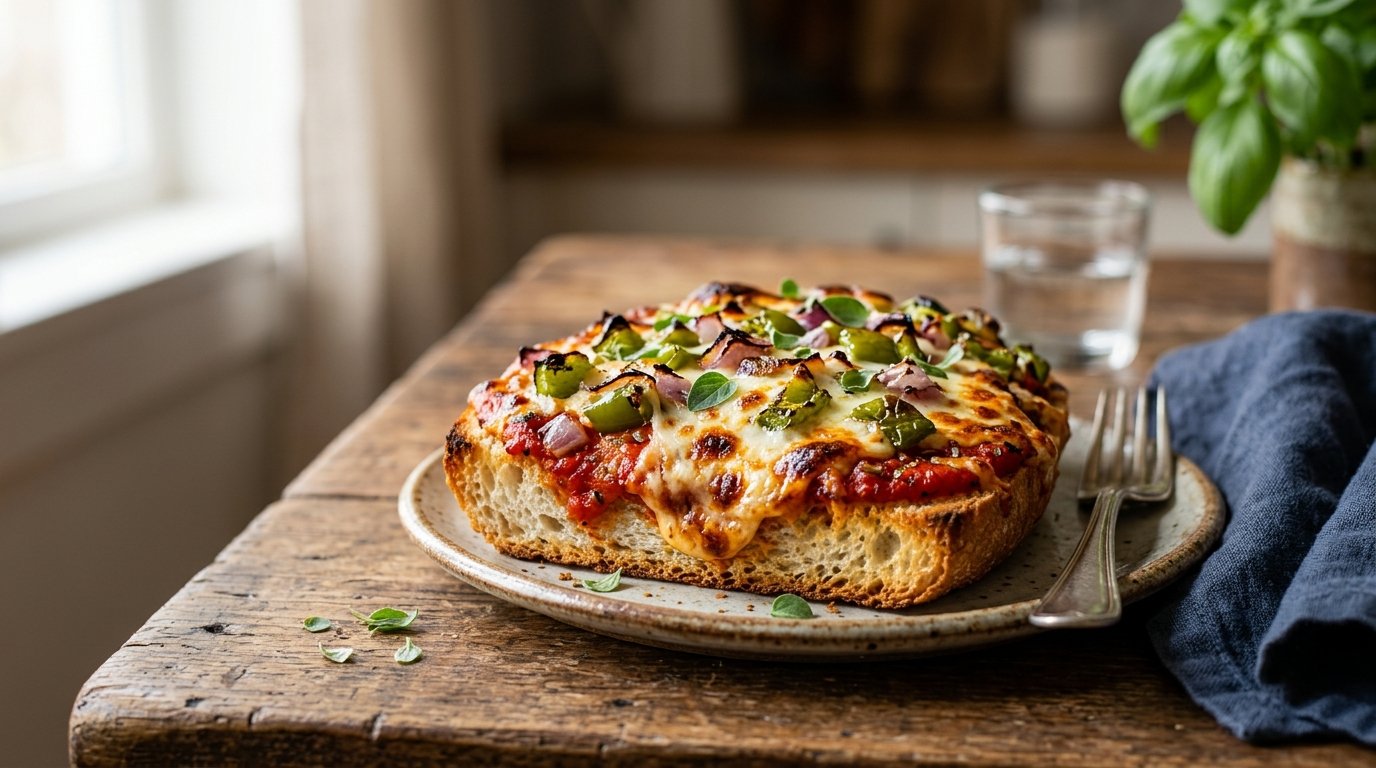
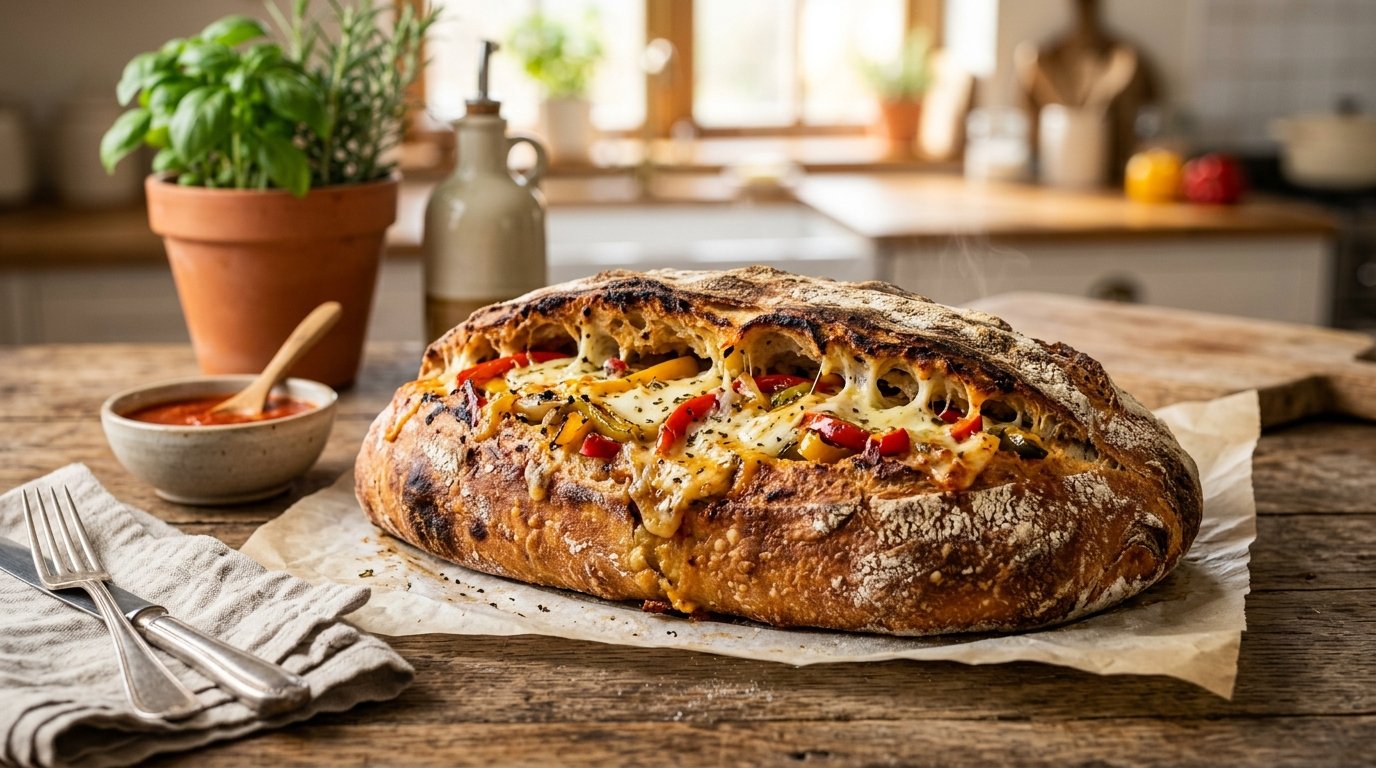
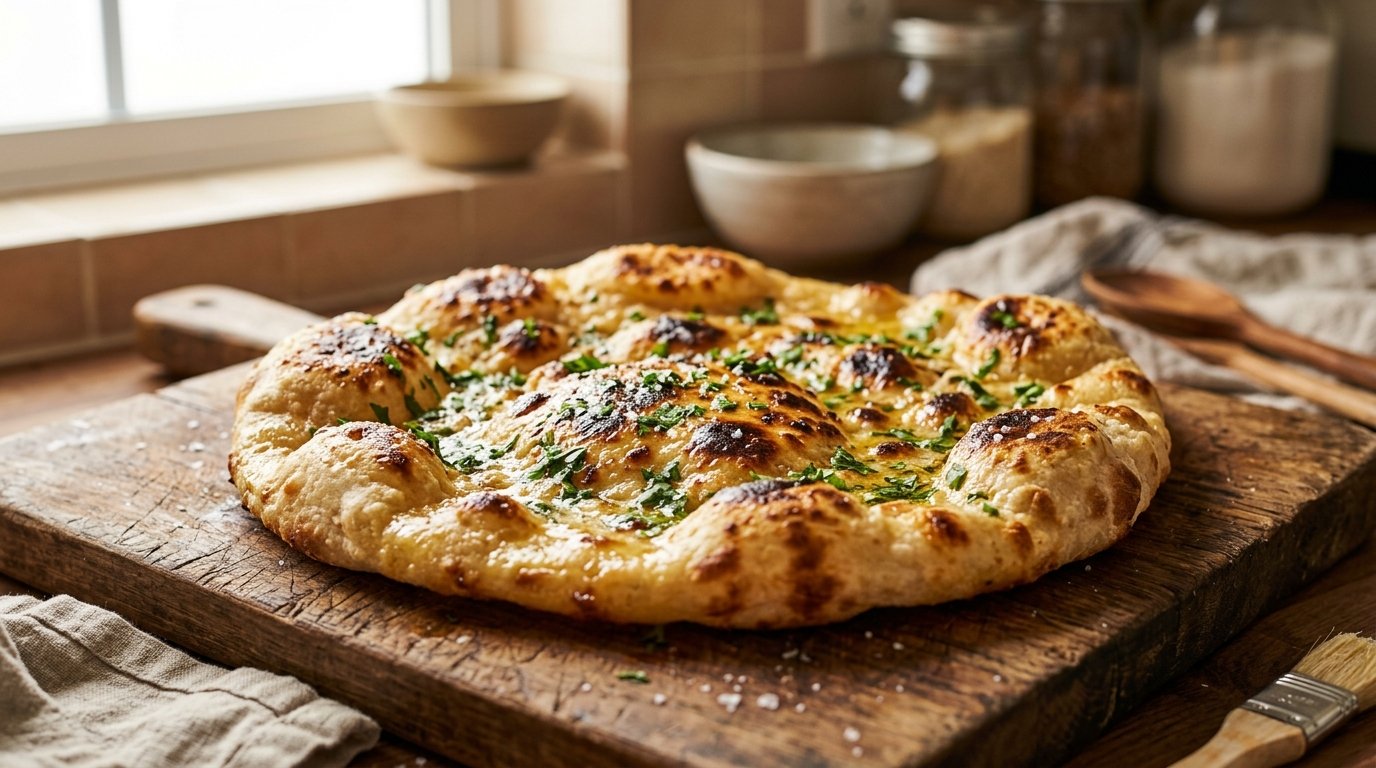
This easy bread pizza recipe turns ordinary sliced bread into a crispy, cheesy pizza that rivals takeout—without any dough, yeast, or long rising time. In under 40 minutes you can have a golden, bubbling pizza ready for the table using ingredients most people already keep in the fridge. The bread base soaks up the sauce just enough to stay tender underneath while the edges crisp beautifully in the oven. Families love it, kids request it constantly, and it costs a fraction of delivery. Once you try this method you may never order pizza again.
Why This Recipe Works
The secret is the buttered pan and tightly arranged bread slices. Butter creates a barrier that helps the bottom crisp while preventing sticking. The bread acts as a ready-made crust that absorbs tomato sauce without turning soggy when spread thinly and baked at the right temperature. Layering ham under the mozzarella locks in moisture and prevents the cheese from sliding. Pepperoni and onions add classic flavor and texture contrast, while a final swirl of creamy cheese and oregano finishes the pizza with that irresistible pizzeria aroma. Twenty minutes in a hot oven is all it takes for the cheese to melt and the edges to turn golden.
Why You’ll Love This Recipe
Ready in about 35 minutes from start to finish
Uses simple pantry and fridge staples
No kneading, rising, or special dough skills required
Customizable with whatever proteins or vegetables you have
Crispy edges and soft center every time
Budget-friendly alternative to takeout
Kid-approved and perfect for weeknights or parties
Easy to scale up or down
Ingredient Notes
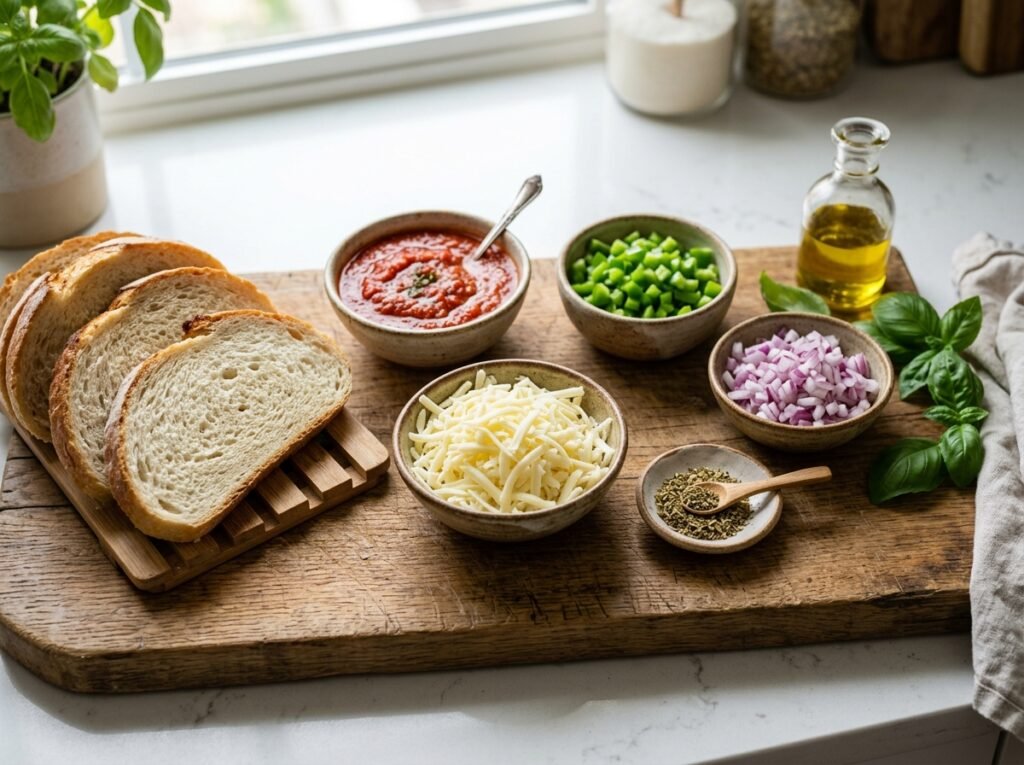
Butter or margarine – Creates a non-stick layer and promotes browning on the bottom of the bread. Use salted or unsalted; both work. Softened butter spreads more easily than cold.
White sandwich bread (preferably crustless) – Soft white bread forms the perfect base. Crustless slices create a cleaner look and more even texture, but regular slices work fine if you trim the crusts. Day-old bread holds up slightly better than very fresh soft bread.
Tomato sauce – Choose a thick, seasoned pizza sauce or plain tomato sauce. A thinner sauce can make the bread soggy; if yours is watery, simmer it briefly to reduce. About ½–¾ cup is usually enough for a standard pizza pan.
Ham slices – Thin deli ham adds savory depth and moisture. Look for slices that are not overly wet. Turkey or chicken deli meat can substitute.
Mozzarella cheese slices – Sliced mozzarella melts evenly and gives that classic stretch. Low-moisture whole-milk mozzarella works best. Shredded mozzarella can be used in a pinch but may brown faster.
Pepperoni – Optional but highly recommended for classic flavor and slight crispiness. Choose regular or turkey pepperoni. Pre-sliced is convenient.
Onion rings (thinly sliced) – Raw onion softens and sweetens in the oven. White or yellow onion works well. Skip if you prefer a milder pizza.
Creamy white cheese (for piping) – A soft, spreadable cheese such as cream cheese, requeijão, or a mild processed cheese creates attractive swirls and extra richness. Softened cream cheese mixed with a splash of milk pipes easily.
Dried oregano – The classic pizza herb. Fresh oregano can be used but dried holds up better during baking.
Optional seasonings – A light sprinkle of black pepper, garlic powder, or a mild Cajun-style seasoning can add extra flavor if desired.
Kitchen Equipment
Large round metal pizza pan or baking sheet (approximately 12–14 inches)
Pastry brush or spoon for spreading butter
Small bowls for sauce and toppings
Spoon or ladle for sauce
Pizza cutter or sharp knife
Optional: piping bag or zip-top bag for the creamy cheese
Preheat your oven to 400°F (200°C). Place the round metal pizza pan on the counter and spread a thin, even layer of softened butter or margarine across the entire surface, including the edges. The butter prevents sticking and helps the bread develop a lightly golden, crisp bottom. A well-greased pan is essential for clean slices later.
Step 2: Arrange the Bread Base
Lay slices of white bread side by side on the buttered pan, covering as much of the surface as possible. Overlap the edges slightly so there are no large gaps. Aim for a roughly square or rectangular shape inside the round pan—this creates neat portions and looks attractive when cut. Press the slices gently so they sit flat. Using crustless bread gives a more uniform appearance, but regular slices trimmed of crust work equally well. The bread should form a continuous base that will hold the toppings.
Step 3: Add the Tomato Sauce
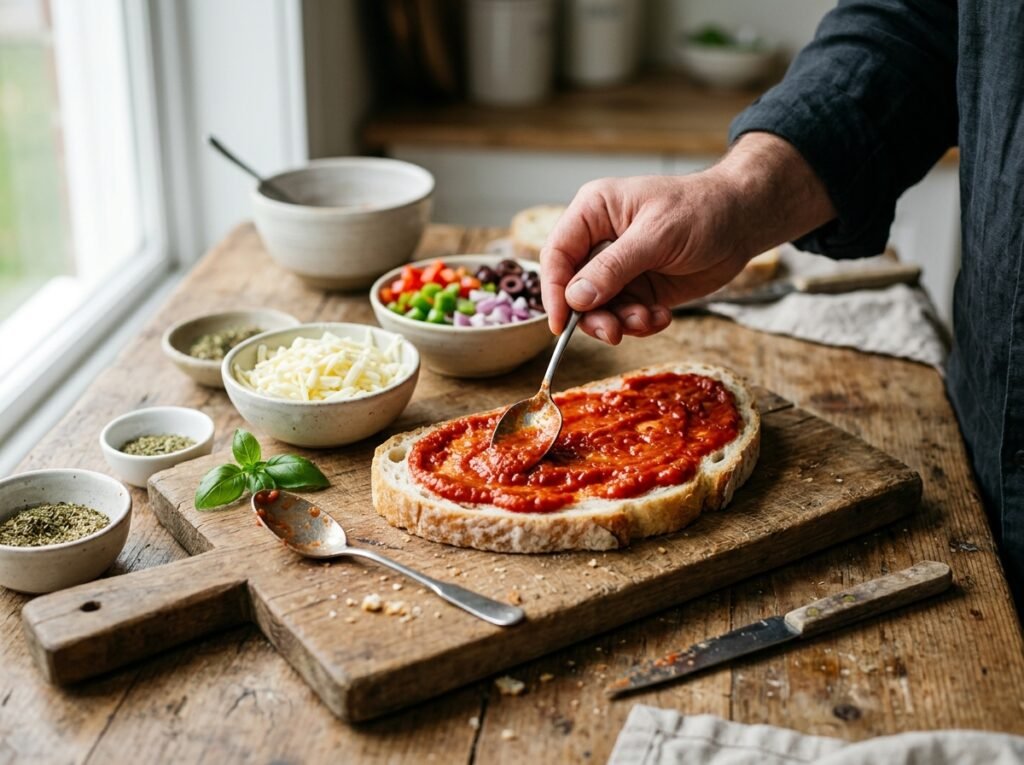
Spoon tomato sauce over the bread and spread it evenly with the back of a spoon, reaching the edges of the bread. Use enough sauce to coat every slice without flooding the surface—about ½ to ¾ cup depending on pan size. Spreading the sauce thoroughly allows it to soak lightly into the bread, creating flavor throughout rather than sitting only on top. Avoid over-saucing, which can lead to a soft or soggy center.
Step 4: Layer the Ham
Arrange thin slices of ham evenly over the sauced bread, covering most of the surface. The ham adds savory flavor and acts as a moisture barrier between the sauce and cheese. Overlapping the slices slightly ensures every bite has some protein. This step is quick and uses ingredients commonly found in the refrigerator.
Step 5: Add the Mozzarella
Place mozzarella slices over the ham, covering the surface as completely as possible. The cheese will melt and bind the toppings together. Sliced mozzarella melts more evenly than shredded in this style of pizza and creates attractive browned spots. Leave a small border if you like, but full coverage gives the best stretch and flavor.
Step 6: Top with Pepperoni
Distribute pepperoni slices evenly across the cheese. The pepperoni will crisp slightly at the edges and release flavorful oils into the melting cheese. This ingredient is optional—feel free to use cooked chicken, tuna, or omit meat entirely. Space the slices so each piece of pizza gets a fair share.
Step 7: Scatter the Onion
Scatter thin onion rings or half-rings over the pepperoni. The onion softens and becomes mildly sweet during baking, adding brightness and a subtle crunch. If you or your family prefer milder flavor, reduce the amount or leave it out. Press the rings gently so they stay in place.
Step 8: Pipe the Creamy Cheese and Season
Transfer softened creamy white cheese to a piping bag or zip-top bag with a corner snipped. Pipe decorative swirls or circles across the top of the pizza. This final layer of cheese adds richness and visual appeal. Finish with a generous sprinkle of dried oregano. A light dusting of black pepper or other preferred seasoning can be added at this stage if desired. All toppings beyond the sauce, ham, and mozzarella are flexible—use what you have.
Step 9: Bake Until Golden and Bubbly
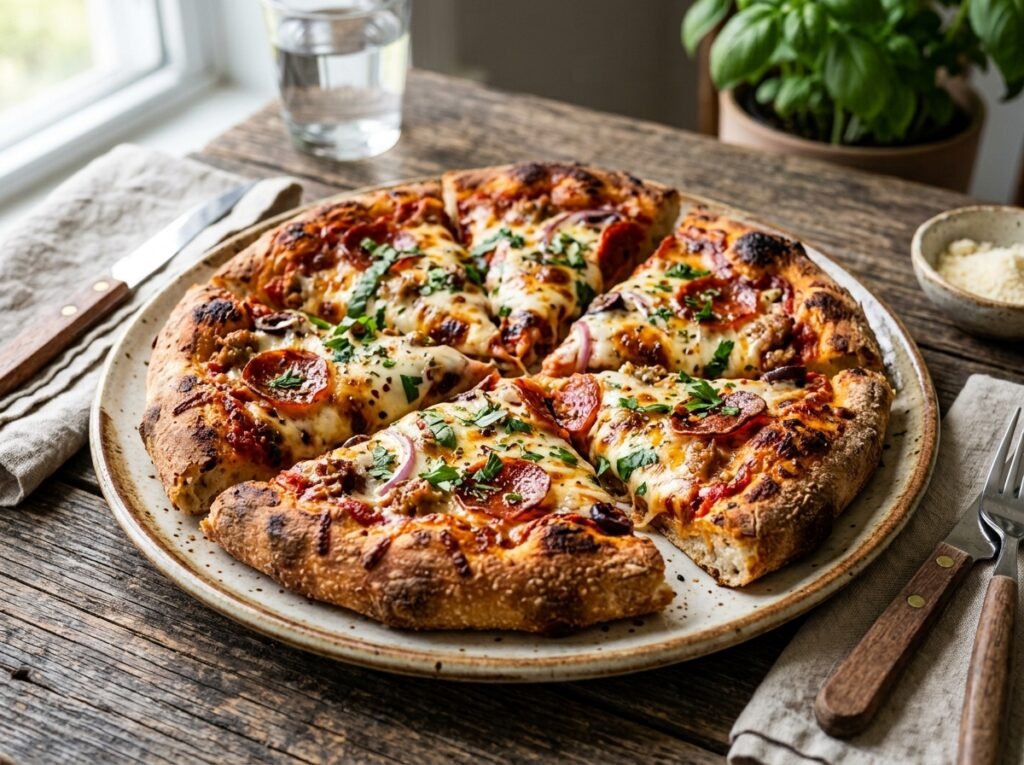
Place the pan in the preheated oven and bake for 20 minutes. The pizza is ready when the cheese is fully melted and beginning to brown in spots, the edges of the bread are golden and crisp, and the toppings look set. The aroma of melted cheese, oregano, and lightly toasted bread will fill the kitchen. Avoid opening the oven door repeatedly, as this can slow browning.
Step 10: Rest, Slice, and Serve
Remove the pizza from the oven and let it rest for 2–3 minutes. This short rest allows the cheese to set slightly so slices hold together better. Use a pizza cutter or sharp knife to cut into generous portions. Transfer slices to plates. For a traditional Brazilian-style finish, offer ketchup on the side—many people enjoy a light drizzle over the hot pizza. Serve immediately while the cheese is still stretchy and the edges are crisp.
Expert Tips
Soften the butter or margarine so it spreads easily without tearing the bread.
Press the bread slices firmly into the pan so they form a stable base.
Use a thick tomato sauce; thin sauces can make the bread soft.
Do not overload with toppings—too many layers prevent the center from heating evenly.
For extra crisp edges, bake on the middle or lower-middle rack.
If your oven runs hot, check at 18 minutes to avoid over-browning the cheese.
Let the pizza rest briefly before cutting for cleaner slices.
Leftover slices reheat surprisingly well and stay enjoyable the next day.
Common Mistakes
Soggy center – Usually caused by too much sauce or very soft fresh bread. Use a moderate amount of thick sauce and consider slightly stale bread. Bread sliding or gaps – Arrange slices tightly and press them down. Overlapping edges helps. Cheese not melting evenly – Ensure the oven is fully preheated and the pizza sits in the center of the oven. Burnt edges with undercooked center – Lower the rack slightly or reduce temperature by 25°F if your oven runs hot. Cover loosely with foil for the last few minutes if needed. Toppings sliding off – Layer ham first, then cheese, then lighter toppings. Press everything gently before baking.
Recipe Variations
Spicy – Add sliced jalapeños or a pinch of red pepper flakes with the oregano.
Vegetarian – Skip the ham and pepperoni; load with sliced mushrooms, bell peppers, olives, or spinach.
Extra cheesy – Double the mozzarella or add a second creamy cheese swirl.
Chicken – Replace ham and pepperoni with cooked shredded or diced chicken.
Seafood – Use canned tuna (well drained) or cooked shrimp instead of the meats.
Healthier – Use whole-wheat bread, reduced-fat cheese, and load up on vegetables.
Low-carb option – Not ideal with bread, but very thin low-carb wraps can be tried as a base in smaller portions.
Breakfast version – Top with scrambled egg, bacon or sausage, and cheddar instead of the classic pizza toppings.
What to Serve With This Recipe
Pair with a simple green salad dressed in vinaigrette, garlic bread sticks (if you still want more carbs), or roasted vegetables. A cold cola, sparkling water with lemon, or a light red wine complements the richness. For dessert, keep it easy with fresh fruit or a scoop of vanilla ice cream.
Make Ahead Tips
Assemble the pizza up to the point of adding the final creamy cheese and oregano, cover tightly with plastic wrap, and refrigerate for up to 4 hours. Add the final toppings just before baking. The bread can be arranged and buttered earlier in the day.
Meal Prep Tips
Bake two pans at once if your oven allows. Cool completely, then portion into individual slices and refrigerate or freeze. Reheat as needed for quick lunches or snacks throughout the week.
Storage Instructions
Cool completely, then store leftover slices in an airtight container in the refrigerator for up to 3 days. For longer storage, wrap individual slices tightly in plastic wrap and place in a freezer bag. Freeze for up to 1 month.
Reheating Instructions
Oven – Preheat to 350°F (175°C). Place slices on a baking sheet and heat for 8–10 minutes until the cheese is melted and edges are crisp again. Air fryer – 350°F for 3–5 minutes. Microwave – 30–60 seconds on a microwave-safe plate (texture will be softer). Stovetop – Warm a non-stick skillet over medium-low heat, add the slice, cover, and heat for 2–3 minutes.
Nutritional Information
Approximate values per serving (based on 8 servings, using standard ingredients): Calories: 320 Protein: 14 g Carbohydrates: 28 g Fat: 16 g Fiber: 2 g Sugar: 4 g Sodium: 780 mg
Values will vary depending on specific brands and exact quantities used.
Troubleshooting Guide
Bread too soft after baking – Use slightly less sauce next time or bake 2–3 minutes longer.
Cheese browning too fast – Move the pan to a lower rack or tent loosely with foil.
Uneven cooking – Rotate the pan halfway through baking.
Difficulty slicing – Let the pizza rest 2–3 minutes and use a sharp pizza cutter or chef’s knife.
Toppings falling off when served – Press toppings gently into the cheese before baking and avoid overloading.
Frequently Asked Questions
Can I use whole-wheat or multigrain bread? Yes. The texture will be slightly denser and nuttier, but it works well and adds more fiber.
Do I have to remove the crusts? No. Crustless bread looks neater, but regular slices are fine—trim them if you prefer.
Can I make this without an oven? A large covered skillet on the stovetop over medium-low heat can work in a pinch, though the top will not brown the same way. Cover and cook until the cheese melts.
Is the creamy cheese necessary? No. It adds richness and visual appeal but can be omitted. Extra mozzarella works as a substitute.
How do I keep the pizza from sticking? A thorough coating of butter or margarine on the pan is the key. A light dusting of cornmeal under the bread can also help.
Can I freeze the unbaked pizza? It is better to bake first, then freeze slices. Unbaked assembled pizza can become soggy after thawing.
What temperature should I use if my oven is convection? Reduce the temperature by about 25°F and start checking a few minutes early.
Can kids help make this? Absolutely. Arranging the bread, spreading sauce, and placing toppings are perfect kid-friendly steps.
Why add ketchup at the end? It is a popular Brazilian way to enjoy pizza and adds a sweet-tangy contrast. Completely optional.
How many slices does one pizza yield? Typically 6–8 generous pieces depending on how you cut it and the size of your pan.
Final Thoughts
This easy bread pizza recipe proves that a satisfying homemade pizza does not require special equipment or hours of work. With a few slices of bread, everyday toppings, and 20 minutes in the oven, you get crispy edges, melted cheese, and big flavor that the whole family will request again and again. Give it a try this week—you may find yourself reaching for the bread instead of the delivery app. If you make it, leave a comment below with your favorite topping combination or any tweaks you tried. Happy cooking!