
| Quick Recipe Summary | |
|---|---|
| Prep Time | 20 minutes (+ 30–40 min rising) |
| Cook Time | 20–25 minutes |
| Total Time | 1 hour 15 minutes |
| Servings | 2 large pizza breads (4–6 servings) |
| Cuisine | Fusion / Indian-inspired |
| Course | Snack, Appetizer, or Light Meal |
| Difficulty | Easy |
| Calories (approx.) | 380–450 per serving |
Table of Contents
- Introduction
- Why This Recipe Works
- Why You’ll Love This Recipe
- Ingredient Notes
- Kitchen Equipment
- Preparation Information
- Step-by-Step Instructions
- Expert Tips
- Common Mistakes
- Recipe Variations
- What to Serve With This Recipe
- Make-Ahead Tips
- Meal Prep Tips
- Storage Instructions
- Reheating Instructions
- Nutritional Information
- Troubleshooting Guide
- Frequently Asked Questions
- Final Thoughts
Introduction
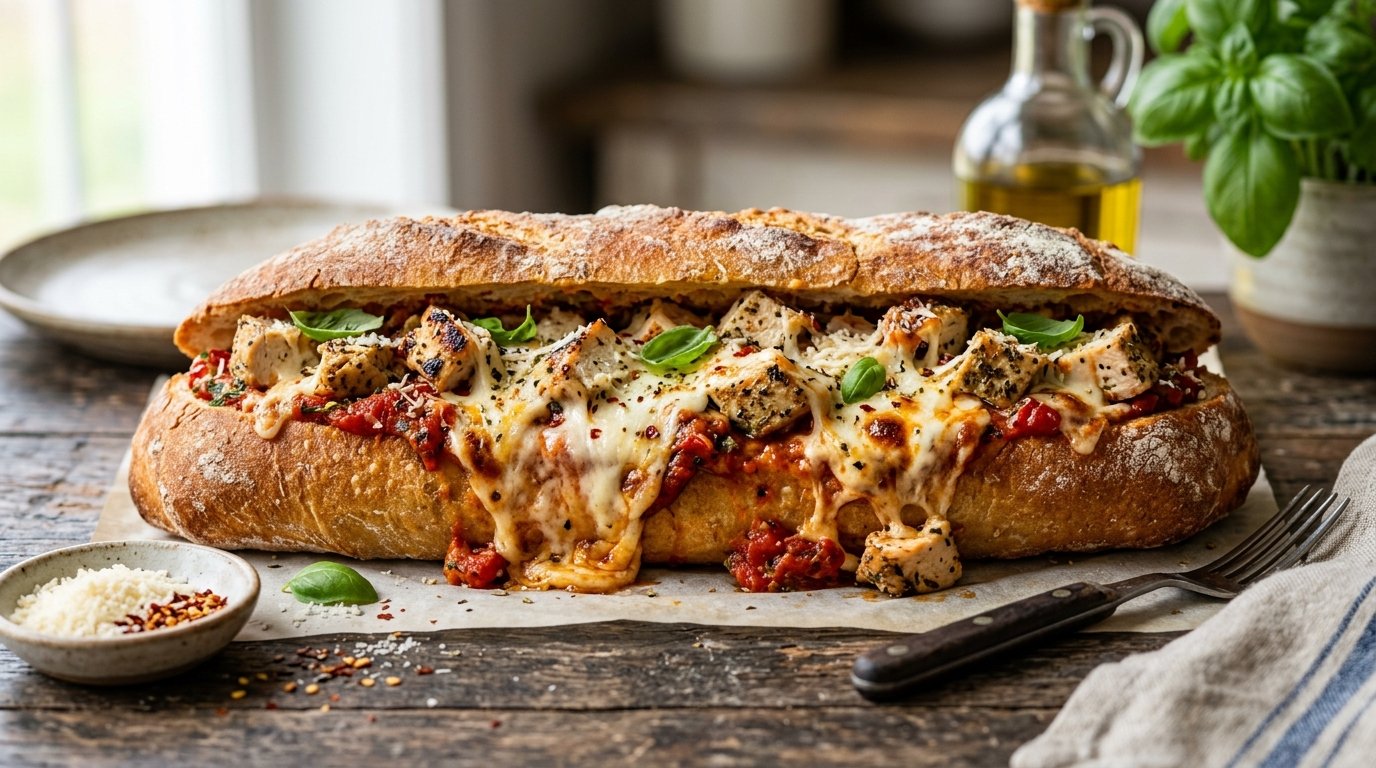
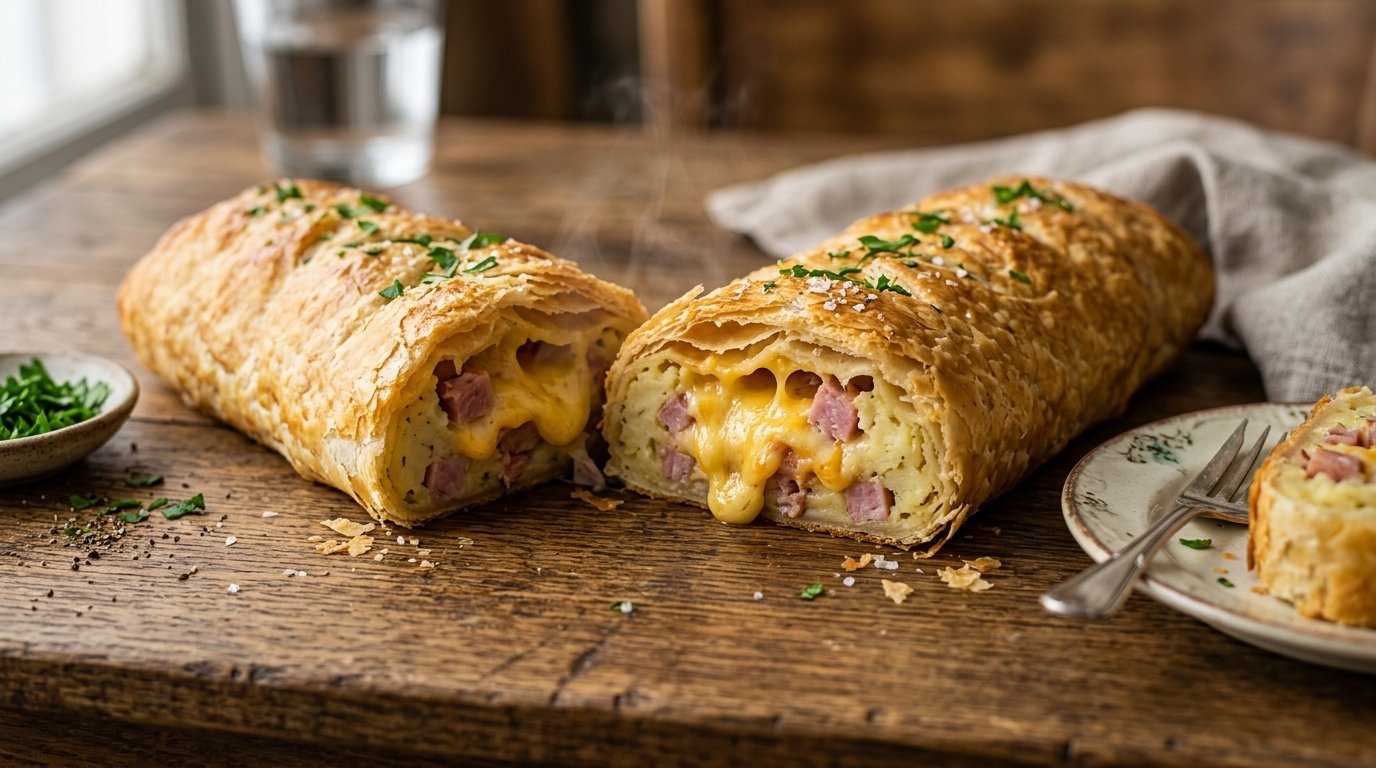
Homemade chicken pizza bread is the ultimate comfort snack that combines soft, golden bread with a flavorful shredded chicken filling, melted mozzarella, and classic pizza toppings. Soft yeast dough is rolled out, layered with cheese and spiced chicken, folded into neat rectangular parcels, topped with green chili slices and black olives, then baked until beautifully golden and stretchy. The result is a portable, shareable pizza-style bread with a crispy exterior and gooey, savory interior that tastes far better than takeout. Once you try this easy version, it will become a regular request for family movie nights, parties, or quick dinners.
Why This Recipe Works
The dough is enriched with milk and oil, which keeps it soft and tender even after baking. Pre-cooking the shredded chicken with spices, tomato sauce, peppers, and tomatoes builds deep flavor so the filling is never bland. Layering mozzarella both under and over the chicken creates that irresistible cheese pull. Sealing the dough properly and cutting vents on top allows steam to escape while the toppings stay in place and caramelize. Baking at the right temperature gives a golden crust without drying out the interior. Everything is designed for home cooks—no special equipment or complicated techniques required.
Why You’ll Love This Recipe
- Soft, bakery-style bread with real pizza flavors
- Uses simple pantry ingredients and leftover or boiled chicken
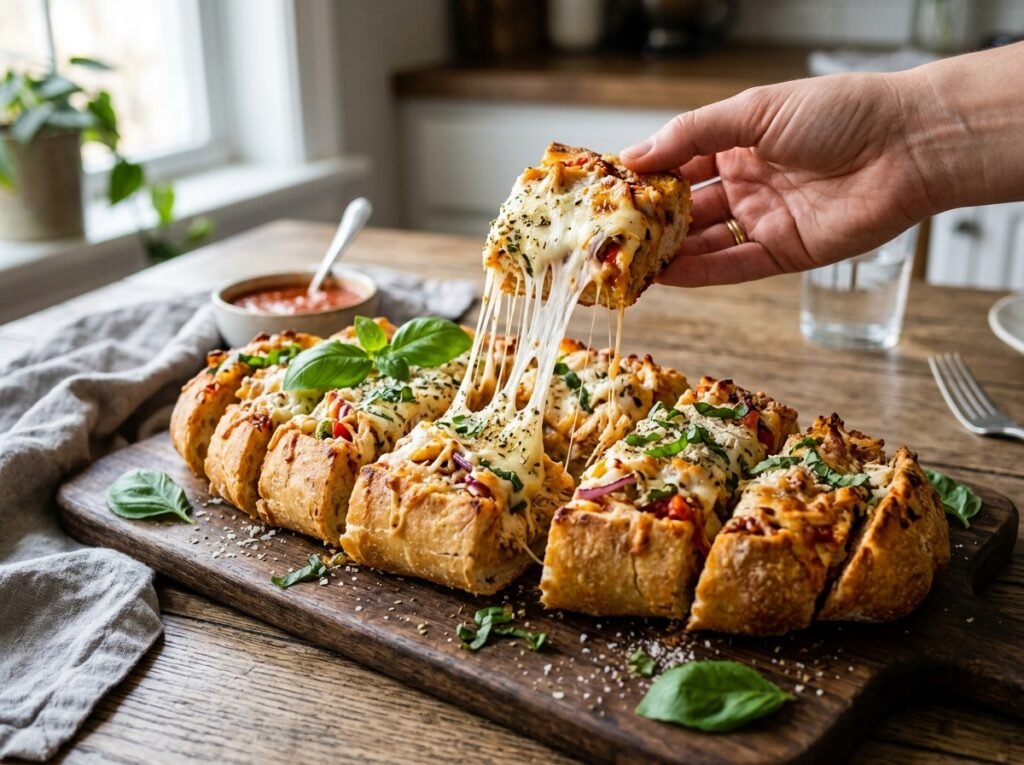
- Impressive cheese pull that looks great in photos
- Perfect for kids and adults alike
- Freezer-friendly and easy to reheat
- Customizable with your favorite pizza toppings
- Ready in about an hour including rising time
Ingredient Notes
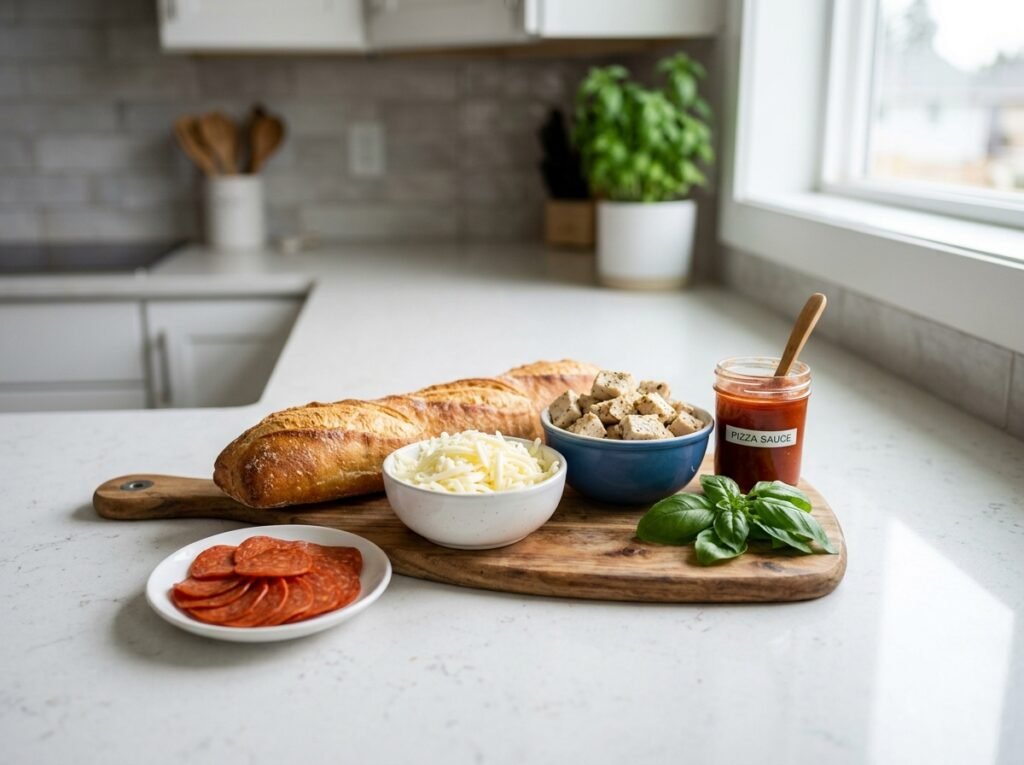
For the Dough
- Instant or active dry yeast: Provides the rise and soft texture. Purpose: leavening. Use fresh yeast for best results.
- Warm milk: Activates the yeast and enriches the dough. Purpose: tenderness and flavor. Substitutions: water or plant-based milk.
- All-purpose flour: The structure of the bread. Purpose: gluten development. Bread flour can be used for chewier results.
- Oil: Adds softness and helps with browning. Purpose: moisture and richness. Neutral oil or olive oil both work.
- Salt (standard addition): Balances flavor.
For the Chicken Filling
- Boiled and shredded chicken: The protein base. Purpose: hearty, savory filling. Use leftover roast chicken or quickly boil breast or thigh meat.
- Oil: For sautéing.
- Spices (red chili powder, chili flakes, cumin or coriander powder, black pepper): Build the signature spicy-savory profile. Purpose: flavor depth. Adjust heat to taste.
- Tomato sauce or ketchup/paste: Binds the filling and adds tangy sweetness. Purpose: moisture and classic pizza taste.
- Green bell pepper (diced): Fresh crunch and color. Purpose: vegetable contrast.
- Fresh tomato (diced): Bright acidity. Purpose: freshness.
For Assembly & Topping
- Shredded mozzarella cheese: Melts beautifully and creates the stretch. Purpose: gooey texture. Low-moisture mozzarella works best.
- Green chili slices and black olives: Classic pizza garnish that also looks attractive. Purpose: flavor and visual appeal.
Buying tips: Choose firm green peppers and ripe but firm tomatoes. Store shredded chicken in the refrigerator up to 3 days. Keep yeast in the fridge or freezer for longer shelf life.
Kitchen Equipment
- Large mixing bowl
- Measuring cups and spoons
- Non-stick skillet or frying pan
- Wooden spoon or spatula
- Rolling pin
- Baking tray
- Plastic wrap or clean kitchen towel
- Sharp knife or dough scraper
- Oven
Optional: pastry brush for oil, kitchen scale for precision.
Preparation Information
Prep Time: 20 minutes (plus 30–40 minutes rising) Cook Time: 20–25 minutes Total Time: Approximately 1 hour 15 minutes Servings: 2 large pizza breads (serves 4–6)
Step-by-Step Instructions
1. Activate the Yeast and Make the Dough In a large bowl, add 1 teaspoon yeast. Pour in about ½ cup warm milk (not hot) and let it sit for 1–2 minutes until slightly foamy. Add 2–2½ cups all-purpose flour, 1–2 tablespoons oil, and a pinch of salt. Mix with your hand or a spoon until a soft dough forms. Knead briefly in the bowl until smooth and no longer sticky. Drizzle a little extra oil over the dough, turn to coat, cover with plastic wrap, and let rise in a warm place for 30–40 minutes until doubled.
Why it matters: Warm milk wakes up the yeast gently. Proper kneading develops just enough gluten for a soft yet structured bread. Visual cue: dough should look smooth and spring back slightly when poked.
2. Prepare the Chicken Filling Heat 1–2 tablespoons oil in a skillet over medium heat. Add 1½–2 cups shredded boiled chicken and sauté for 1–2 minutes. Sprinkle in the spices (½–1 teaspoon red chili powder, ½ teaspoon chili flakes, ½ teaspoon cumin or coriander, black pepper to taste). Pour in 3–4 tablespoons tomato sauce or paste and stir well. Add diced green bell pepper and diced tomato. Cook for 3–4 minutes until the peppers soften slightly and the mixture is well coated and fragrant. Turn off the heat and let the filling cool.
Why it matters: Cooking the chicken with spices and sauce concentrates flavor so every bite of the finished bread is seasoned. Cooling prevents the dough from becoming soggy. Aroma cue: the kitchen fills with warm, spicy tomato scent.
3. Divide and Roll the Dough Once risen, punch down the dough gently. Divide into two equal portions. On a lightly floured surface, roll each portion into a medium-sized oval or rectangle about ¼-inch thick.
Why it matters: Even thickness ensures uniform baking. Medium size is easier to fill and fold without tearing.
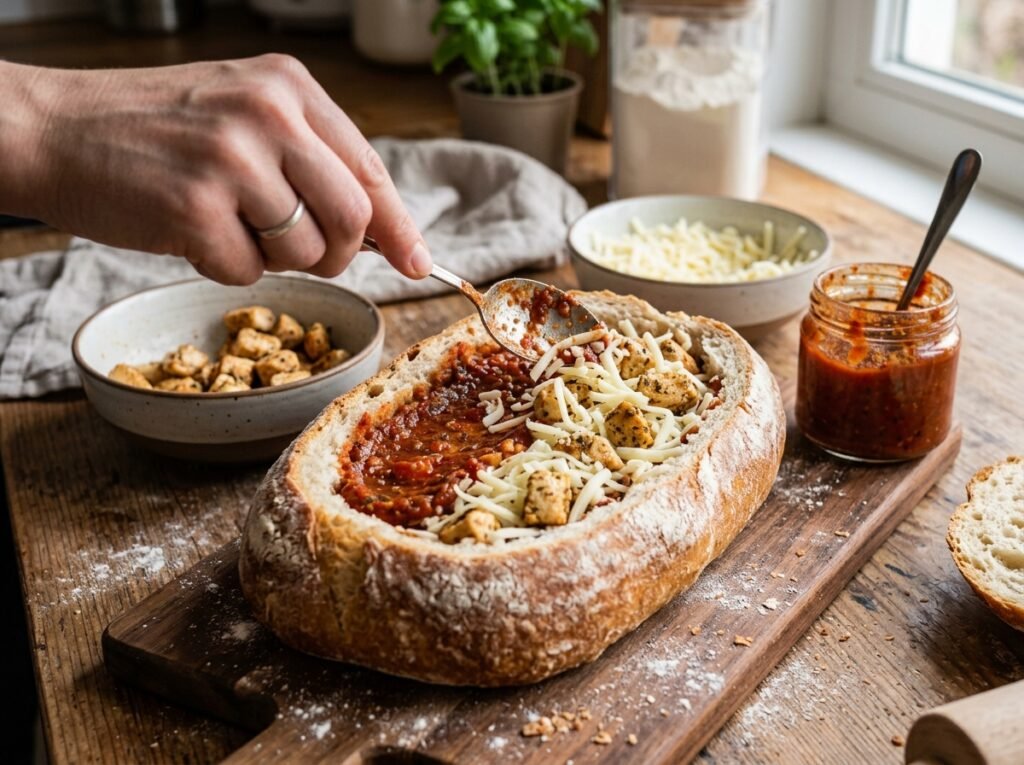
4. Assemble the Pizza Breads Place a layer of shredded mozzarella in the center of each rolled dough, leaving a border. Spoon a generous amount of the cooled chicken filling over the cheese. Top with a little more mozzarella. Fold the long sides over the filling to form a neat rectangular parcel, pinching the seams firmly to seal. Place seam-side down on a baking tray.
Why it matters: Cheese under and over the filling guarantees maximum melt and stretch. Tight sealing keeps the filling inside during baking.
5. Score and Decorate Using a sharp knife, make 3–4 diagonal slits on the top of each bread. Arrange thin green chili slices and black olive pieces into the slits or on the surface for an attractive pizza look. Optionally brush lightly with oil for extra shine.
Why it matters: Slits allow steam to escape so the bread doesn’t burst. The toppings bake into the surface and look professional.
6. Bake Preheat the oven to 180–200 °C (350–400 °F). Bake the pizza breads for 18–25 minutes until the tops are deep golden brown and the bottoms sound hollow when tapped. The cheese will be melted and slightly browned in places.
Visual cue: the breads should look puffed, glossy, and evenly colored. Remove from the oven and let rest 5 minutes before slicing.
Expert Tips
- Use warm (not hot) milk so you don’t kill the yeast.
- Let the filling cool completely before assembling—hot filling makes the dough sticky and hard to seal.
- Don’t overfill or the seams may open during baking.
- For extra shine and flavor, brush the tops with a little oil or milk before baking.
- If the dough feels tight while rolling, let it rest 5 minutes so the gluten relaxes.
- Freshly shredded mozzarella melts better than pre-shredded (which often contains anti-caking agents).
Common Mistakes
- Dense bread: yeast was old or milk was too hot. Always check yeast activity and use lukewarm liquid.
- Filling leaking: seams not sealed well or overfilled. Pinch firmly and avoid putting filling too close to the edges.
- Pale crust: oven not hot enough or baking time too short. Preheat fully and bake until deep golden.
- Soggy bottom: filling too wet. Cook the tomato and peppers long enough to evaporate excess moisture.
- Dry interior: over-baking. Check at the 18-minute mark.
Recipe Variations
- Spicy: Add extra chili flakes or a spoonful of chili garlic sauce to the filling.
- Vegetarian: Replace chicken with sautéed mushrooms, paneer, or mixed vegetables.
- Extra Cheesy: Double the mozzarella or add a mix of cheddar and mozzarella.
- Chicken Tikka Style: Marinate the shredded chicken in tikka spices before cooking.
- Beef or Mutton: Use cooked minced meat instead of chicken.
- Seafood: Fill with cooked shrimp or tuna mixed with the same sauce base.
- Healthy: Use whole-wheat flour for part of the dough and increase the vegetable content.
- Low-Carb: Not ideal, but you can try a fathead-style dough if preferred.
- High-Protein: Add extra chicken and a sprinkle of grated Parmesan.
What to Serve With This Recipe
Serve hot with tomato ketchup, mint chutney, or garlic mayo for dipping. A simple cucumber-tomato salad or coleslaw balances the richness. For drinks, pair with cold soft drinks, lemonade, or masala chai. These pizza breads also work well as part of a larger snack platter with fries or onion rings.
Make-Ahead Tips
Prepare the dough and let it rise, then refrigerate overnight (punch down before using). The chicken filling can be made 1–2 days ahead and stored in the refrigerator. Assemble the breads, place on a tray, cover, and refrigerate for up to 4 hours before baking. Add a couple of extra minutes to the baking time if starting from cold.
Meal Prep Tips
Bake a full batch, cool completely, wrap individually, and freeze. Reheat straight from frozen for quick lunches or snacks. The filling alone freezes well for future pizza breads or wraps.
Storage Instructions
Store cooled pizza breads in an airtight container at room temperature for up to 1 day or in the refrigerator for 3 days. For longer storage, wrap tightly in foil or plastic and freeze for up to 1 month.
Reheating Instructions
- Oven (best): 160–170 °C for 8–10 minutes until warmed through and crisp.
- Air Fryer: 160 °C for 4–6 minutes.
- Microwave: 30–45 seconds (bread will be softer).
- Stovetop: Warm in a covered pan over low heat with a few drops of water to create steam.
Nutritional Information (Approximate per serving, based on 6 servings)
Calories: 380–450 Protein: 18–22 g Carbohydrates: 42–48 g Fat: 14–18 g Fiber: 2–3 g Sugar: 3–5 g Sodium: 550–700 mg
Values vary depending on exact amounts of cheese, oil, and chicken used.
Troubleshooting Guide
- Dough not rising: yeast expired or liquid too hot/cold. Proof yeast separately first next time.
- Bread too dense: under-kneaded or not enough rising time. Give it a full 30–40 minutes in a warm spot.
- Cheese leaking out: seams not sealed or slits cut too deep. Pinch edges tightly and make shallow cuts.
- Undercooked center: oven temperature too low or breads too thick. Roll slightly thinner and ensure oven is fully preheated.
- Over-browned top: cover loosely with foil for the last 5 minutes if needed.
Frequently Asked Questions
Can I use store-bought pizza dough? Yes. Thaw and roll it out, then proceed with the filling and shaping steps.
How do I know when the bread is fully baked? The top should be deep golden, the bottom lightly browned, and the bread should feel light when lifted.
Can I make these without an oven? You can cook them on a stovetop in a heavy covered pan over low heat, flipping carefully, though the texture will be slightly different.
Is the dough sticky? It should be soft but manageable. Add a little flour while kneading if needed, but avoid making it too stiff.
Can I freeze the unbaked pizza breads? Yes. Assemble, freeze on a tray until solid, then transfer to a freezer bag. Bake from frozen, adding 5–8 extra minutes.
What other toppings can I use? Try corn, jalapeños, mushrooms, or different cheeses—anything you enjoy on pizza.
How spicy is the filling? Mild to medium as shown. Adjust the chili powder and flakes to your preference.
Can I make mini versions? Absolutely. Divide the dough into smaller portions for individual pizza breads—great for parties.
Final Thoughts
Homemade chicken pizza bread brings together the best of soft bread and classic pizza flavors in one easy, shareable package. The combination of spiced chicken, melted mozzarella, and those signature green chili and olive toppings makes every bite satisfying. Whether you serve it as an after-school snack, party appetizer, or simple dinner with salad, this recipe delivers bakery-quality results with everyday ingredients. Try it once and you’ll understand why it disappears so quickly. Bake a batch this week, then come back and tell me your favorite filling variation or how the cheese pull turned out!
1 thought on “Homemade Chicken Pizza Bread”