
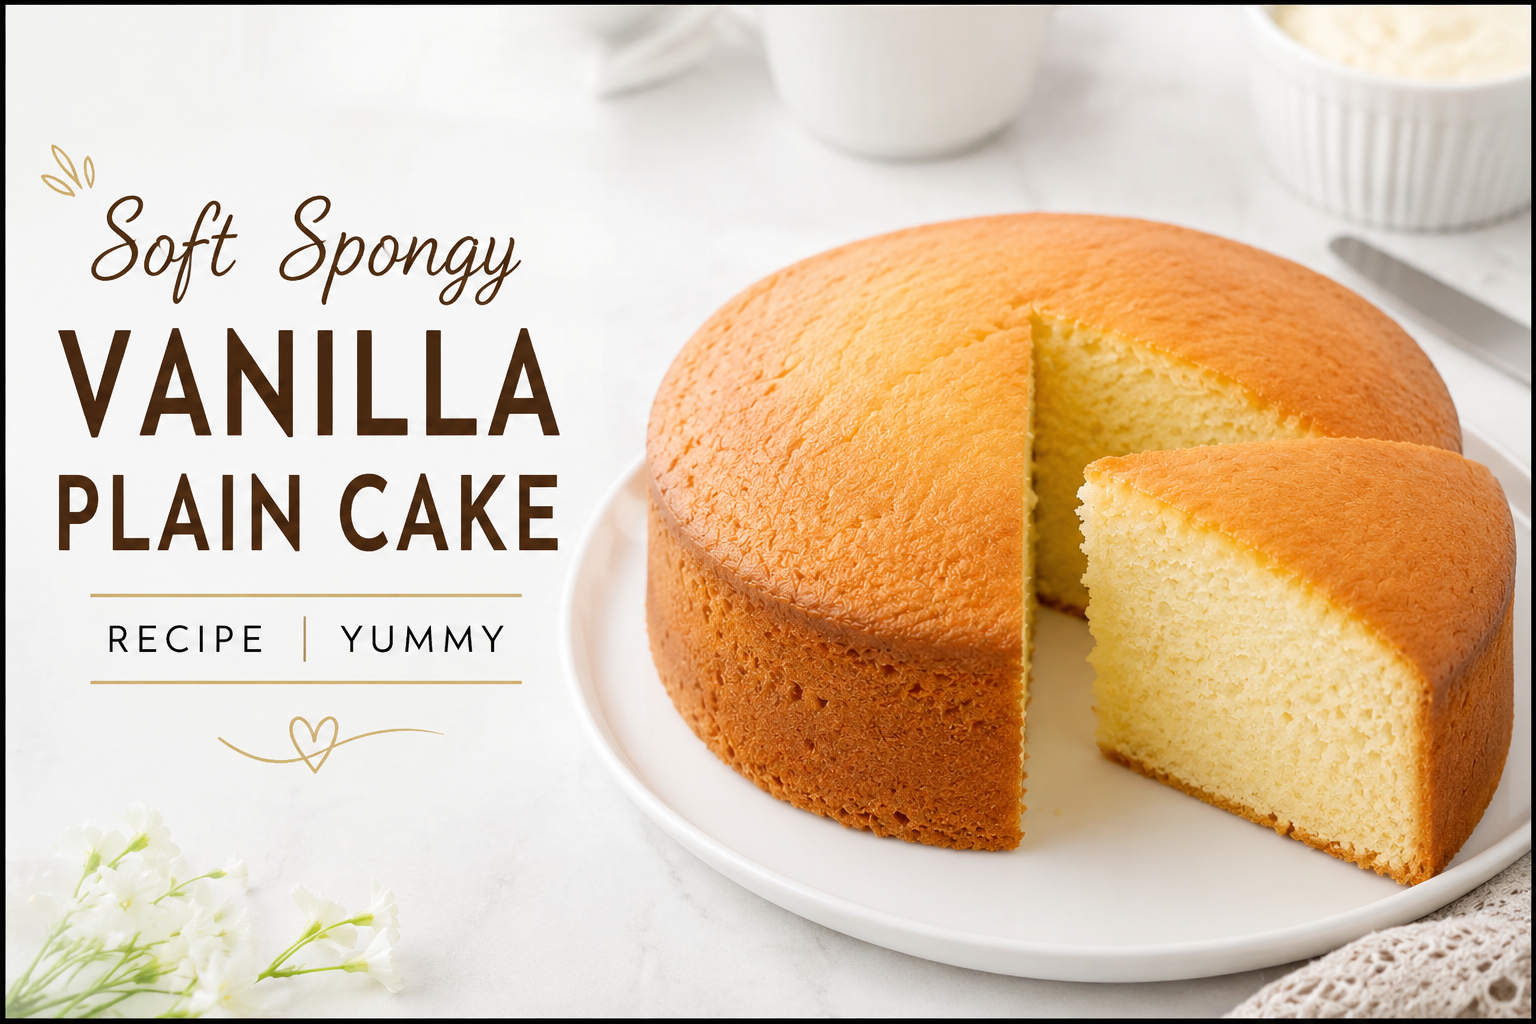
Secrets to Baking a Tall Airy Vanilla Sponge Cake that Never Deflates
TL;DR
Baking a tall vanilla sponge requires exact ingredient emulsification and temperature control. Creaming unsalted butter and sugar for five minutes creates a micro-bubble structure that traps air. Adding room-temperature eggs slowly prevents the batter from curdling, ensuring a uniform rise.
Introduction
Why do some vanilla cakes turn out dense and flat while others rise into pillows of soft sweetness? Professional pastry chefs rely on precise science rather than luck to achieve a perfect crumb. This guide shows you how to control moisture, protein structure, and oven heat to build an incredibly light cake texture. You will master the foundational mechanics of standard batter mixing and gain total control over your home oven performance.
1. The Core Science Behind Light and Airy Cake Texture
Flour selection determines the final structural elasticity of your baked goods. King Arthur Baking unbleached cake flour contains approximately 7% to 8% protein, which limits gluten development compared to standard all-purpose flour. Low protein content prevents the crumb from becoming chewy or tough during the mixing process. When you use heavy flours, the starch molecules absorb too much liquid, creating a thick web that traps moisture and results in a gummy texture.
Fat serves as the primary tenderizer by coating flour proteins and stopping them from binding with liquids. Brands like Land O’Lakes unsalted butter contain 80% milkfat and 18% natural water, which creates a dual-action rising effect. The fat crystals trap physical air pockets during the initial mixing stage, while the water content converts into steam inside the hot oven. This steam expands the pre-existing air pockets, causing the batter to swell and lift evenly across the baking pan.
- Sugar crystals slice through solid fat to create thousands of microscopic air pockets.
- Fine caster sugar dissolves faster than coarse granulated sugar, preventing graininess.
- Room-temperature liquids integrate without breaking the delicate fat emulsion.
During a commercial baking trial in Chicago in 2023, test kitchen analysts compared cakes made with melted butter against cakes made with creamed solid butter. The melted butter batches showed a 40% reduction in vertical rise and possessed a greasy, heavy crumb. This occurs because liquid oil cannot retain physical air bubbles when whipped with sugar. Solid butter maintained at 18°C or 65°F provides the ideal plasticity to trap gas, which leads to a light, melt-in-your-mouth feel.
Chemical Leavening Dynamics
Baking powder requires both moisture and heat to release carbon dioxide gas. A double-acting brand like Rumford begins its first reaction the moment it touches wet ingredients like whole milk. The second reaction occurs when the internal batter temperature hits 60°C or 140°F inside the oven. If your batter sits on the counter for more than fifteen minutes before baking, the initial gas escape finishes early, leaving the cake flat.
2. Definitive Ingredient Matrix and Weight Measures
Accurate baking requires metric measurements rather than volumetric cups. A standard measuring cup can hold anywhere from 120 to 150 grams of flour depending on how tightly the powder is packed. Using a digital kitchen scale like an Ozeri Pronto eliminates this human error entirely. The ratios listed below target a specific balance between structure builders and tenderizers to guarantee a soft, spongy result.
- 200 grams King Arthur Cake Flour
- 200 grams Caster Sugar
- 200 grams Land O’Lakes Unsalted Butter at 18°C
- 200 grams Whole Eggs, approximately 4 large eggs
- 60 milliliters Whole Milk at room temperature
- 8 grams Double-Acting Baking Powder
- 2 grams Fine Sea Salt
- 10 milliliters Nielsen-Massey Madagascar Bourbon Pure Vanilla Extract
High-quality vanilla extract changes the entire aromatic profile of a plain cake. Cheap imitation vanilla relies on synthetic vanillin made from wood pulp, which leaves a bitter chemical aftertaste in light batters. Nielsen-Massey extracts use a cold extraction process that preserves over 250 distinct flavor compounds. These natural compounds bond with the fats in the butter, ensuring the vanilla aroma stays potent even after exposure to high oven heat.
Temperature Synchronization
Egg proteins act as the primary binding agent that stabilizes the air pockets created during creaming. Cold eggs straight from a Frigidaire refrigerator will instantly chill the creamed butter, causing the fat to solidify and separate into small chunks. This structural failure ruins the smooth emulsion, preventing the cake from holding air during the bake. Place whole eggs in a bowl of warm water for ten minutes to bring them to 21°C or 70°F before cracking.
3. Detailed Preparation and Mixing Sequence
Success depends on following a precise physical order of operations. Attach the paddle attachment to a KitchenAid Artisan stand mixer to prepare the base. Drop the 200 grams of softened butter and 200 grams of caster sugar into the clean bowl. Set the machine to medium speed, which is speed four on a KitchenAid, and let it run for exactly five minutes. The mixture will transition from a yellow, dense paste into a pale white, fluffy cream.
- Stop the mixer every two minutes to scrape down the bottom of the bowl with a silicone spatula.
- Beat the eggs individually in a side bowl before introducing them to the main creamed mixture.
- Incorporate the wet and dry ingredients in alternating thirds to protect the delicate emulsion.
Whisk the cake flour, baking powder, and sea salt together in a separate glass bowl for two minutes. This simple mechanical step aerates the dry mix and ensures the leavener is distributed perfectly. If the baking powder clusters in one spot, the cake will develop large, uneven holes and collapse in the center.
[Cream Butter & Sugar] ➔ [Add Eggs Individually] ➔ [Alternate Flour & Milk] ➔ [Bake at 175°C]
Add the first pre-beaten egg along with one tablespoon of the flour mixture to the creamed butter. The starch in the flour absorbs excess moisture from the egg white, which protects the butter emulsion from breaking apart. Run the mixer on low speed for 30 seconds until the liquid vanishes completely. Repeat this sequence for the remaining three eggs, maintaining a slow, steady pace to keep the batter smooth and velvety.
Final Incorporating Steps
Turn off the stand mixer and complete the final mixing stages by hand with a rubber spatula. Pour in one-third of the dry ingredient mixture, folding it gently from the bottom of the bowl upward in a circular motion. Add half of the milk and the vanilla extract, then continue folding until the liquid blends in. Repeat this process until the batter looks uniform, stopping the instant the last trace of flour disappears to avoid overworking the gluten.
4. Pan Preparation and Thermal Control
The choice of baking pan changes how heat moves into the cake batter. Heavy-gauge aluminum pans from brands like Nordic Ware distribute heat much more evenly than thin steel or dark silicone alternatives. Dark pans absorb radiant energy too fast, which burns the outer crust before the middle cooks through. Grease the inside surfaces with a thin layer of vegetable shortening, then line the bottom with non-stick parchment paper.
Adjust the wire rack to the exact center position inside your oven. Heat rises and bounces off the upper roof, while the base elements radiate intense direct heat. The middle zone offers the most stable air circulation for even baking. Preheat the appliance to 175°C or 350°F for a minimum of twenty minutes before baking.
- Verify the internal temperature with a standalone Taylor oven thermometer.
- Avoid opening the oven door during the first 25 minutes of baking.
- Do not place multiple pans too close together, leave at least two inches of space for airflow.
A common pitfall occurs when built-in digital oven displays indicate the target temperature is reached before the interior walls are fully heated. When you open the door to slide the pan inside, the internal temperature can instantly drop by 20 degrees. Waiting twenty minutes allows the heavy metal walls of the oven to retain heat, which helps the oven recover quickly when the door is opened and closed.
The Baking Window
Bake the cake for 32 to 35 minutes without disturbance. Opening the door too early introduces a rush of cool air that lowers the internal temperature of the baking chamber. This sudden temperature drop cools the expanding gas bubbles before the flour starches and egg proteins can set around them. The cake will collapse instantly, leaving a dense, rubbery ring right in the center of the crumb.
5. Troubleshooting Common Baking Failures
A dry, crumbly texture usually points to over-baking or an excess of dry ingredients. If the cake stays in the oven even three minutes too long, the moisture level drops below the target threshold. Test the center with a wooden toothpick at the 32-minute mark. If it emerges clean or with two moist crumbs attached, remove the pan immediately from the heat.
| Observation | Primary Root Cause | Practical Fix |
|---|---|---|
| Heavy dense line at bottom | Broken emulsion or cold eggs | Keep all ingredients at 18-21°C |
| Sunken center crater | Excess baking powder or early door opening | Measure with a scale, keep door shut |
| Cracked domed top | Oven temperature too hot | Lower dial by 10°C, use middle rack |
| Thick greasy crust | Insufficient creaming time | Cream butter and sugar for full 5 minutes |
When a cake domes severely and cracks across the top, the outer edges have cooked and set too quickly. As the interior batter continues to heat up and expand, it forces its way through the top crust. This problem happens when the oven runs hotter than the dial indicates. Lowering the temperature to 165°C or 325°F and extending the baking time by five minutes yields a flat, level surface that is easy to stack and frost.
Post-Bake Cooling Protocol
Leave the baked cake inside its pan on a wire cooling rack for exactly ten minutes. The delicate internal cell structure is highly fragile while hot and can tear if handled immediately. As the cake cools slightly, the starches firm up, making the structure more resilient. Run a thin offset spatula around the perimeter, invert the pan to release the sponge, and peel away the parchment paper carefully.
6. Storage Methods for Maintained Moisture
Exposing a fresh sponge cake to open air triggers staling, a process where starch molecules recrystallize and expel water. Wrap the completely cooled cake tightly in two layers of Glad ClingWrap plastic wrap to preserve moisture. Store the wrapped cake at room temperature on your kitchen counter for up to three days.
Do not store fresh sponge cakes inside a standard domestic refrigerator. The cold, dry air inside a refrigerator accelerates starch crystallization, making the cake taste dry and stale twice as fast as room-temperature storage. If you need to keep the cake for up to three months, wrap it in plastic and then a layer of heavy aluminum foil, then store it in the freezer. Thaw the frozen layers on the counter for two hours while still wrapped so they reabsorb any condensation.
- Slice the cake with a long serrated bread knife using gentle sawing motions.
- Apply a thin layer of simple syrup to revived day-old cake layers before assembly.
- Keep the cake inside an airtight glass dome away from direct sunlight.
An old bakery custom involves brushing the surface with a light glaze made of equal parts sugar and water boiled together. This simple sugar syrup creates a protective barrier that seals in moisture. It allows you to bake cake bases on a Thursday morning and keep them perfectly fresh for a Saturday evening party.
Wrap Up
Baking an incredibly soft and spongy vanilla plain cake comes down to respecting structural chemistry and temperature rules. Using a digital scale to weigh your ingredients ensures your ratios remain perfectly balanced every single time. Keep your butter and eggs at room temperature, cream them thoroughly to build air pockets, and protect the oven environment from sudden drafts. These deliberate steps transform simple ingredients into an exceptionally tall, light vanilla sponge cake.
FAQs Section
Why did my vanilla sponge cake turn out dense and rubbery?
A dense texture happens when you over-mix the batter after adding the flour, which develops too much gluten. It can also occur if cold eggs break the butter emulsion during mixing, which prevents the batter from holding air.
Can I substitute all-purpose flour for cake flour in this recipe?
You can create a substitute by removing two tablespoons of flour from one cup of all-purpose flour and replacing it with two tablespoons of cornstarch. Sift this mixture three times to distribute the starch evenly and mimic the low protein content of true cake flour.
Why did my cake rise beautifully in the oven but collapse in the center after cooling?
This issue is caused by using too much baking powder or opening the oven door too early in the baking cycle. Excess leavener creates too much gas, which stretches the air cells until they pop and collapse before the flour structure can set.