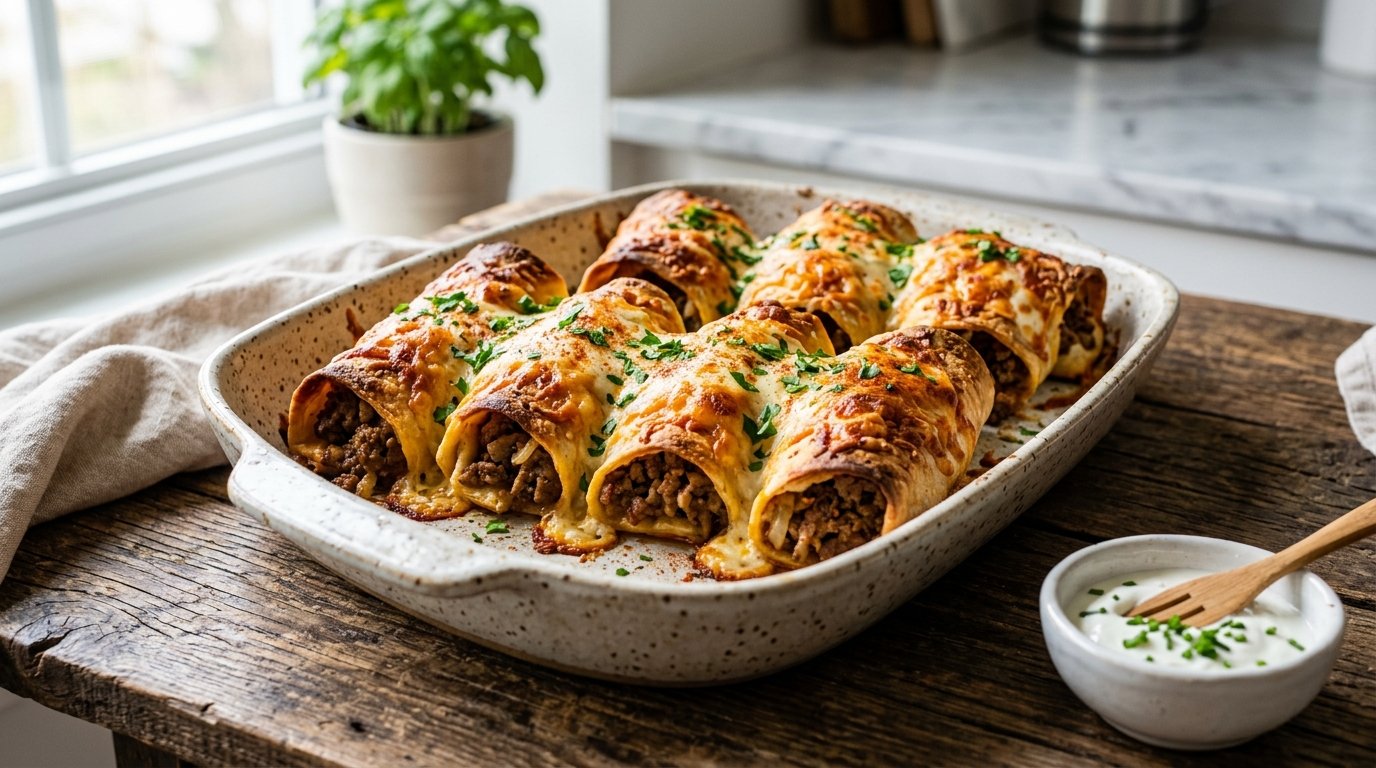
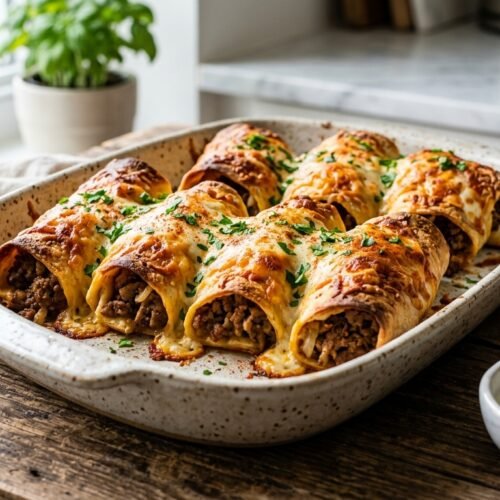
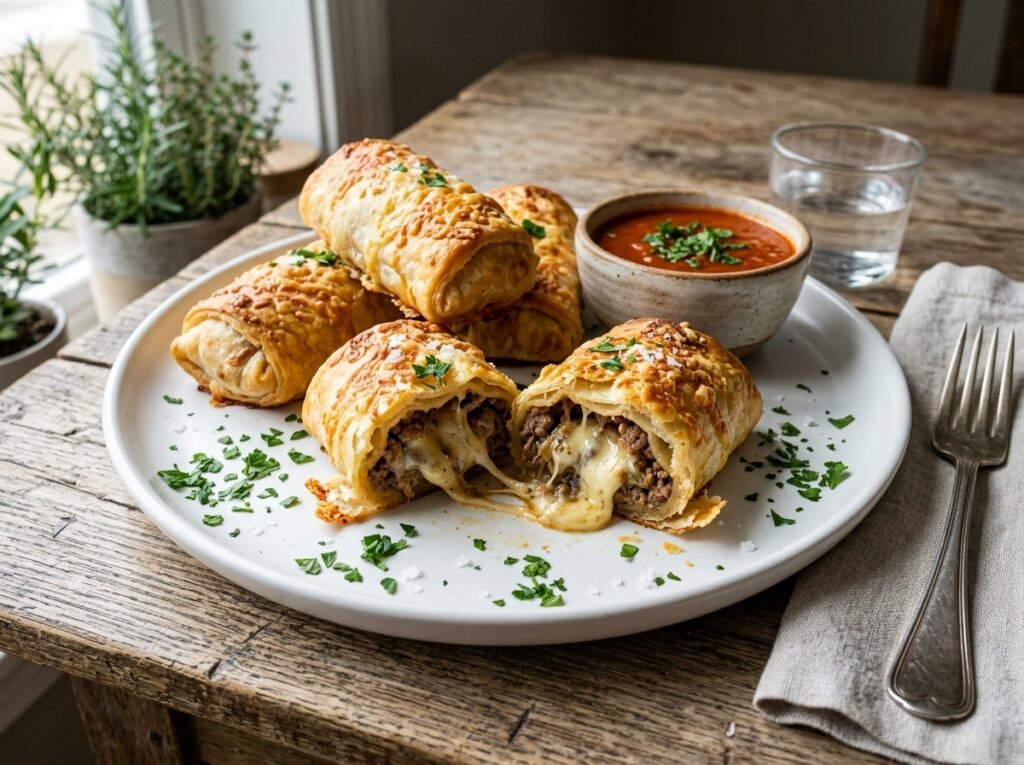
These golden rolls deliver crunchy breadcrumbs outside and molten cheese with savory beef inside every time. I first tried them after watching a quick kitchen video and immediately loved how the thin wrappers lock in the filling while the oven creates an irresistible crust. The cheese pull alone makes them special for game nights or casual dinners, turning simple pantry items into something memorable and shareable.
These rolls combine crisp texture with gooey cheese and seasoned beef perfectly.
Ready in under an hour from start to finish
Kid-friendly yet impressive enough for guests
Freezer-friendly for quick future snacks
Uses affordable everyday ingredients you likely have
Ingredients
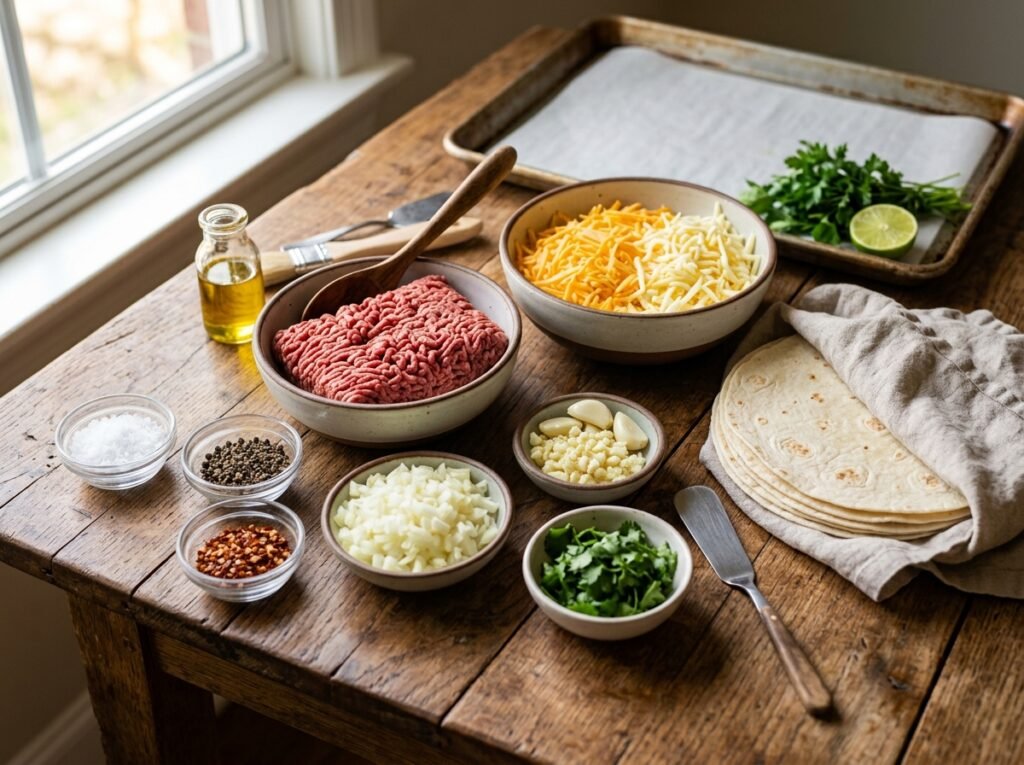
Gather these simple items to create the exact rolls shown in the video process.
12 spring roll wrappers
1 lb ground beef
1/2 cup chopped green onions
1 tsp salt
1/2 tsp black pepper
1 tsp garlic powder
2 cups shredded mozzarella
2 large eggs
2 cups breadcrumbs
2 tbsp oil
You can swap ground beef for turkey or lamb if preferred, or use cheddar instead of mozzarella for sharper flavor. Gluten-free wrappers and breadcrumbs work well for dietary needs without changing the method much at all.
Follow these clear steps to match the video technique for perfect results every time.
Step 1: Cook the beef filling
Brown the ground beef in a skillet over medium heat until fully cooked through. Stir in green onions, salt, pepper, and garlic powder, then drain excess fat and cool slightly.
Step 2: Prep the wrappers
Separate the spring roll wrappers and keep them covered with a damp cloth. Work with one at a time on a clean surface to prevent drying and tearing.
Step 3: Add the filling
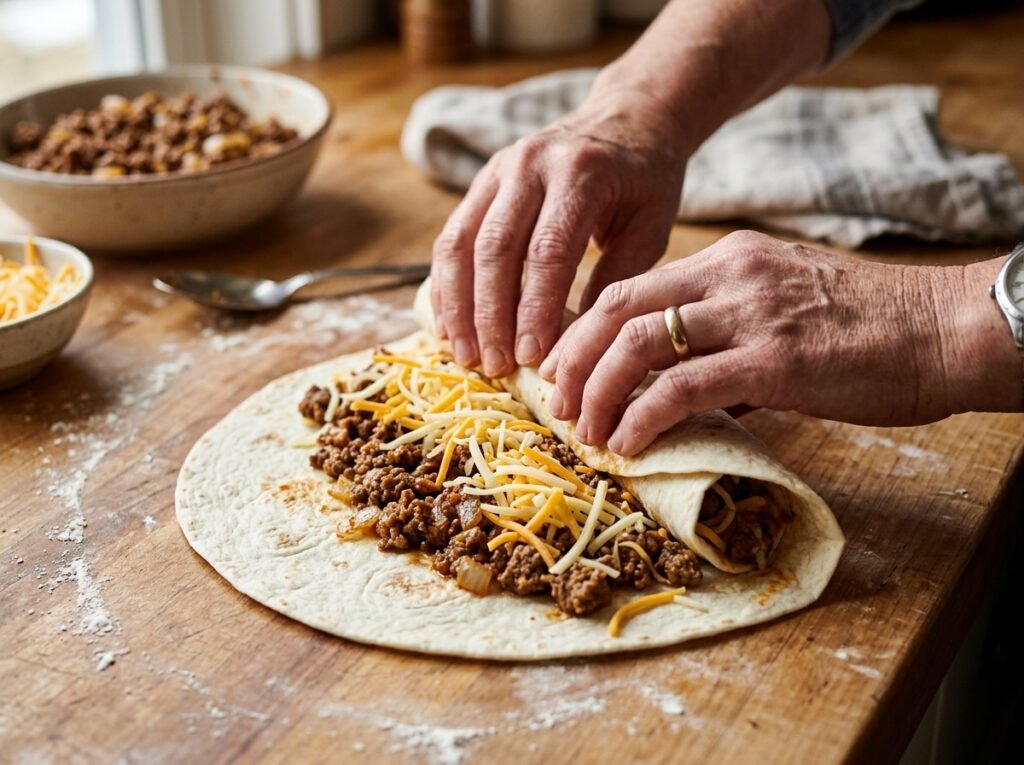
Place a wrapper diamond-style and spoon a line of cooled beef across the lower third. Top generously with shredded mozzarella for that signature melt.
Step 4: Roll tightly
Fold the bottom corner over the filling, tuck in the sides, and roll firmly into a neat cylinder. Press the final edge to seal without gaps.
Step 5: Dip in egg
Beat the eggs in a shallow bowl until smooth. Dip each roll completely so the surface is coated and ready for breadcrumbs.
Step 6: Coat with crumbs
Roll the egg-dipped cylinders in breadcrumbs, pressing gently for even coverage. Place them on a parchment-lined baking sheet.
Step 7: Bake until golden
Preheat the oven to 400°F and bake the rolls for 18 to 22 minutes. Turn once halfway so both sides become evenly crisp and browned.
Crispy Baked Cheesy Beef Rolls
Golden breaded rolls filled with seasoned ground beef and melted mozzarella. These oven-baked treats deliver crunch outside and a stretchy cheese pull inside, perfect for snacks or parties.
Brown ground beef in a skillet until cooked through.
Stir in green onions, salt, pepper, and garlic powder; drain and cool.
Lay one wrapper diamond-style and add a line of beef filling.
Top with shredded mozzarella and roll tightly, sealing the edge.
Dip each roll in beaten egg until coated.
Roll in breadcrumbs, pressing to adhere evenly.
Place on parchment-lined sheet and bake at 400°F for 18-22 minutes, turning once.
Rest two minutes before serving hot.
Tip: Cool the filling completely to avoid soggy wrappers.
Notes
Store leftovers in an airtight container in the fridge up to 3 days. Reheat in a 350°F oven for best crispness. Freeze uncooked breaded rolls for up to 1 month. Swap beef for turkey if preferred.
Step 8: Rest and serve
Remove from the oven and let rest two minutes. Serve hot to enjoy the full cheese pull and steaming filling.
Tips & common mistakes
Avoid these pitfalls to ensure your rolls turn out crispy and intact.
Cool filling fully before assembling to prevent soggy wrappers
Do not overfill or the rolls may split while baking
Keep unused wrappers covered so they stay pliable
Press breadcrumbs firmly so the coating adheres evenly
Recipe variations
Try these simple twists to customize the rolls for different tastes.
Spicier version: Add chili flakes or diced jalapeños to the beef
Lighter option: Use ground turkey and reduced-fat cheese
Different protein: Swap beef for cooked shredded chicken
Air-fryer method: Cook at 375°F for 12 minutes, shaking once
What to serve with this recipe
Pair these rolls with fresh sides and dips for a complete meal or party spread.
Here are answers to the most common questions about making these rolls successfully.
Can I prepare these rolls ahead of time?
Yes, assemble and bread them up to one day ahead, then refrigerate covered. Bake just before serving for the best crisp texture and melt.
How do I store leftovers properly?
Cool completely and refrigerate in an airtight container for up to three days. Reheat in a 350°F oven for eight minutes to restore crunch.
Can these be frozen before baking?
Absolutely. Freeze breaded uncooked rolls on a tray, then transfer to a bag. Bake from frozen, adding a few extra minutes.
What if my wrappers tear during rolling?
Simply discard the torn one and start fresh with a new wrapper. Keeping them damp and working quickly prevents most tears.
Final thoughts
These crispy baked cheesy beef rolls bring restaurant-style crunch and stretchy cheese right to your kitchen with minimal effort. The video-inspired method is forgiving and rewarding, whether for weeknight snacks or entertaining. Give them a try this week and let me know how the cheese pull turned out in the comments. Rate the recipe if you loved it so others can find it too.