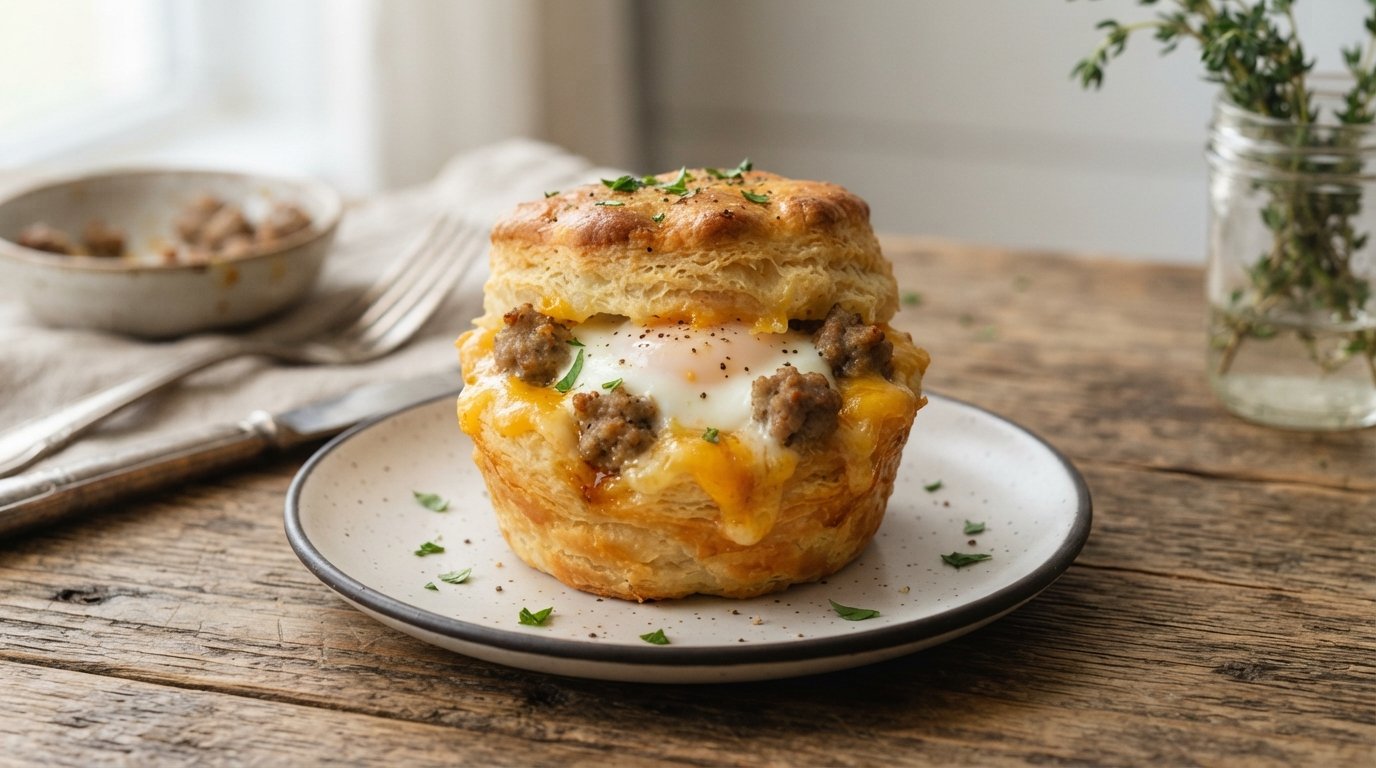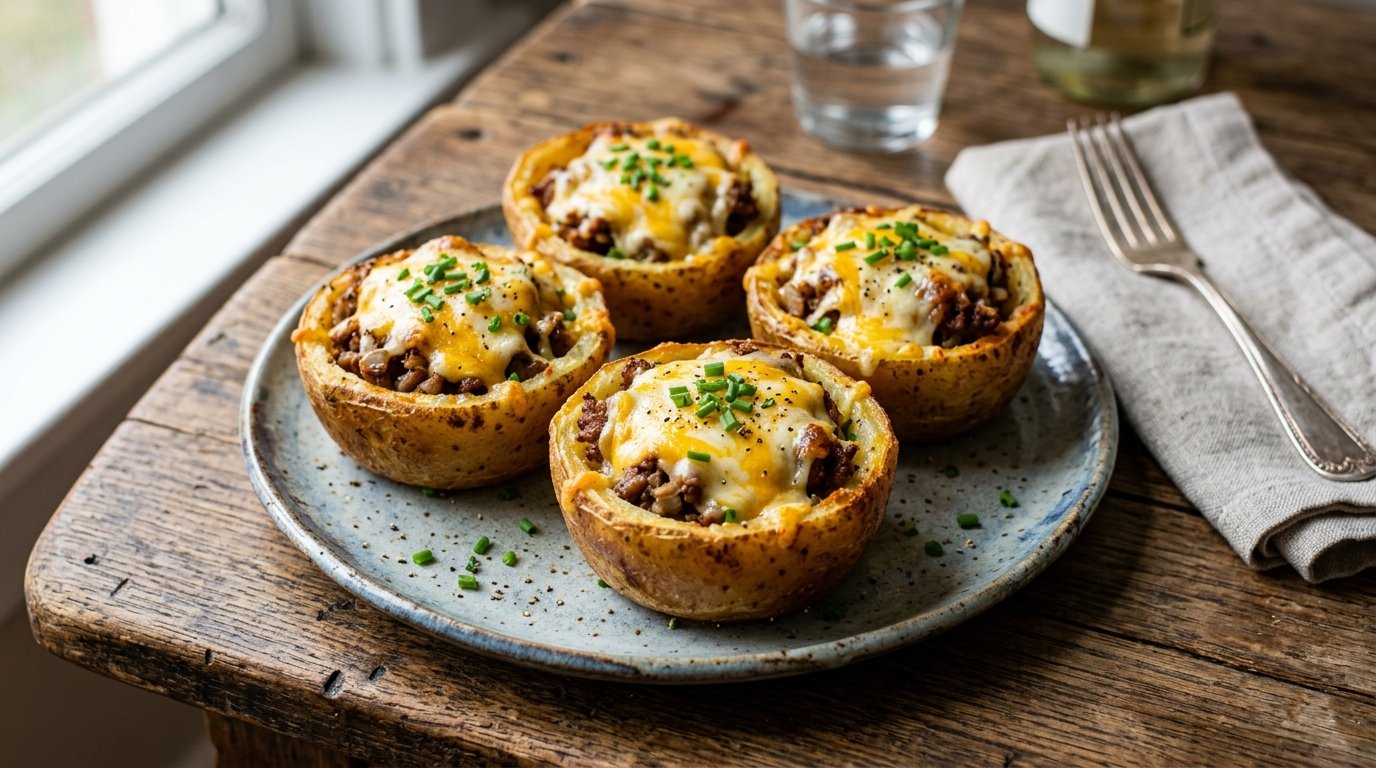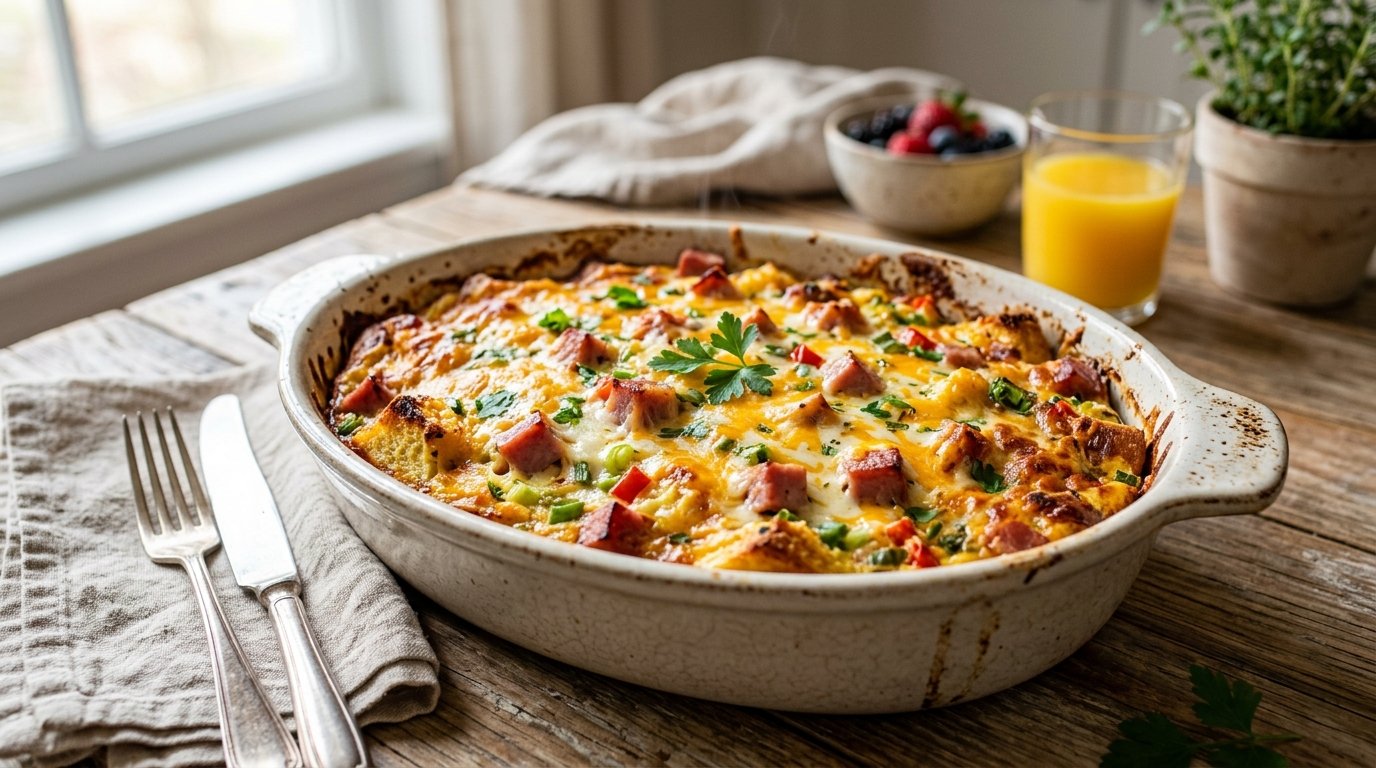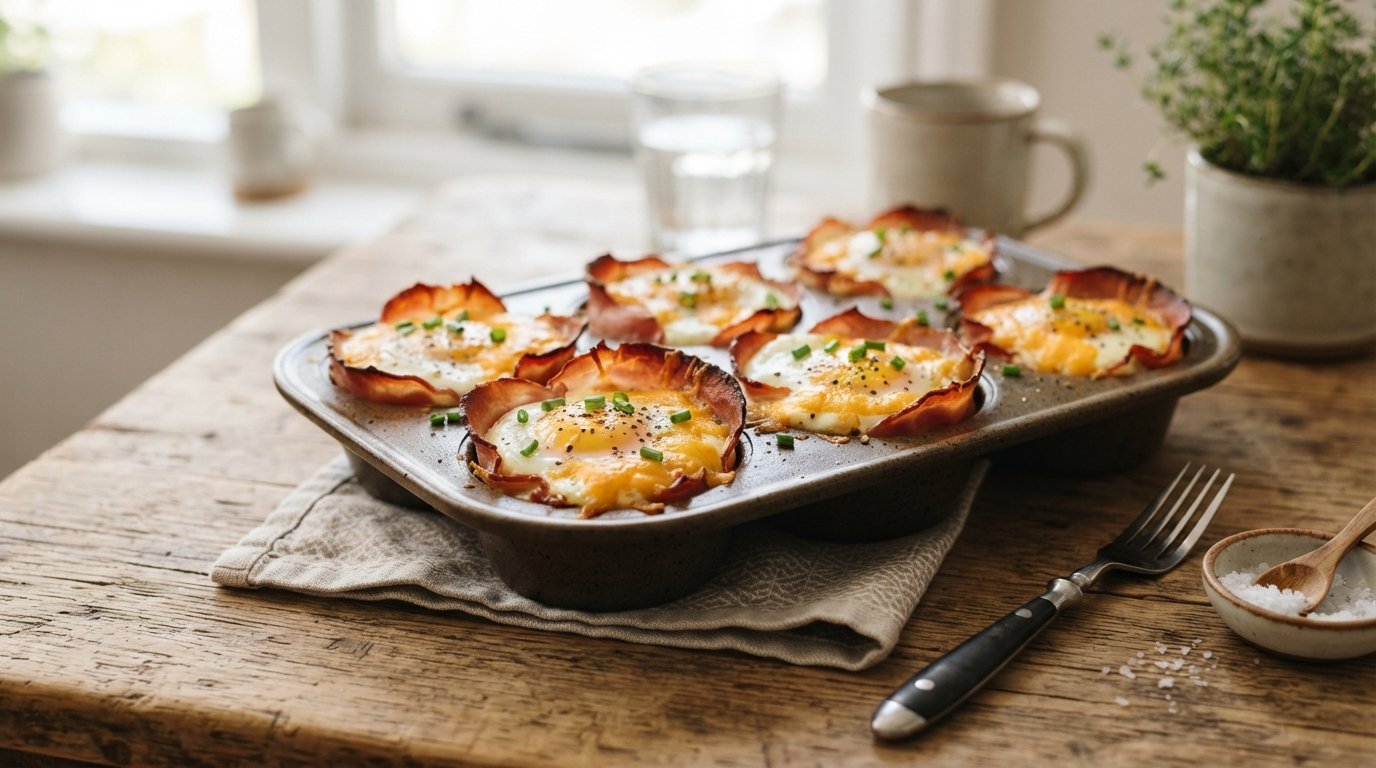
These baked egg cups turned a regular morning into something special the first time I made them. Cubes of soft bread, savory ham, and melty cheese get nestled into a muffin tin, then topped with whisked eggs and herbs. They bake up golden and puffy with a stretchy cheese center that feels indulgent yet simple. Perfect for busy breakfasts or weekend brunch when you want something warm and satisfying without much fuss.
Don’t miss: Cheesy Baked Beef Burritos Recipe with Melty Topping
Why you’ll love this recipe
These baked egg cups deliver big flavor with almost no morning effort required.
- Ready in under thirty minutes from start to finish
- Portable and perfect for meal prep ahead
- Customizable with whatever cheese or meat you have
- Kid-friendly and great for brunch gatherings
Ingredients
You only need a few everyday items to create these golden, cheesy baked egg cups at home.
- 6 slices white bread
- 6 slices ham
- 6 slices cheese (cheddar or similar)
- 6 large eggs
- 2 tbsp chopped fresh parsley
- 1/4 cup shredded mozzarella
- Salt and black pepper to taste
- Butter or oil for greasing
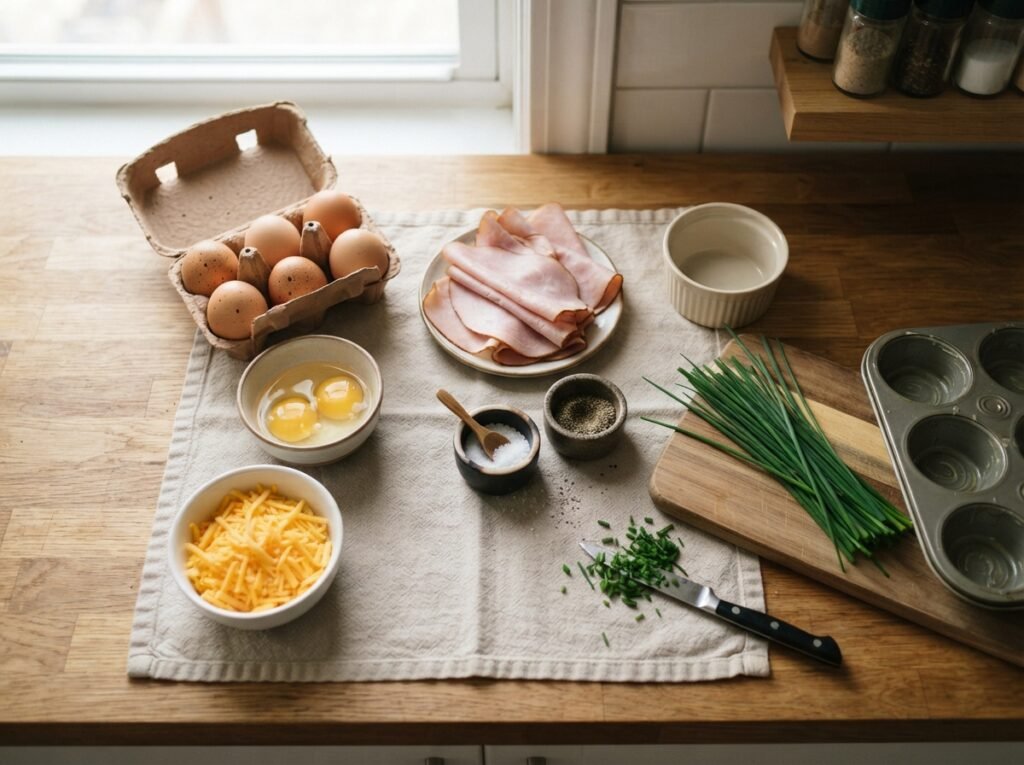
Use any soft sandwich bread if white is unavailable; slightly stale bread holds its shape better. Swap ham for cooked bacon or turkey, and cheddar for Swiss or provolone. Fresh chives or dill can replace parsley for a different herbal note. A light spray of oil works if you prefer not to use butter for the tin.
You might also like: Easy BBQ Pork Ribs Recipe with Sticky Garlic Glaze
Step-by-step instructions
Follow these straightforward steps to assemble and bake the egg cups for the best texture and melt.
Step 1: Preheat and grease
Preheat your oven to 375°F and lightly grease a standard muffin tin. This temperature sets the eggs evenly while giving the bread edges a golden crisp without burning.
Step 2: Cube the bread
Cut the bread slices into small cubes, about one-inch pieces. Place a few cubes into the bottom of each muffin cup to form a soft base that soaks up the egg.
Step 3: Add ham and cheese
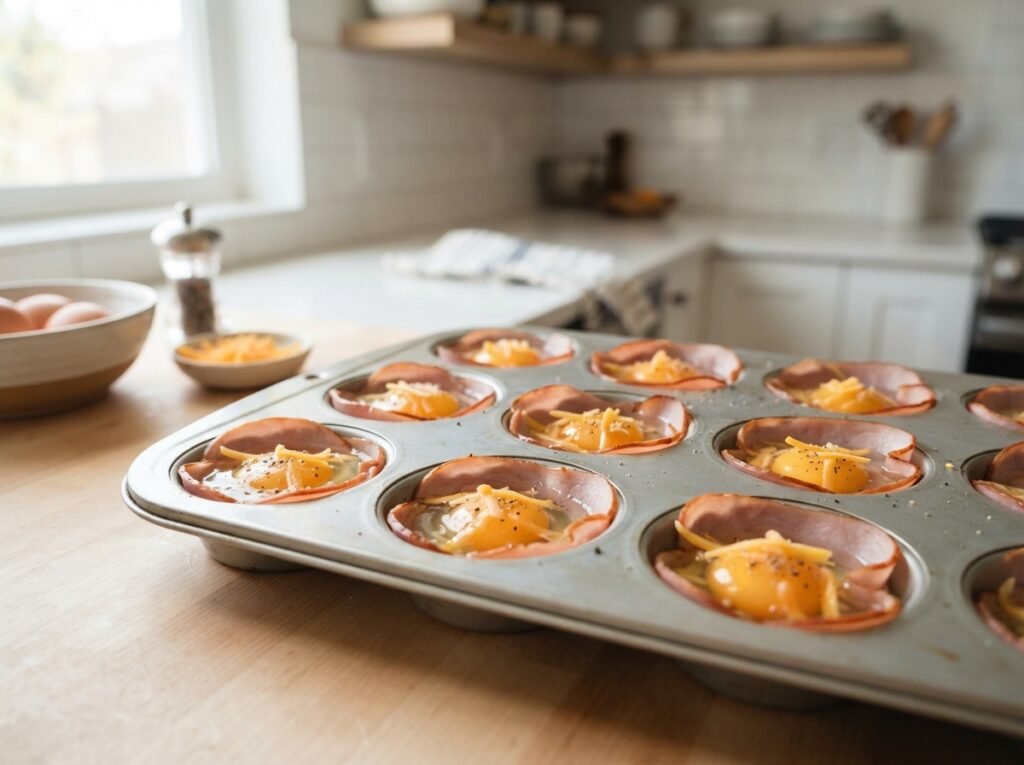
Tear or fold the ham slices and place pieces into each cup along with a slice of cheese. Distribute them so every bite will have both savory meat and melting cheese.
Step 4: Whisk the eggs
Crack the eggs into a bowl and whisk thoroughly with the chopped parsley, salt, and pepper. Beat until the mixture is smooth and slightly frothy for even cooking.
Step 5: Pour the mixture
Carefully pour the egg mixture over the bread, ham, and cheese in each cup. Fill them about three-quarters full so the eggs have room to rise as they bake.
Step 6: Top with mozzarella
Sprinkle or place small amounts of shredded mozzarella on top of each cup. This creates the stretchy, gooey center that appears when you pull the finished cups apart.
Step 7: Bake until set
Place the muffin tin in the oven and bake for 18 to 22 minutes. The tops should look golden and puffed, and the centers should feel firm when gently touched.

Golden baked egg cups filled with bread cubes, ham, and melting cheese. Whisked eggs and herbs create a fluffy, portable breakfast ready in under 30 minutes.
Equipment
- 1 | Muffin tin | 6-cup or 12-cup
- 1 | Mixing bowl |
- 1 | Whisk |
- 1 | Knife |
- 1 | cutting board |
Ingredients
- 6 | slices | white bread | cubed
- 6 | slices | ham |
- 6 | slices | cheese | cheddar or similar
- 6 | large | eggs |
- 2 | tbsp | fresh parsley | chopped
- 1/4 | cup | shredded mozzarella |
- 1 | | salt and black pepper | to taste
- 1 | | butter or oil | for greasing
Instructions
- Preheat oven to 375°F and grease a muffin tin.
- Cut bread into cubes and place some in each muffin cup.
- Add pieces of ham and a slice of cheese to each cup.
- Whisk eggs with parsley, salt, and pepper.
- Pour egg mixture into the cups, filling three-quarters full.
- Top each with shredded mozzarella.
- Bake 18–22 minutes until set and golden.
- Rest 3 minutes, then remove and serve warm.
Notes
Reheat in a 350°F oven for 5–7 minutes.
Freeze individually wrapped cups for up to 1 month.
Grease the tin thoroughly for easy release.
Step 8: Cool and serve
Remove the tin from the oven and let the egg cups rest for three minutes. Run a knife around the edges and lift them out carefully to serve warm.
Tips & common mistakes
A few simple habits ensure the egg cups turn out fluffy and easy to remove every time.
- Grease the tin well so the cups release cleanly
- Do not overfill or the eggs may spill over the sides
- Use room-temperature eggs for more even baking
- Let them rest briefly before removing from the tin

Recipe variations
These versatile egg cups adapt easily to different tastes and dietary preferences.
- Add diced bell peppers or spinach for extra vegetables
- Use cooked sausage instead of ham for a heartier version
- Swap in goat cheese or feta for a tangier flavor
- Make them dairy-free with plant-based cheese alternatives
What to serve with this recipe
Pair these warm egg cups with simple sides that round out a complete breakfast or brunch plate.
- Fresh fruit salad or sliced berries on the side
- Crispy hash browns or roasted potatoes
- Hot coffee or freshly squeezed orange juice
- A light green salad with vinaigrette for balance
Another reader favorite: Easy Chickpea Salad Wrap
Frequently asked questions
Here are answers to the questions people ask most about making baked egg cups at home.
Can I make these ahead of time?
Yes, bake them fully, cool, and store in the fridge for up to three days. Reheat in a 350°F oven for five to seven minutes until warmed through.
Why did my egg cups stick to the tin?
Sticking usually happens when the tin is not greased thoroughly. Use butter, oil, or a nonstick spray and coat every surface of each cup well.
Can I freeze the baked egg cups?
Absolutely. Cool completely, wrap individually, and freeze for up to one month. Thaw overnight in the fridge and reheat before serving.
What bread works best?
Soft white sandwich bread is ideal because it soaks up the egg nicely. Avoid very dense or crusty breads that may stay too firm after baking.
Final thoughts
These baked egg cups bring together soft bread, savory ham, and stretchy cheese in a convenient muffin form that feels special every time. They are simple enough for weekday mornings yet impressive enough for weekend guests. Bake a batch this week and enjoy the warm, cheesy centers straight from the oven. Leave a comment with your favorite add-ins or how you served them—I always enjoy seeing your variations.