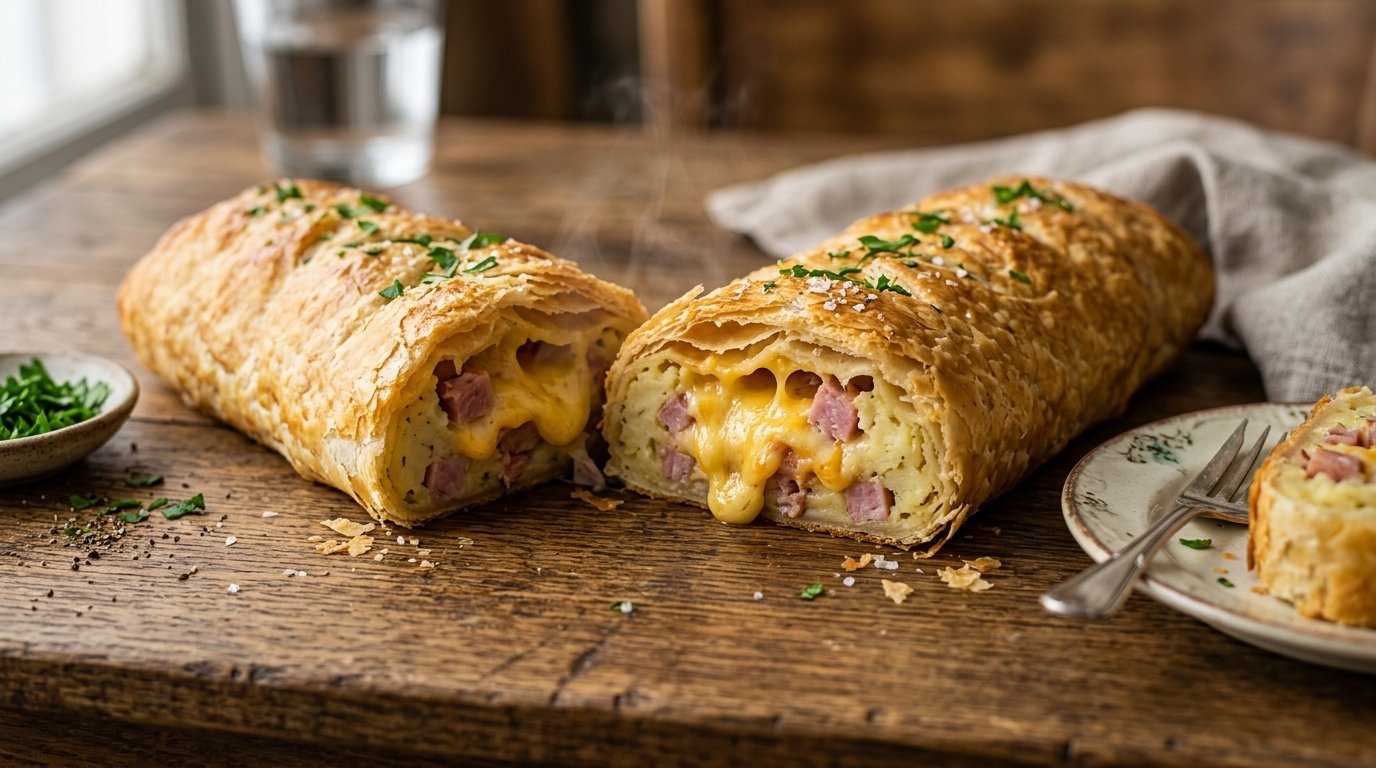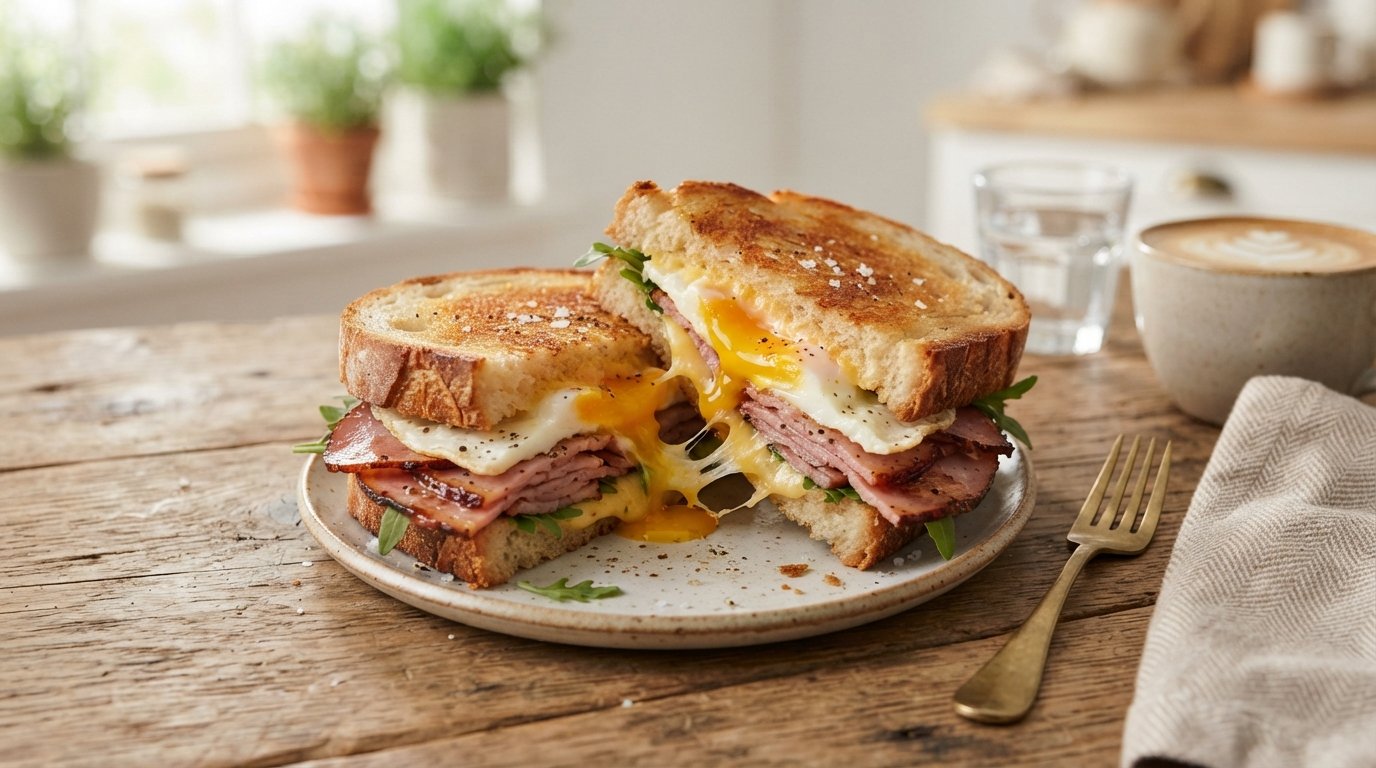
Busy mornings always left me craving something hot and filling without the mess. This sandwich press method cooks the egg right on the plates, then seals everything with melty cheese and savory ham between golden toasted bread. The result is a crispy, gooey breakfast sandwich ready in minutes. It feels like café quality made at home with almost no cleanup.
Don’t miss: Clean Eating Chicken Sweet Potato Bowl Recipe
Why you’ll love this recipe
This sandwich press breakfast delivers café-style results with almost zero effort required.
- Egg cooks directly on the hot plates
- Crispy grilled exterior every single time
- Melty cheese and savory ham inside
- Ready from start to finish in ten minutes
Ingredients
These simple ingredients create a hot, satisfying grilled sandwich with perfect texture and flavor balance.
- 2 slices white bread
- 1 large egg
- 2 slices cheese
- 3 slices ham
- 1 tbsp butter
- 1/2 tsp dried herbs
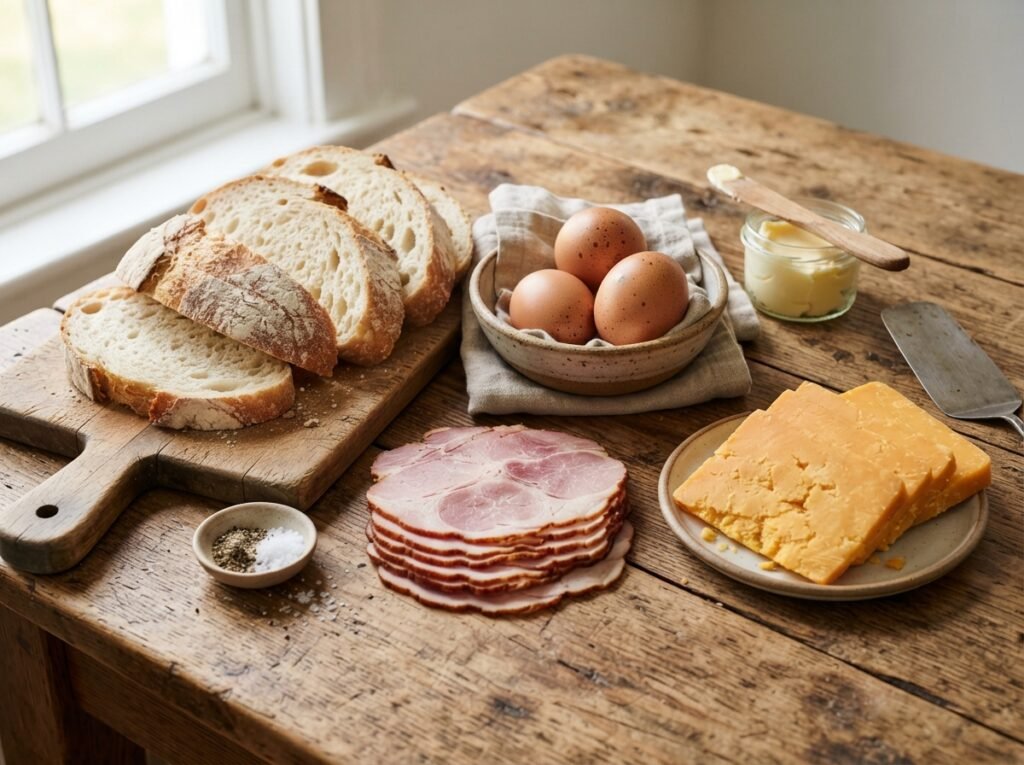
Any soft sandwich bread works well here. Swap cheddar for Swiss or mozzarella if preferred. Turkey or chicken slices can replace the ham, and fresh herbs can stand in for dried ones when available.
Related favorite: Easy Folded Egg Sandwich with Ham and Cheese
Step-by-step instructions
These clear steps walk you through cooking the egg and assembling a perfectly pressed sandwich every time.
Step 1: Heat the sandwich press
Plug in the sandwich press and let it preheat fully according to the manufacturer instructions. A hot surface ensures the egg sets quickly and the bread toasts evenly.
Step 2: Cook the egg
Crack the egg onto the bottom plate of the open press. Season it lightly with dried herbs while it begins to set.
Step 3: Season and finish the egg
Sprinkle a bit more herbs if desired and let the egg cook until the white is fully set. Use a spatula to gently lift and remove the cooked egg.

Step 4: Assemble the bread layers
Place one slice of bread on the bottom plate. Top it with the cheese slices and the second piece of bread.
Step 5: Butter the outside
Spread a thin layer of butter on the top bread slice. This helps create a golden, crispy exterior once pressed.
Step 6: Add the fillings
Open the press if needed and place the cooked egg and ham slices between the cheese and bread. Close the lid firmly to seal everything together.
Step 7: Press until golden
Cook for three to four minutes until the bread shows clear grill marks and the cheese is fully melted. Steam rising is a good sign it is ready.
Easy Grilled Ham Egg and Cheese Sandwich
Equipment
- 1 | Sandwich press | or panini maker
- 1 | Spatula | for egg
- 1 | Butter knife |
- 1 | Knife | for slicing
Ingredients
- 2 | slices | white bread |
- 1 | | large egg |
- 2 | slices | cheese | cheddar or American
- 3 | slices | ham |
- 1 | tbsp | butter | softened
- 1/2 | tsp | dried herbs | oregano or mixed
Instructions
- Preheat the sandwich press.
- Crack the egg onto the bottom plate and season with herbs.
- Cook until the egg white is set, then remove carefully.
- Place one bread slice on the press and top with cheese.
- Add the cooked egg and ham slices.
- Top with the second bread slice and spread butter on the outside.
- Close the press and cook 3-4 minutes until golden with grill marks.
- Remove, slice in half, and serve immediately.
Notes
Leftovers can be refrigerated and reheated in the press.
Use any good melting cheese for best results.
Clean the press plates while still warm for easier cleanup.
Step 8: Slice and serve
Carefully remove the hot sandwich and place it on a plate. Cut it in half diagonally and serve immediately while the cheese is still stretchy.
Tips & common mistakes
A few simple habits guarantee a crispy exterior and perfectly cooked egg every time.
- Preheat the press fully before adding egg
- Do not overfill or the sandwich may leak
- Butter the outer bread for better browning
- Remove egg carefully to keep it intact

Recipe variations
These easy changes let you customize the sandwich for different tastes or dietary needs.
- Add sliced tomato for fresh brightness
- Use turkey or bacon instead of ham
- Make it spicy with chili flakes inside
- Try whole wheat bread for extra fiber
What to serve with this recipe
Pair this hot sandwich with simple sides that complement its rich, savory flavors perfectly.
- Fresh fruit salad for light contrast
- Crispy hash browns on the side
- Hot coffee or fresh orange juice
- Simple green salad with vinaigrette
Worth trying next: Potato-Stuffed Meatballs Baked in Cheesy
Frequently asked questions
Here are answers to the most common questions about making this sandwich press breakfast.
Can I cook the egg without a sandwich press?
Yes, cook the egg in a regular nonstick pan first. Then assemble the sandwich and toast it in a skillet or regular toaster oven.
How do I prevent the sandwich from sticking?
Lightly butter the outer bread and make sure the press plates are clean and preheated. Nonstick plates usually need no extra oil.
Can I make this sandwich ahead of time?
It tastes best fresh, but you can cook the egg in advance and store it refrigerated. Assemble and press just before eating for best texture.
What cheese melts best in this recipe?
Cheddar, American, or mozzarella all melt beautifully. Choose a good melting cheese so you get that satisfying stretch when you pull the halves apart.
Final thoughts
This grilled ham egg and cheese sandwich turns a simple sandwich press into a breakfast hero. The egg cooks right on the plates, the cheese melts into every layer, and the bread comes out perfectly crisp. Make it on busy mornings or lazy weekends and enjoy that hot, gooey bite. Try it soon, leave a rating, and share your favorite variation in the comments below.