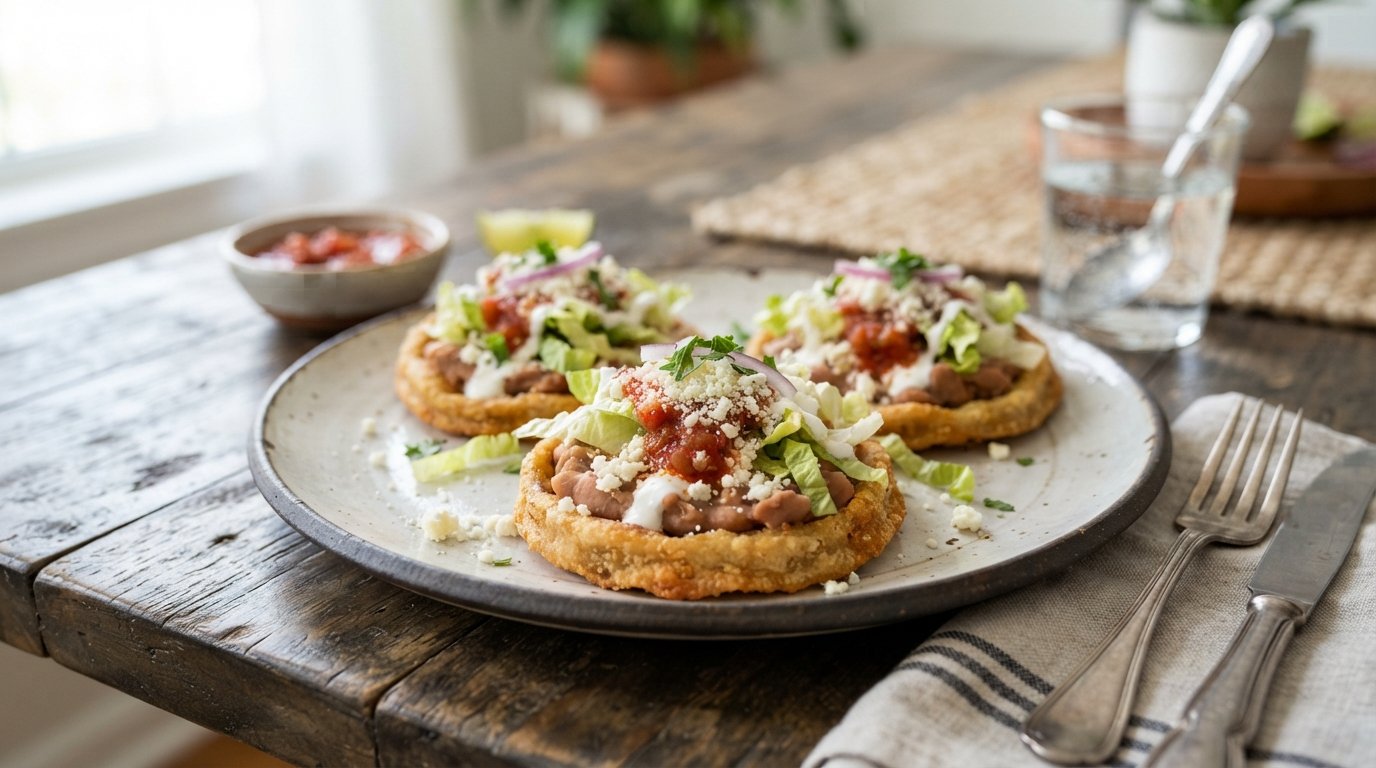
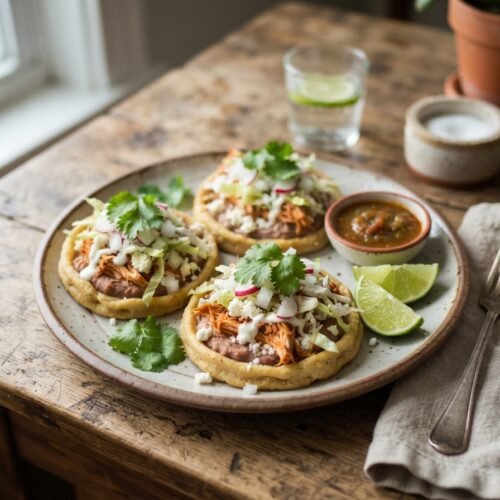
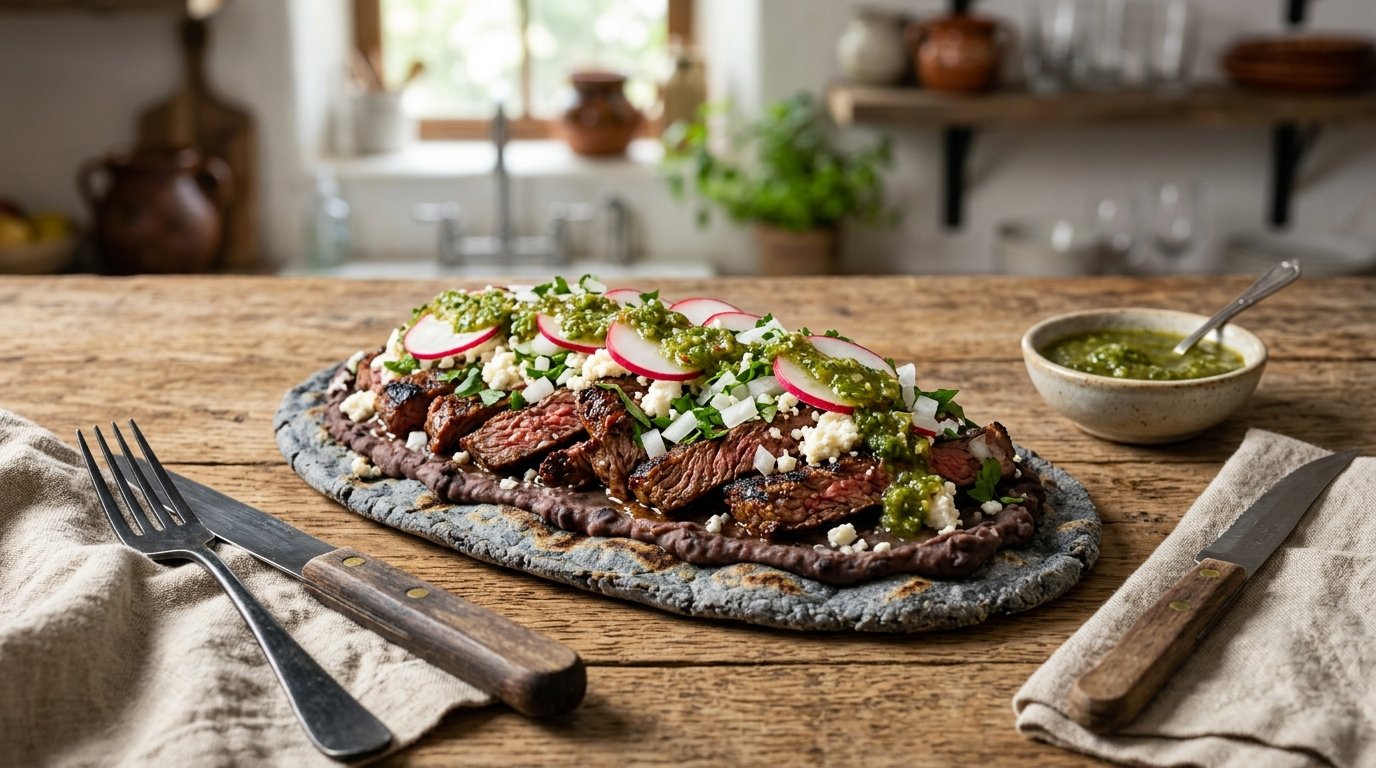
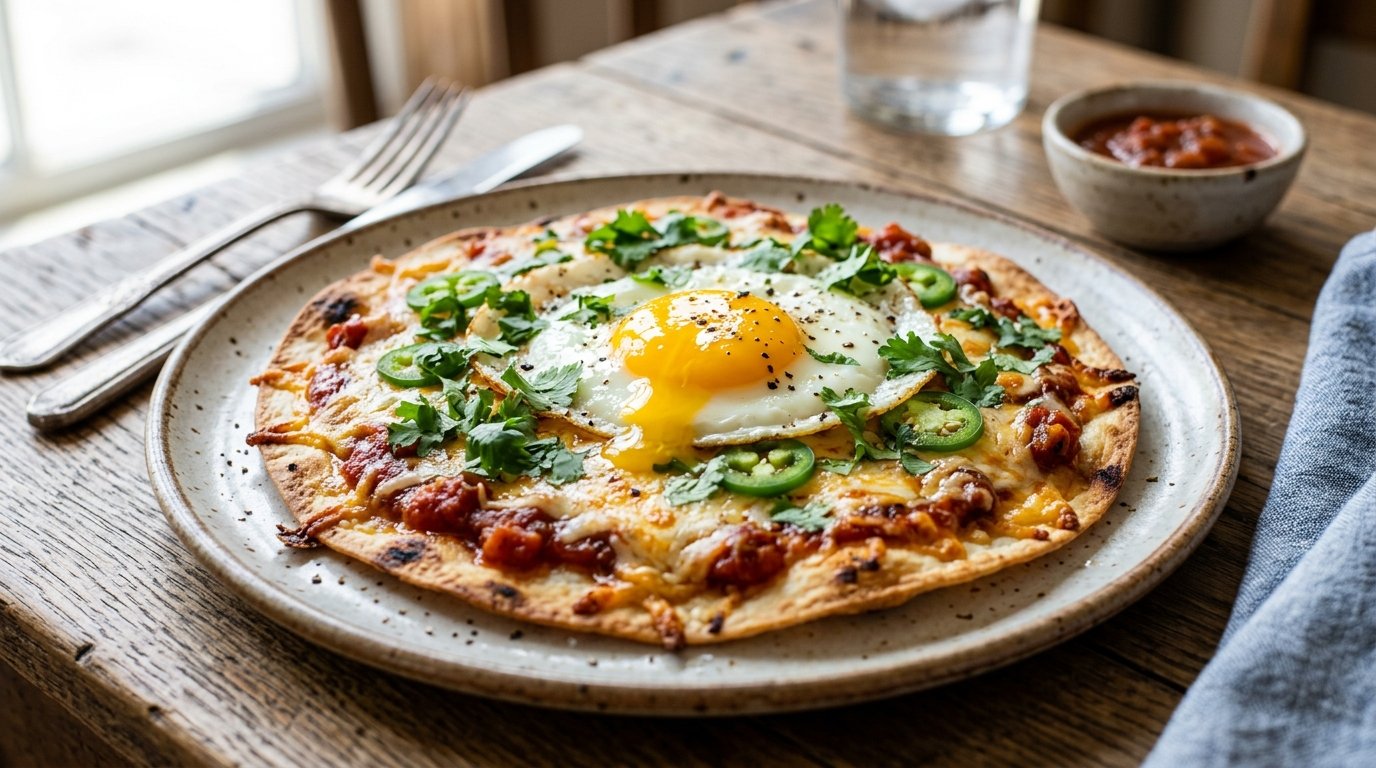
These homemade sopes bring the taste of a Mexican street market right to your kitchen. Thick corn masa bases get lightly cooked until golden, then topped with bright red salsa, crumbled cheese, and fresh onion. The raised edges hold everything in place so each bite is full of flavor and texture. They are simple to make, fun to assemble, and perfect for a casual dinner or weekend gathering.
These sopes deliver authentic flavor with straightforward steps anyone can follow.
Crispy edges and soft masa centers in every bite
Customizable toppings for any taste preference
Ready in under forty minutes from start to finish
Perfect for sharing at casual family dinners
Ingredients
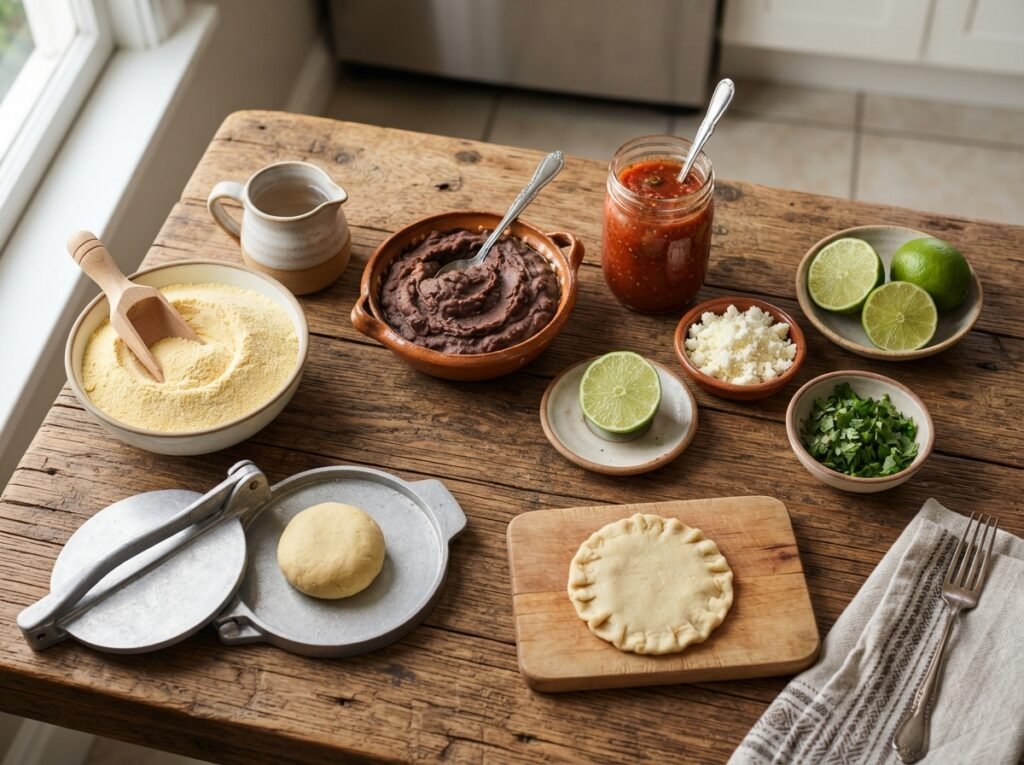
These simple pantry and produce items create classic homemade sopes full of flavor.
2 cups masa harina
1 1/4 cups warm water
1/2 tsp salt
2 tbsp oil
1 cup red salsa
1 cup crumbled queso fresco
1/2 cup white onion, diced
Fresh cilantro for garnish
Store-bought salsa works well if you are short on time. Cotija cheese can replace queso fresco for a saltier finish. If masa harina is unavailable, look for instant corn flour labeled for tortillas. Add a pinch of chili powder to the masa for mild heat if desired.
Mix masa harina, salt, and warm water until a soft dough forms.
Cover and rest the dough for 10 minutes.
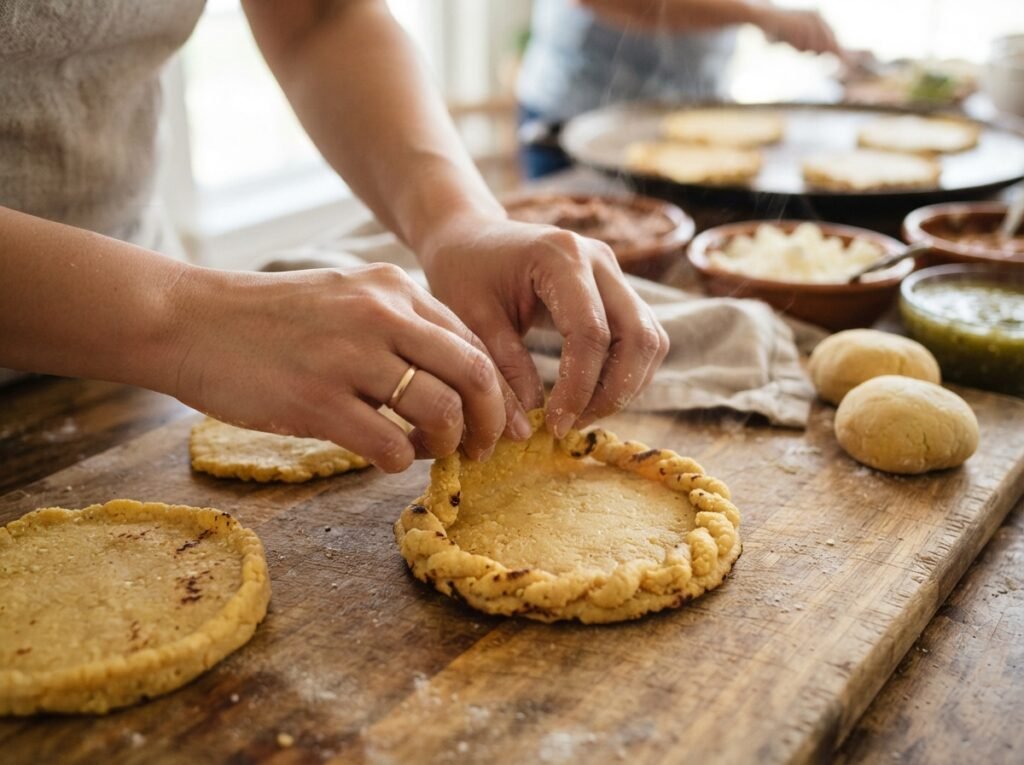
Divide into 8 balls and shape into thick discs with raised edges.
Cook on a lightly oiled skillet 3–4 minutes per side until golden.
Warm the salsa in a small pan.
Spoon salsa onto each sope and spread evenly.
Top with crumbled queso fresco and diced onion.
Garnish with cilantro and serve immediately.
Notes
Store leftover bases in an airtight container for up to 2 days. Reheat bases on a dry skillet before adding toppings. Keep dough covered to prevent drying. Adjust salsa heat level to taste.
Recipe variations
Easy changes keep homemade sopes exciting and adaptable to what you have.
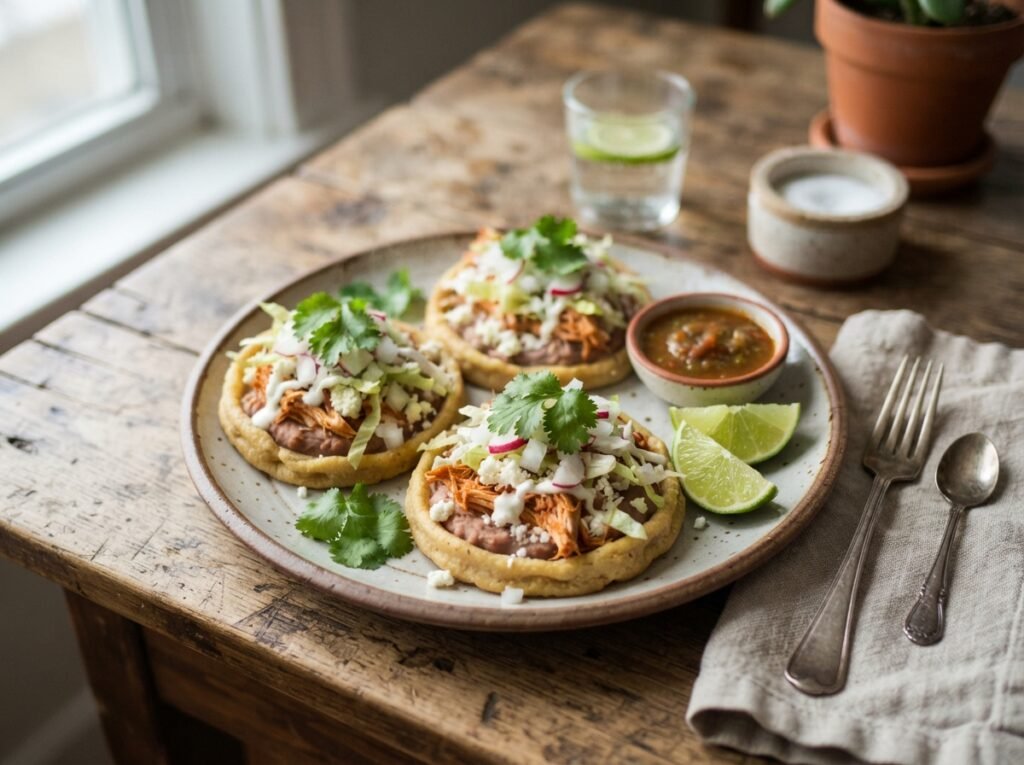
Top with refried beans for a heartier base
Add shredded chicken or carnitas for protein
Use green salsa instead of red for brighter flavor
Finish with sliced avocado and crema
What to serve with this recipe
These simple sides and drinks complete a satisfying sope meal.
Common questions about making homemade sopes at home.
Can I make the masa ahead of time?
Yes, prepare the dough up to one day ahead and store it tightly covered in the refrigerator. Bring it to room temperature before shaping.
Why are my sopes cracking?
The dough is likely too dry. Add a spoonful of warm water and knead again until it feels soft and pliable.
Can I bake the sopes instead of pan-cooking?
Pan-cooking gives the best texture, but you can bake them at 400°F for about twelve minutes if preferred. Brush lightly with oil first.
How do I store leftovers?
Store cooked bases and toppings separately in the refrigerator for up to two days. Reheat the bases on a skillet before adding toppings.
Final thoughts
These homemade sopes are simple, satisfying, and full of fresh flavor. The thick masa base, bright salsa, and crumbled cheese create a perfect balance of textures in every bite. They work beautifully for a quick weeknight meal or a fun weekend spread. Make a batch soon and leave a rating or comment to share how they turned out in your kitchen.